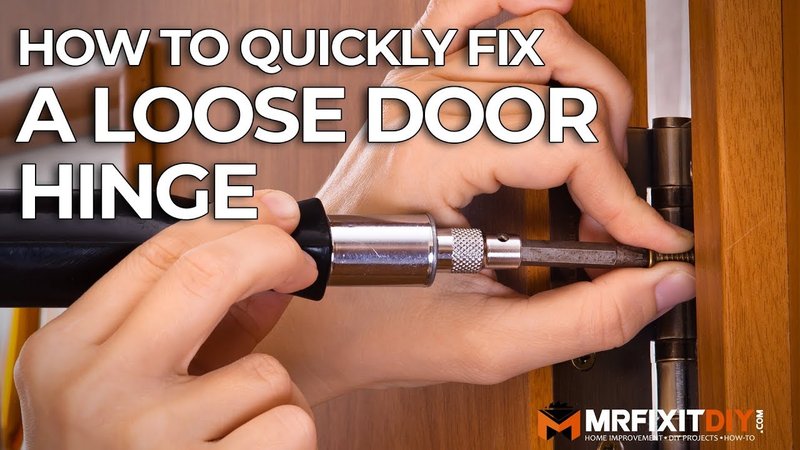
So, how do you tackle a loose hinge issue? Whether you’re dealing with a standard hinge or something more complex like a concealed hinge, understanding the root of the problem is key. In this guide, we’ll dive deep into repairing a door hinge that’s loose in the mortise—beyond just shimming—and help you get your door back in working order.
Why Your Door Hinge Gets Loose
There are a few reasons why a door hinge might become loose in its mortise. Over time, the screws can wear down or the wood around the hinge can deteriorate. Environmental factors, like humidity or temperature changes, can cause the wood to expand and contract, leading to loosened hinges. If you’ve just installed a new door or if it’s an older one, the way the hinge is aligned in the mortise can also play a part.
Here’s the thing: It’s essential to address the issue promptly. A loose hinge doesn’t just make for a cumbersome door; it can also lead to further damage. If the hinge isn’t secure, it could cause the door to fall off or create gaps that let drafts in. Plus, an unhinged door can mess with your security.
Gathering Your Tools and Materials
Before you start the repair, you’ll want to gather your tools and materials. Having everything on hand will make the process smoother. Here’s what you generally need:
- Screwdriver – Depending on the screws, you may need a flathead or a Phillips head.
- Wood glue – This can help secure the hinge better.
- Wood filler – For patching up any damage around the mortise.
- Drill – If you need to replace screws or drill new holes.
- New screws – Sometimes, you’ll need longer or thicker screws.
- Chisel – For any adjustments to the mortise, if necessary.
Once you have everything, you’ll be ready to assess the hinge closely. Trust me, having the right tools can make a world of difference.
Removing the Loose Hinge
Now that you have your tools ready, it’s time to remove the loose hinge. Start by opening the door wide enough to access the hinge easily. Using your screwdriver, carefully unscrew the hinge from the door and the frame. Take a moment to notice if the screws are stripped or damaged; if they are, that might be a big part of the problem.
Once you’ve removed the hinge, check the mortise itself. If the wood looks damaged or worn, you may need to take additional steps to repair it. A loose mortise can make reinstallation tricky, so understanding its condition is crucial.
Repairing the Mortise
If the mortise is damaged, you’ll want to take some steps to fix it before reinstalling the hinge. One effective method is to use wood filler. Here’s how:
1. Clean the mortise thoroughly to remove any loose debris or old filler.
2. Apply wood filler into the mortise, making sure to pack it tightly.
3. Level the surface with a putty knife so it’s smooth and flush with the surrounding wood.
4. Allow the filler to dry according to the manufacturer’s instructions, then sand it down to ensure a perfect fit for the hinge.
This process helps create a sturdy foundation for your hinge, so it stays tight and secure over time.
Reinstalling the Hinge
Once the mortise is repaired and dried, it’s time to reinstall the hinge. Line up the hinge plate with the mortise and use your screwdriver to place the screws back in. If you’re using longer screws, they can help anchor the hinge better. Make sure not to overtighten them, as that can damage the wood or the hinge itself.
Remember to check for proper alignment. When you close the door, it should hang straight without any gaps. If it’s slightly off, consider adjusting the hinge a bit before securing it down completely.
Alternative Fixes: Hinge Reinforcement Plates
If you’re still facing issues with the hinge after the initial repairs, it might be time to consider hinge reinforcement plates. These plates are like a security blanket for your hinge. They can provide extra support and help distribute the weight more evenly across the door frame.
To install a reinforcement plate:
1. Remove the loose hinge as mentioned earlier.
2. Place the reinforcement plate against the frame where the hinge was.
3. Mark the screw holes, drill holes if needed, and then attach the plate using screws.
4. Reattach the hinge to the plate.
This method adds significant stability, especially for heavier doors or frequently used ones.
Preventing Future Issues
Now that you’ve repaired your door hinge, let’s talk about keeping it in good shape. Regular maintenance can prevent future problems. Here are some tips:
– Check the screws periodically to ensure they’re tight.
– Consider adding lubricants to the hinge to keep it moving smoothly. A little grease or a silicone-based lubricant can go a long way.
– Monitor the door alignment and the condition of the mortise; if you notice any signs of wear, address them sooner rather than later.
Think of it as regular health check-ups for your door. The more proactive you are, the less likely you’ll face significant issues down the road.
When to Call a Professional
If you’ve tried these fixes and your door still isn’t cooperating, it might be time to call in a professional. Some issues can be more complicated than they seem, and a handyman or carpenter can assess the situation more accurately. They can determine if there are deeper structural problems or if a whole new hinge system might be necessary.
In conclusion, repairing a door hinge that’s loose in the mortise doesn’t have to be a daunting task. With the right tools, a little bit of patience, and some elbow grease, you can tackle this problem effectively. Just remember to stay proactive in your approach to maintenance, and you’ll keep those doors hanging straight for years to come.
