Thumb latches are everywhere on wooden gates and garden doors. They’re those handles with a thumb-press lever, often made by brands like National Hardware, Stanley, or even old no-name units from decades back. Whether you’re working with a barn-style latch or something more modern, they all rely on a simple but crucial part: a coiled metal spring. When that spring fails, the latch stops working properly. Honestly, it’s like trying to use a pen with no ink—it’s just not going to do its job.
The good news? You can fix a damaged internal spring on a thumb latch yourself. Let me explain each step and everything you need to know, in plain language—no fancy jargon or hardware store runarounds.
How a Thumb Latch Works (And Why the Spring Fails)
Let’s break down what’s happening under the hood of your thumb latch. Most thumb latches—whether you’ve got an old Stanley, National, or generic model—rely on a simple lever mechanism. When you press the thumb plate, it pushes down a metal rod or bar, which lifts the latch on the other side of the gate. It’s a classic bit of mechanical magic.
But the internal spring is the real workhorse. This spring gives the latch its *snap*. It re-centers the thumb plate after you press and keeps the latch from sagging. If the spring is broken, rusted, or just tired out from years of weather and use, the thumb lever will feel loose—or “dead”—and the latch may not reset after being pressed. Here’s the thing: without a spring, your latch is basically just a floppy piece of metal.
You might be wondering: why do these springs wear out? Sometimes it’s just age, but moisture is the big enemy. Springs are usually steel, and once they get exposed to rain, snow, or humidity, rust happens fast. Over time, the spring can snap, unwind, or jam. Other times, a heavy-handed guest (we all have one) might force the latch and bend the spring out of shape.
Signs Your Thumb Latch Spring Is Damaged
Not sure if the problem is really the spring? Here’s what to look for:
- Thumb piece is floppy. It doesn’t return to its starting position when released.
- You hear a rattle or feel looseness inside the latch mechanism.
- Latching action feels weak—sometimes the gate won’t stay shut, or the latch won’t “catch.”
- Visible rust or missing pieces. If you peek inside (or remove the latch), you might see a broken or warped spring.
If you spot any of these, it’s a pretty safe bet your internal spring needs some attention. Honestly, it’s not a death sentence for your latch—the fix is way less scary than it sounds.
What You’ll Need To Repair an Internal Thumb Latch Spring
Before you start, gather your essentials. Most repairs don’t need fancy tools or expensive parts, but you do need some patience and a little courage to take things apart.
- Screwdriver (usually a Phillips or flathead, depending on your hardware)
- Pliers (needle-nose work best for springs)
- Replacement spring (you can find generic latch springs online or repurpose a similar-sized spring from a hardware store)
- WD-40 or similar lubricant (for stuck parts)
- Small brush (for cleaning rust or debris)
If you can’t find an identical spring, look for one with a similar coil diameter, length, and tension. Sometimes a “universal” spring kit will work in a pinch.
And if the latch is a vintage or brand-specific model—like Stanley or National Hardware—check if the manufacturer sells repair kits. But honestly, most folks can make do with a generic spring for basic repairs.
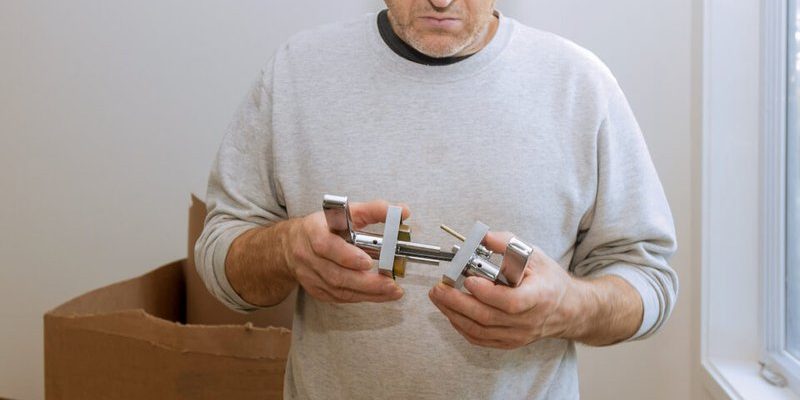
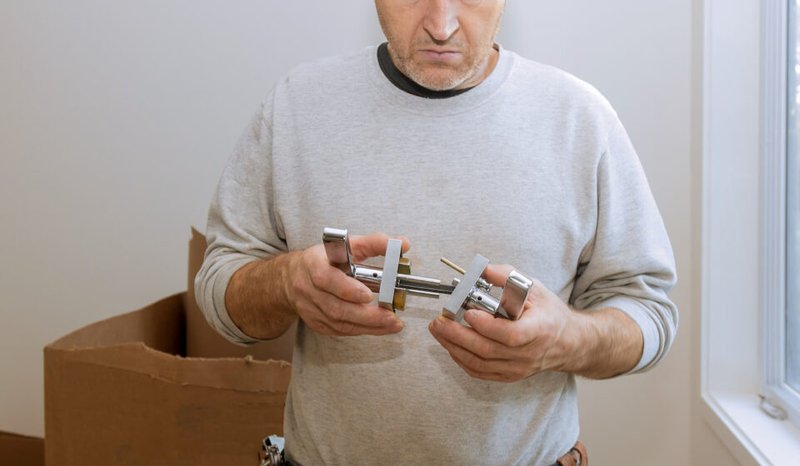
Step-by-Step: How To Replace the Internal Spring
Let’s get our hands dirty (but not too dirty). The goal is to remove the latch, swap the spring, and put everything back together. Here’s how:
- Remove The Latch Assembly
First, open the gate so you have full access. Use the screwdriver to remove the screws holding the thumb latch plate. Carefully pull the latch mechanism away from the gate. - Access the Spring
The spring is usually housed behind the thumb lever or inside the latch body. Gently pull apart the two metal plates—sometimes they’re just held by a pin or small screws. If it’s stuck, use your WD-40 and wait a few minutes. - Remove the Damaged Spring
Inspect the spring. If it’s snapped or rusted, remove it with your pliers. Clean any dirt or rust from the inside with your small brush. - Install the New Spring
Insert the replacement spring, making sure each end sits exactly where the old one was. One end will hook into the latch body, while the other usually connects to the thumb lever or rod. The tension should be enough to snap the lever back, but not so tight it’s hard to press. - Reassemble and Test
Put the latch body back together and reattach it to the gate. Test the thumb lever—if it springs back firmly and latches smoothly, you’ve nailed it!
If it still feels a little sluggish, try a dab of lubricant on the moving parts. Sometimes it takes a few presses to “reset” the motion.
What If You Can’t Find the Right Spring?
You might hit a snag here—especially if you’re working on a really old or quirky latch. Some thumb latch springs are oddly sized, or maybe your latch is missing more than just the spring. Here are a few options:
- Universal Gate Latch Repair Kits
Hardware stores sometimes carry kits with several spring sizes and a few pins or screws. These can be a lifesaver if your exact spring is discontinued. - Repurpose a Spring
Take the old spring to a hardware store and compare it against their selection. Even a spring from a ballpoint pen or a screen door closer can sometimes be trimmed and adapted. Just make sure the tension isn’t too strong, or the thumb latch will be tough to press. - 3D-Printed or Custom Springs
If you’re feeling ambitious—or the latch is an antique you really love—search online for local spring makers or 3D printing services. Some small shops can custom-bend a new spring for you.
Don’t force the wrong spring into place. “Good enough” might seem tempting, but if it jams or binds, it could damage your entire latch assembly—or just make it annoying to use.
Comparing Thumb Latch Repairs vs. Full Replacement
Here’s the age-old question: is repairing your thumb latch spring worth it? Let me be honest—sometimes yes, sometimes no.
Repairing makes sense if:
- Your latch is otherwise in good shape.
- You can find a properly fitting spring.
- You enjoy the look or feel of your current latch, especially if it matches other hardware.
Full replacement might make more sense if:
- The latch is heavily rusted or bent in multiple places.
- You can’t find a suitable spring and “universal” kits don’t fit.
- The screws or mounting holes are stripped out and the latch feels loose even when reinstalled.
Sometimes, for under $20, buying a new thumb latch is faster—especially if you want to upgrade to a lockable or weatherproof model. But if you love the vintage look, or if that squeaky old latch is a family favorite, repairing the internal spring can be weirdly satisfying.
Preventing Future Thumb Latch Spring Damage
You’ve fixed your thumb latch—let’s keep it working. The biggest threats are weather and neglect. A little maintenance goes a long way.
- Spray the mechanism with lubricant once or twice a year to keep rust at bay.
- Cover exposed latches with a gate overhang or small shield to protect against rain and snow.
- Check for wobble or stiffness every few months—catching a stuck spring early is way easier than dealing with a full snap.
- Wipe away cobwebs, dirt, or ice buildup as needed.
If you’re in a coastal or particularly rainy area, consider a thumb latch made from stainless steel or zinc-coated metal. It won’t stop the need for the occasional spring repair, but it will slow down corrosion so you’re not doing this every spring (pun intended).
When To Call For Backup: Getting Professional Help
Look, not everyone enjoys taking things apart—and there’s no shame in that. If your thumb latch is a funky antique, or you’re worried about damaging the wood or hardware, you can always call in a pro. Locksmiths or even general handypersons often know their way around these latches, especially on older gates or doors.
It’s also worth asking for help if your latch is part of a security system, or if the gate controls access to a pool or other sensitive area. In those cases, a professional repair (or a modern upgrade) gives you extra peace of mind.
Sometimes, just watching a pro take things apart and put them back together is all you need to feel confident for your next DIY project.
Closing Thoughts: Making Your Thumb Latch Snap Again
Fixing a damaged internal spring on a thumb latch isn’t rocket science—just a little patience, the right tools, and a willingness to get hands-on. Whether you’re working with a basic National Hardware unit, a Stanley, or some charming old piece of ironwork, the process is much the same. Replace that tired spring, give your gate a satisfying “click” again, and enjoy the sweet sound of something working the way it should.
Honestly, there’s something kind of rewarding about repairing instead of replacing. You’ll know your gate’s working the way you want, not just how the hardware store said it should. Plus, you’ll have the confidence to tackle the next little breakdown—one spring at a time.