Hinges for bifold doors are unique because they connect multiple panels and allow them to fold in on themselves. Whether it’s an interior closet door or a patio door that folds open to a sunny deck, understanding how to repair a damaged bifold door hinge can save you both time and money. In this guide, I’ll walk you through the ins and outs of fixing these pesky hinges, making it as straightforward as fixing a leaky faucet.
Understanding Bifold Door Hinges
Before diving into the repair process, it’s important to understand what bifold door hinges are and how they work. A bifold door typically consists of two or more panels connected by a series of hinges. Each of these hinges allows the panels to swing and fold, creating a compact opening. The hinges are usually mounted on a track, allowing the entire door to glide smoothly as you open or close it.
Most bifold door hinges are designed to be durable, but they can wear out over time due to regular use or improper installation. When a hinge gets damaged, you might notice that the door doesn’t open or close properly, or it might even sag. Addressing these issues sooner rather than later is essential to avoid further damage.
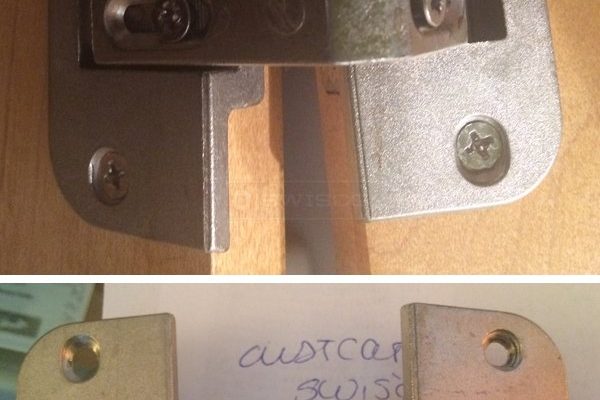
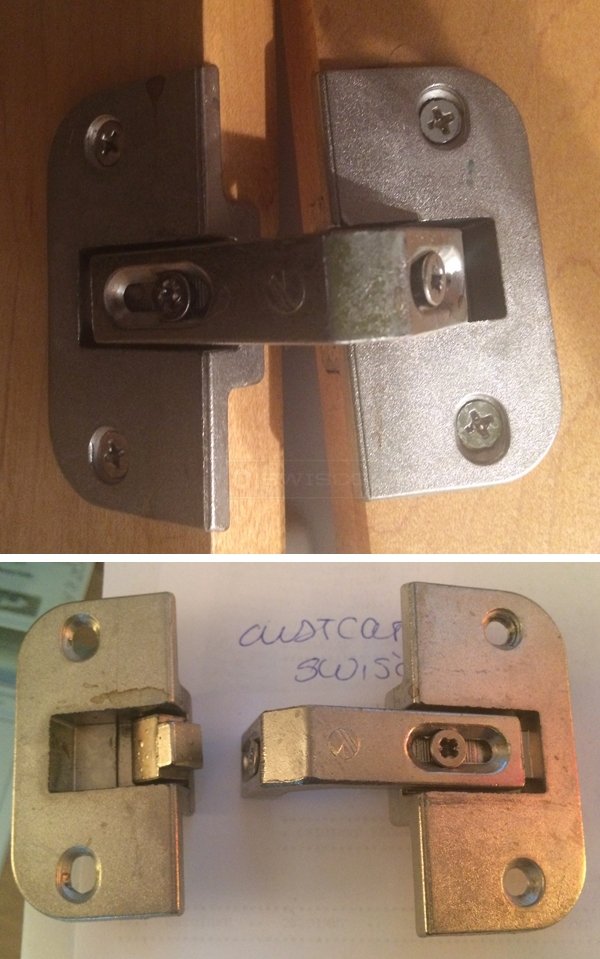
To identify your specific hinge type, look for the following features:
- The shape of the hinge—some are flat, while others are more rounded.
- Material composition—most are metal, but some can be plastic or composite.
- Attachment style—some hinges require screws, while others might use a pin mechanism.
Diagnosing the Problem
Before you can fix a damaged bifold door hinge, you need to pinpoint the issue. Start by observing how the door operates. Is it sticking somewhere? Does it sag, or is there a visible gap? Here’s how to diagnose the problem:
1. Check for Misalignment: When the panels are hung, they should align perfectly. If you notice any gaps between the door and the frame, it may be due to a misaligned hinge.
2. Inspect the Hinge: Look closely at the hinge itself. Is it bent, broken, or corroded? A damaged hinge may need to be replaced.
3. Examine the Panels: Ensure that the panels are level and evenly spaced. Uneven panels can put extra stress on the hinges, leading to further damage.
It’s also helpful to remember that not all issues stem from the hinge itself. Sometimes, the trouble lies in the track or the panels. If everything looks fine at the hinges, take a closer look at those areas.
Gathering the Right Tools
Now that you’ve diagnosed the issue, it’s time to gather your tools. Having the right equipment can make the repair process go much smoother. Here’s a handy list of what you’ll need:
- Screwdriver: Essential for removing screws from the hinge.
- Replacement hinge: If the old one is beyond repair, you’ll need a new one.
- Level: To make sure everything hangs straight.
- Drill: Useful for installing new hinges and if any new holes are needed.
- Lubricant: A silicone-based lubricant can help if the hinge just needs a bit of smoothening.
Having everything prepared ahead of time will make the repair process more efficient.
Removing the Damaged Hinge
Once you have everything ready, it’s time to remove the damaged hinge. Here’s a simple step-by-step guide to follow:
1. Open the Door: Gently pull the door panels away from the frame to create some space.
2. Locate the Screws: Use your screwdriver to find and unscrew the screws holding the damaged hinge.
3. Take out the Hinge: After removing the screws, gently pull the hinge away from the door and the frame. If it’s stuck, you may need to wiggle it a little.
During this process, be careful not to damage the surrounding panels. If you feel any resistance, take a moment to ensure that no additional screws need to be removed.
Installing the New Hinge
Now you’re ready to install the new hinge! Here’s how to do it right:
1. Align the Hinge: Position the new hinge where the old one was located. Make sure it lines up correctly with the holes in the door and the frame.
2. Secure the Hinge: Use your screwdriver to attach the hinge firmly, ensuring it is tightly in place.
3. Test for Movement: Before closing everything up, gently open and close the door to make sure it swings smoothly.
Once the new hinge is in place, check that everything aligns properly. If the door still feels off, you may need to adjust the position slightly before tightening the screws completely.
Final Adjustments and Lubrication
After you’ve installed the new hinge, it’s time for some final touches. Inspect how the door operates. If it’s still not gliding smoothly, you might need to make some adjustments.
1. Level the Door: Use your level to check that the door is straight. If it’s off, you might need to loosen the screws and adjust the hinge position slightly.
2. Add Lubricant: Apply a silicone-based lubricant to the hinge to help it move more freely. Just a small amount goes a long way!
Once everything feels right, close the door and do a final check. It should now open and close effortlessly!
Maintaining Your Bifold Door Hinges
Now that you’ve repaired your bifold door hinge, it’s essential to keep it in good condition. Regular maintenance can extend the life of the hinge and prevent future issues. Here are some tips for keeping your hinges in tip-top shape:
– Regular Cleaning: Wipe down the hinges to remove dust and debris. A clean hinge is less likely to get stuck.
– Occasional Lubrication: Every few months, add a bit of lubricant to the hinges. This will help them work smoothly and prevent rust.
– Inspect Periodically: Check the hinges for wear and tear, especially if you notice any changes in how the door operates. Catching issues early can save you a lot of trouble later.
By investing a little time in maintenance, you can keep your bifold door functioning perfectly for years to come.
With these steps, you can confidently tackle the repair of a damaged bifold door hinge. Fixing it yourself not only saves money but also gives you a sense of accomplishment. So grab those tools, and let’s get that door back in shape!