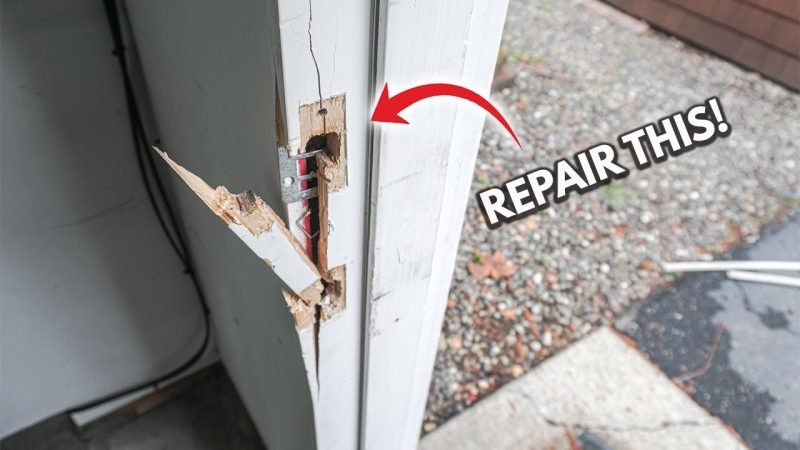
Picture it like this: you’ve got a favorite mug that you’ve accidentally dropped. Instead of tossing it in the trash, you consider ways to put it back together. In a similar way, fixing a fractured piece inside your latch can give your door a new lease on life. Whether you have a Chrysler, Ford, or Toyota remote entry system, understanding how to repair that cracked plastic can help keep your vehicle secure and functional.
Understanding the Door Latch Mechanism
To tackle the repair, it’s essential to grasp how a door latch mechanism works. At its core, a door latch is a simple assembly that usually consists of a locking mechanism and a lever. When you pull the handle or press the remote, it sends a signal to engage or disengage the lock. The plastic components inside play a vital role in this process.
The latch generally has a couple of parts: the latch bolt and the strike plate. When the latch is engaged, the bolt slides into the strike plate, keeping the door closed. If a plastic part inside this mechanism is cracked, it can lead to misalignment, making it difficult to open or close the door. It’s like having a key that’s bent—no matter how hard you try, it just won’t work.
Identifying the Cracked Component
Once you understand how the door latch works, the next step is to identify the cracked plastic piece. Generally, you’ll need to remove the latch from the door, which involves unscrewing the screws and gently pulling it out. Don’t worry; this part is fairly simple.
To check for cracks, take a close look at each plastic piece, especially around areas that take the most stress. You might notice small cracks or even pieces that are completely broken off. Remember, it’s essential to handle this component carefully; you don’t want to create more damage.
If you’re unsure, try to take a picture or jot down notes on how everything fits together before you start disassembling. This way, you’ll have a reference to guide you through the reassembly.
Gathering the Right Repair Materials
Now that you’ve pinpointed the cracked component, it’s time to gather your repair materials. Here’s what you’ll need:
- Epoxy adhesive – This will bond the cracked plastic together firmly.
- Sandpaper – Use this to smooth out any rough edges after the repair.
- Clamps or tape – These can help keep your cracked parts firmly in position while the adhesive sets.
- Screwdriver – For reassembly of the latch.
- Protective gloves – To keep your hands safe from the adhesive.
Having the right tools makes the process smoother and less frustrating. Honestly, you’ll be thankful to have everything at your fingertips instead of scrambling mid-repair.
Repairing the Cracked Plastic Component
It’s time to get your hands dirty. Here’s a step-by-step guide on how to repair the cracked plastic:
1. Clean the Area: Before applying any adhesive, make sure the cracked area is free from dust and grease. You can use rubbing alcohol and a clean cloth for this.
2. Mix the Epoxy: Follow the instructions on your epoxy adhesive. Mix it until it’s a consistent texture, ready for application.
3. Apply the Adhesive: Carefully fill in the crack with the epoxy. Make sure to cover the entire area affected by the crack. You might even want to apply a bit more for a stronger hold.
4. Press and Secure: Align the parts of the cracked plastic as smoothly as possible. Use clamps or tape to secure them in place while the adhesive dries. Plan to leave it clamped for about 30 minutes to an hour, depending on the adhesive instructions.
5. Sand Smooth: Once the adhesive has set, use sandpaper to smooth out any uneven edges. This will help the latch function properly and look decent.
Reassembling the Door Latch
After you’ve completed the repair, it’s time to put everything back together. Here’s a simple way to do that:
– Align the Components: Start by lining up the latch with the door cutout. It should fit snugly if everything has gone well.
– Insert Screws: Using your screwdriver, carefully insert the screws back into place. Make sure they’re tightly secured but avoid overtightening, as this could crack the plastic again.
– Test the Mechanism: Before closing up the door completely, test the latch by trying to lock and unlock it a few times. Make sure it moves smoothly and engages properly.
If everything works, you’re ready to reassemble your door. If not, you may want to double-check the assembly or consider replacing the broken part.
When to Consider Replacement
Now, while repairing a cracked plastic component inside a door latch can be a successful DIY fix, it’s not the only solution. You might find that the crack is too severe or that multiple parts are damaged. In such cases, it might be time to look into getting a replacement latch.
You can often find compatible latches for your make and model online or at an auto parts store. Just ensure that you match it correctly with your vehicle’s specifications. While it might be a bit pricier than a quick fix, a new latch is likely to function better and last longer.
Preventing Future Damage
To avoid dealing with cracked plastic components in the future, consider a few proactive measures. Regularly inspect your door latches and other moving parts for signs of wear and tear. Here are some tips:
– Lubricate Moving Parts: Use a silicone-based lubricant to keep the latch moving smoothly.
– Be Gentle: Avoid slamming the door or using excessive force when locking or unlocking.
– Store Safely: If you’re working on an older vehicle or if there’s been a lot of exposure to the elements, consider garage storage to prevent additional wear.
By taking these steps, you can extend the life of your door latch and maintain the integrity of its components.
In conclusion, fixing a cracked plastic component inside a door latch might seem daunting at first, but with the right mindset and tools, you can handle it like a pro. Whether you opt for a repair or decide to replace the component entirely, understanding the mechanics behind your latch will help you make informed decisions. Here’s to many more years of securely locking and unlocking your doors!
