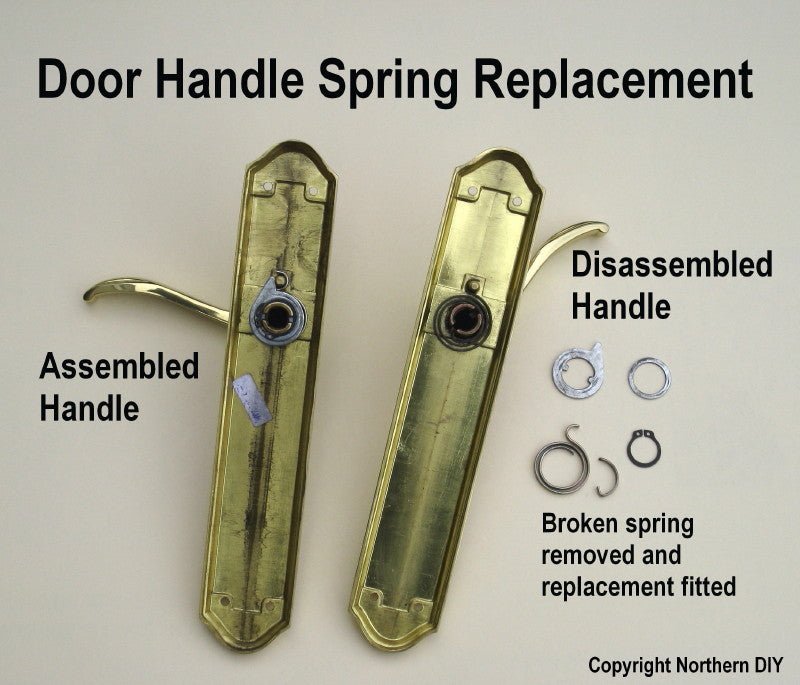
Honestly, repairing a cosmetic flaw on an exterior door handle isn’t just about vanity. It’s about pride in your home, protecting your investment, and—if you’re using a smart lock or connected remote system—a way to keep everything looking high-tech and new. Maybe you’re dealing with a scratch, a little pit, a spot where the coating’s peeled, or even a slight bend from a run-in with groceries. Here’s the thing: you don’t have to live with it, and you don’t have to call in a pro for every blemish. Let me walk you through what you can actually fix, how it works, and why it matters—step by step.
Understanding Cosmetic Flaws on Door Handles
Before you start thinking about solutions, it helps to know what you’re working with. Cosmetic flaws cover a wide range, from a small scratch to flaking finish or a tiny dent. Most exterior door handles—whether from big brands like Kwikset, Weiser, or August—use metal with some kind of finish, sometimes with a smart lock or wireless remote built in. The outside might be polished brass, brushed nickel, or powder-coated paint.
Here’s the thing: those finishes can wear down over time. Sun, rain, salt, and the oils from your hands can all play a part. You might notice the color fading, a rough patch where the paint’s started coming off, or even spots that look like the metal underneath is peeking through. Some flaws are just visual—nothing’s broken or wrong with the code, sync, or remote battery. But when you see a dent, you might wonder if the handle’s still strong enough, or if water could sneak in and mess with the internal mechanisms or electronics.
It’s totally normal to spot these flaws, especially on older hardware or high-traffic doors. The trick is figuring out if it’s really just cosmetic, or if there’s a risk of bigger problems like rust, stuck locks, or connection issues with your smart handle. Most of the time, if the flaw doesn’t affect how the handle moves, or how the lock syncs with your code or remote, you can fix it yourself.
Tools and Materials You’ll Need for a Door Handle Touch-Up
If you’re ready to dive in, let’s talk gear. Repairing a cosmetic flaw on an exterior door handle doesn’t mean you need a whole workshop. In fact, you probably have most of what you need already, especially if you’ve ever paired a remote, swapped a battery, or done basic home maintenance. Here’s what you’ll want:
- Fine-grit sandpaper (400–1000 grit): Helps smooth out minor scratches and prep the surface.
- Rubbing alcohol or gentle cleaner: Essential for wiping away grime, oil, and bits of old finish.
- Touch-up paint or metal polish: Choose a finish that matches your handle—many brands like Kwikset offer color kits, or you can find universal options.
- Small paintbrush or microfiber cloth: Perfect for careful, precise application.
- Optional: Filler putty or repair epoxy: For deeper pits or tiny dents, you might need a little extra help filling things in before repainting.
You might be wondering, “What about smart handles?” If you’re dealing with a Schlage smart lever or an August Wi-Fi lock, always take out the batteries and cover any connection ports before starting. No one wants to replace their remote because a drop of paint went where it shouldn’t.
Step-By-Step: Repairing Scratches, Chips, and Dents
Let’s walk through the process, from start to finish. Honestly, you don’t need to be a pro; just go slow, give yourself some space, and remember: patience beats rushing.
- Clean the surface: Start by wiping down the handle with rubbing alcohol or a mild soap solution. This gets rid of fingerprints, oils, and dust—stuff that can mess with your repair.
- Smooth out damage: Take your fine-grit sandpaper and feather out the edges of any scratches or chips. You don’t have to go deep—just enough to blend the flaw into the rest of the surface. If it’s a dent, gently sand the area to help new paint or filler stick.
- Fill deeper flaws (if needed): For pits or small dents, dab on a tiny bit of metal filler or repair epoxy. Use a toothpick or putty knife to smooth it out. Let it dry completely, then sand it level with the handle.
- Apply touch-up paint or polish: Use a small brush or cloth to add paint, stain, or polish, matching the original as closely as possible. It’s better to do a few thin layers than one thick one—this keeps it smooth and natural-looking.
- Let it cure: Give the finish at least a few hours to dry, or overnight if you can. Don’t use the handle or expose it to rain until it’s set.
- Buff and blend: Once the paint is dry, you can buff the area gently with a microfiber cloth to restore the shine and blend with the rest of the handle.
If you have a Yale or Schlage smart lock with keypads, be extra careful not to let any polish or paint get near the code panel or electronic syncing area. You don’t want to create a new troubleshooting problem by accident.
When to Replace vs. Repair an Exterior Door Handle
You might be curious: at what point does repairing a cosmetic flaw on an exterior door handle stop making sense? Here’s where a little honesty comes in. Small scratches, faded spots, or even a shallow dent? Go for the repair. But if your handle is rusting through, bent out of shape, or the smart lock’s not syncing or holding charge, it’s probably time to consider a replacement.
There’s also a difference between standard handles and smart or remote-enabled hardware. With a simple lever, a cosmetic fix will last longer, especially if you reseal or repaint fully. But with smart handles or remotes, heavy damage might mean trouble inside—think batteries corroding, broken sync, or a failed connection. If you notice water spots inside a battery case, issues pairing a code, or anything electrical acting up, replacement might be safer.
Let me explain: sometimes it feels like “throwing out” a handle is wasteful. I get it, but if you’re constantly fixing the same flaw or troubleshooting lock issues, you might actually save money and hassle by swapping out the hardware.
It’s better to spend a little more once, than to chase tiny repairs that add up over time.
Protecting Your Door Handle from Future Flaws
Fixing a cosmetic flaw is great, but how do you keep it from happening again? Preventative care is the best defense. And it’s honestly a lot easier than you might think.
- Regular cleaning: Wipe down your handle once a week with a soft cloth and mild cleaner. This keeps grime, salt, and water from wearing down the finish.
- Reapply protective wax or polish: You’ll find clear waxes designed for metal hardware, which add a barrier against moisture and fingerprints.
- Check batteries and remotes: If you’re using a smart system, check for leaks, replace batteries as needed, and make sure the sync and pairing codes stay up to date. Water and electronics are not friends.
- Shelter your door hardware: If you live somewhere harsh, a small awning or weather shield above your door can work wonders.
Think of it like the difference between washing your car once a year versus a quick rinse every week. Small habits keep things looking new, and they make troubleshooting way easier if something does go wrong.
DIY Vs. Professional Repairs—Which Should You Choose?
You might be wondering if it’s ever worth calling in a pro for what seems like a tiny flaw. Here’s the truth: most minor cosmetic repairs—scratches, chips, even small dents—are completely DIY-friendly. You save money, learn a new skill, and can work at your own pace.
But there are times when a professional’s touch is worth it. For example, deep pitting, widespread rust, or a bend that keeps your smart lock from sitting flush with the door. If you’re worried about damaging expensive hardware (especially with electronics inside), it’s not a bad move to get a quote from a locksmith or hardware specialist.
Let me give you a quick comparison:
| DIY Repair | Professional Repair |
|
|
If you own a high-end Yale smart lock or a Schlage system with remote syncing, it might actually be cheaper to let a pro handle things if you’re even a little bit nervous. The peace of mind is real!
Common Problems and Troubleshooting Cosmetic Repairs
Even with good prep, stuff can go sideways. Sometimes paint won’t stick, you get a weird streak, or the finish never quite matches. Here are a few common hiccups and how to fix them:
- Color mismatch: Try layering your touch-up paint, and always test in a hidden spot before going all-in. Universal touch-up kits are handy, but sometimes you’ll want to order the exact color code from the brand site.
- Sticky or tacky feel: This usually means you didn’t let layers dry long enough. Give it more time, buff gently, and don’t rush the process.
- Cloudy finish: Sometimes polish or clear coat can look foggy if the handle wasn’t totally clean. Go back, sand lightly, and clean with alcohol before trying again.
- Trouble with smart remotes: If you accidentally get paint or polish near your battery compartment, code panel, or remote sync contact points, stop. Clean up with a dry cotton swab right away, then give the electronics 24 hours to make sure no moisture remains.
Patience is your friend. Most cosmetic repairs are fixable—even if you have to go back and touch up your touch-up.
Alternatives: Handle Covers, Universal Replacements, and Upgrades
What if you want an easier fix, or just can’t get your old handle looking new? There are a few creative alternatives worth thinking about.
- Handle covers: These snap-on shells come in different colors and materials. They’re not as durable, but can cover up big cosmetic flaws in seconds and are removable if you change your mind.
- Universal replacement handles: Available from brands like Kwikset and Schlage, these fit most standard doors. You can upgrade from a basic lever to a keyless entry or add a Bluetooth remote for extra convenience—and a fresh look.
- Smart upgrades: If your handle is older, upgrading to a connected lock can solve two problems at once: fix the cosmetic issue and add modern features, like wireless entry, code syncing, or smartphone pairing.
These options are perfect if your old hardware is past its prime, you want a fast fix before guests arrive, or you’re itching to level up your home tech. Just make sure to check compatibility, especially if your door works with a specific code or remote system.
Bringing It All Together: A Fresh Start for Your Door Handle
Repairing a cosmetic flaw on an exterior door handle (beyond finish) can feel surprisingly rewarding—like putting on a fresh shirt after a long day. Whether you tackled a scratch on your Schlage smart lock, fixed a chip on your Yale lever, or gave your classic handle a polish, you’re breathing new life into something you touch every day. With some simple tools, a little patience, and a bit of know-how, your door handle can look (and feel) as good as new—without a costly replacement. And when you fix that little flaw, you might just find yourself looking for other ways to make your space shine.
