A binding door isn’t just annoying. It can chip paint, damage weatherstripping, and even affect your home’s energy efficiency. Whether you have a classic Schlage entry set on your Craftsman-style front door, or a modern Kwikset smart lock guarding your side entrance, hinge trouble shows up the same way. Let’s walk through why this happens, how to spot it, and what you can do to fix it—step by step, without needing to be a pro carpenter.
Why Exterior Door Hinges Bend and Cause Binding
Here’s the thing: exterior door hinges put up with a lot more stress than you might realize. Every slam, gust of wind, or even just years of gravity working on a heavy wooden or steel slab starts to take its toll. Over time, the metal can bend—sometimes so slightly that you won’t see it at first. But even a tiny distortion throws off the whole alignment of your door.
A bent hinge basically acts like a crooked joint in your knee. Suddenly, the parts don’t move together the way they should. The result? The door rubs or “binds” against the frame, floor, or weatherstripping. In the worst cases, you might have to put your shoulder into the door just to get it closed.
Bent hinges are common on older homes, especially where doors swing outward and get caught by wind. They’re also a problem on doors that see a lot of use, like back doors or garage entries with Yale or Defiant locks. Knowing why this happens helps you spot it before you get stuck with a completely jammed door.
Signs Your Exterior Door Hinge Is Bent
You might be wondering: how do you know it’s actually the hinge and not the door or frame itself? Honestly, it’s not that hard to spot if you know what you’re looking for. Most doors with a bent exterior hinge will have a few telltale symptoms.
- The door drags or sticks: This is the classic sign. If your door suddenly feels “heavy” or scrapes the floor or frame, suspect the hinges first.
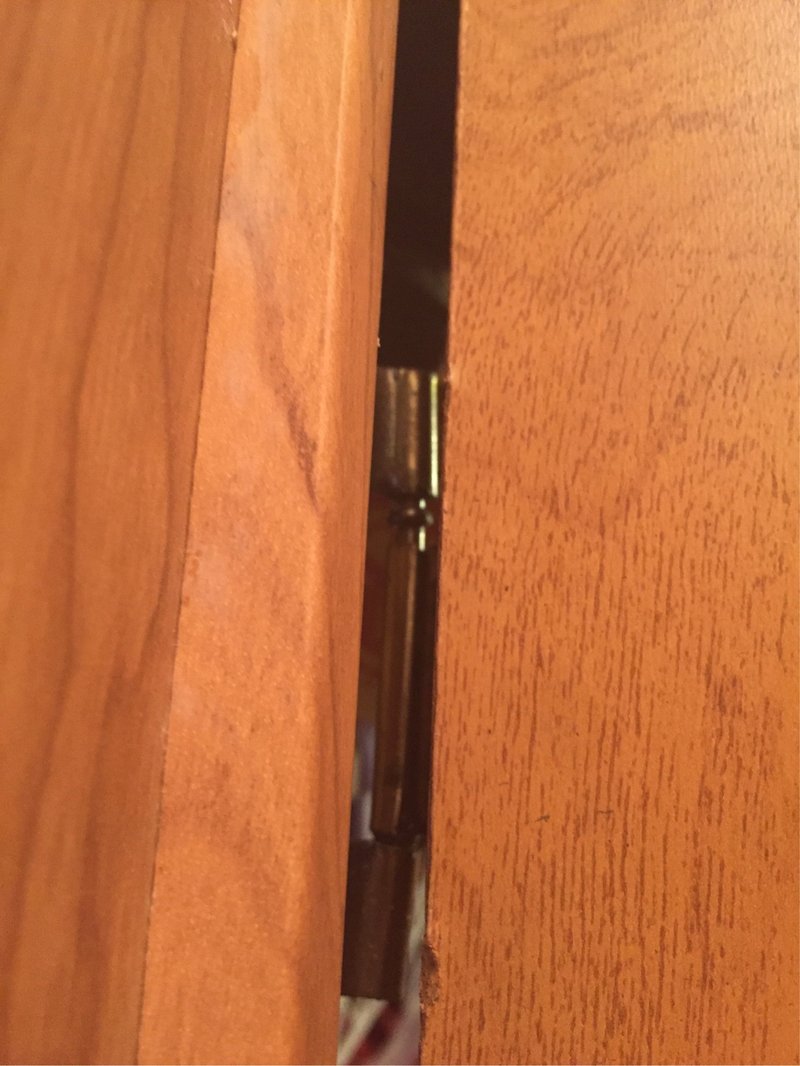
- The gaps look uneven: Look at the space between the door and the jamb. If the top, side, or bottom gap changes as you open or close the door, a bent hinge is likely the cause.
- You hear metal squeaks: Binding puts extra pressure on the hinges, leading to creaks and squeaks—even on new Baldwin or Emtek hardware.
- The door doesn’t latch right: If the bolt or latch no longer lines up with the strike plate, a hinge may have shifted or bent.
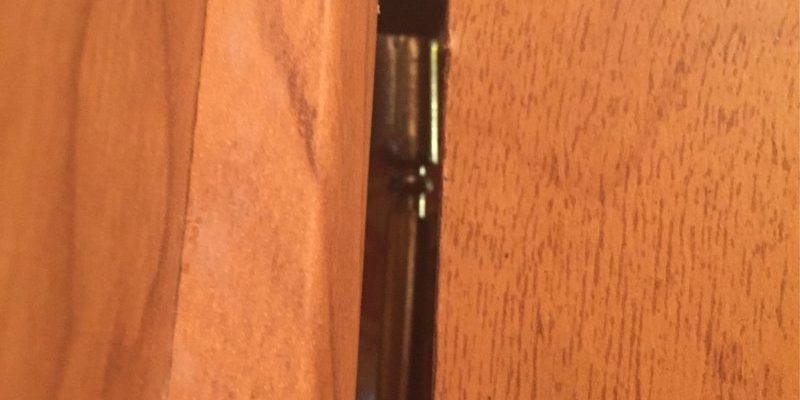
Here’s a tip: open the door a few inches and try to lift or wiggle it. If there’s a lot of play or you see the hinge leaf flexing, you’ve probably found your problem.
Gathering Tools and Prepping for Hinge Repair
Before you jump to repairs, it’s smart to gather everything you’ll need. You don’t need to own a fancy carpentry toolkit, but a few basics go a long way. Here’s a simple list:
- Phillips and flathead screwdrivers (for removing and reinstalling hinges)
- Hammer and wood block (for tapping things straight)
- Pliers or adjustable wrench (for bending hinge leaves, if needed)
- Replacement hinge (optional, in case your old one is cracked or badly bent)
- WD-40 or similar lubricant (for reassembly)
Lay down a towel or blanket nearby if you’re worried about scratching paint or your floors. I always keep small parts in a cup so nothing rolls away. And if you’ve got a smart lock or keypad (like August, Schlage, or Yale), remember to sync or reset it if you end up removing the door entirely. Some keyless remotes need to be paired again if batteries are disconnected during the process.
How to Remove and Assess a Bent Door Hinge
First things first: prop the door open. A sturdy wedge or even a stack of books under the edge works fine for most home repairs. Then, start with the screws attaching the hinge to the door frame. Remove these one by one with your screwdriver. I recommend starting at the bottom if you’re new to this, so the door doesn’t suddenly tilt as you work.
Once the screws are out, gently pull the hinge leaf away from the frame. It might stick if there’s decades of paint, so be patient. Examine the hinge carefully. Look for:
- Obvious bends or warping: Lay the hinge on a flat table. If it rocks or doesn’t sit flat, it’s definitely bent.
- Cracks near the screw holes: Sometimes the pressure of a binding door splits the hinge at its weakest point.
- Rust or corrosion: If the hinge is pitted or crumbly, replace it instead of trying to fix.
If the hinge damage looks minor, you can probably repair it. For really mangled or cracked hinges, skip ahead and grab a replacement. Trust me, you’ll save yourself future headaches.
Straightening and Repairing a Lightly Bent Hinge
Let me explain: straightening a slightly bent hinge isn’t rocket science, but you do want to go slow. Place the hinge leaf on your wood block or another hard, flat surface. Using pliers, gently bend the mangled part back into alignment. For stubborn bends, cover the area with a towel and tap it carefully with your hammer.
Check your work every few taps—hinges bend surprisingly easily, and you don’t want to overshoot. If you have a smart remote lock, this is a good time to check the hinge pin for wear too. Worn pins cause “play” and can require a reset, re-sync, or even a code update on digital remotes if you’re replacing hardware.
After the hinge sits flat again, spray a little lubricant on the moving parts. This helps prevent future binding and keeps things moving smoothly. Don’t forget to test-fit the hinge on the frame before you attach it back to the door—sometimes a small adjustment makes all the difference.
Reinstalling the Hinge and Checking Door Alignment
Now, reattach the hinge to the frame, lining up the screw holes as best you can. Use the original screws if they aren’t stripped, but don’t be afraid to swap in slightly longer or thicker ones if the wood has worn out.
Tighten each screw snugly, but don’t overdo it. You want the hinge leaf to sit flush and flat. If your door is extra heavy or you notice “wiggle” in the newly straightened hinge, add a third screw in the middle for extra support. That’s a trick many pros use on older houses for long-term strength.
With everything back in place, open and close the door a few times. Watch for smooth, even movement and listen for squeaks or rubbing. Double-check the alignment of your latch or deadbolt. If you have to fuss with the lock to get it to engage, there’s still some misalignment—go back and tweak your hinge position until it lines up perfectly. Here’s a reminder: digital locks may require you to reset or sync them if you disconnected their power during the fix.
What If the Door Still Binds? Troubleshooting Deeper Issues
Sometimes, straightening or swapping out a bent hinge isn’t enough. Doors can shift in their frames over time due to settling, humidity, or repeated “slamming shut” with your hands full of groceries. If your door still binds, here are a few things to try:
- Check for stripped screw holes: If the screws won’t tighten, fill the holes with wood glue and toothpicks (broken up) before reinstalling. Let dry for solid grip.
- Inspect the door itself: Warped doors or frames sometimes require planing or sanding. This is a bigger job, but not impossible for DIYers.
- Consider replacing with a heavy-duty hinge: Some doors (especially with smart locks or keypads) need stronger hinges. Upgrade to ball-bearing or security hinges if you notice repeated trouble.
- Test your lock: After re-hanging, code or re-pair your Yale, Kwikset, or Schlage remotes if you experience battery or connection issues. Troubleshooting remote pairing can prevent future lockouts.
Insight: Many binding doors are a mix of issues—part hinge, part frame, sometimes even worn-out weatherstripping. Go step by step, and tackle the simplest fix first before assuming you need a new door!
When to Replace Instead of Repairing a Door Hinge
There’s a point where repairs just aren’t worth the time. If your hinge is cracked, rusted through, or bent so badly it won’t lay flat even after hammering, it’s time for a replacement. Most standard hinges (like those for Schlage or Defiant exterior doors) are easy to find at any hardware store—just match the size and screw pattern.
Universal hinges work in a pinch if you can’t find your exact brand. The only trick: sometimes fancy finishes (brass, oil-rubbed bronze, etc.) or smart lock setups need a little extra care. In those cases, pair the new hinge with your hardware and double-check that everything resets, pairs, or codes correctly on the remote and lock system.
Replacing the hinge is as simple as removing the old one, lining up the new leaf, and screwing it in tight. For peace of mind, lubricate the pin again and check door swing several times. If you hear “clicking” or notice any play, tighten up again and make sure no screws are stripped or missing.
Tip: If your door has smart features, always test the remote, code sync, or battery after any repairs—troubleshooting is easier before you finish putting all your tools away!
Final Thoughts: Keeping Your Door Swinging Free and Easy
Repairing a bent exterior door hinge that’s causing binding is more common than you’d think, and it’s totally doable for most homeowners. The secret is to go step by step, use the right tools, and not rush. Whether you’re dealing with a classic keyed lock or a modern smart remote with pairing codes and battery backup, this fix gets your door swinging smoothly again and protects your home from weather, drafts, and stuck locks.
Honestly, these little jobs—fixing a hinge, adjusting a keyless lock, or syncing a remote—add up to a home that feels solid, safe, and comfortable. Keep an eye out for early signs of binding, and your doors will treat you well for years to come.