Let’s dive into how you can repair a bent door latch bolt yourself. You don’t need to be a handyman to tackle this, but a little patience and basic tools will go a long way. Think of it as a small adventure — you’re going to learn something new and solve a little problem that might be bothering you. Let me explain how to get started.
Identifying the Problem with Your Door Latch
Before you can fix anything, you need to understand what’s wrong. A bent door latch bolt is usually caused by the door being slammed, worn-out hardware, or misalignment. You might notice that your door doesn’t close properly or that it sticks when you try to lock it. Here’s how to identify the issue:
- Visual Inspection: Look closely at the latch bolt and the strike plate. Is the bolt straight, or does it have a noticeable bend?
- Door Alignment: Check if your door is hanging evenly. If it’s sagging, that could be part of the problem.
- Functionality Test: Open and close the door slowly. Does the bolt engage or disengage freely? If it gets stuck, you’ve likely got a bent bolt issue.
Once you’ve pinpointed the problem, you can move on to fixing that pesky bolt.
Gathering Your Tools and Materials
Repairing a bent door latch bolt doesn’t require a toolbox full of fancy gadgets. You’ll need just a few simple tools to get the job done. Here’s a quick list:
- Pliers: These will help you bend the bolt back into shape.
- Screwdriver: You’ll probably need this to remove the latch mechanism.
- Safety Glasses: Protect your eyes, especially when working with metal.
- Lubricant: A little oil can make moving parts work smoothly again.
Having everything ready before you start will make the process smoother. It’s like prepping for a small cooking project — once you have your ingredients, you can whip up something great.
Removing the Latch Mechanism
Now that you have your tools, it’s time to get into the nitty-gritty. To repair the bent bolt, you’ll need to remove the entire latch mechanism from your door. Here’s how:
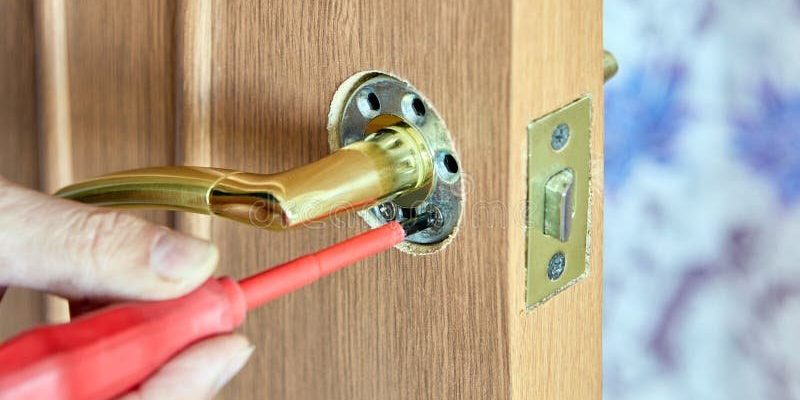
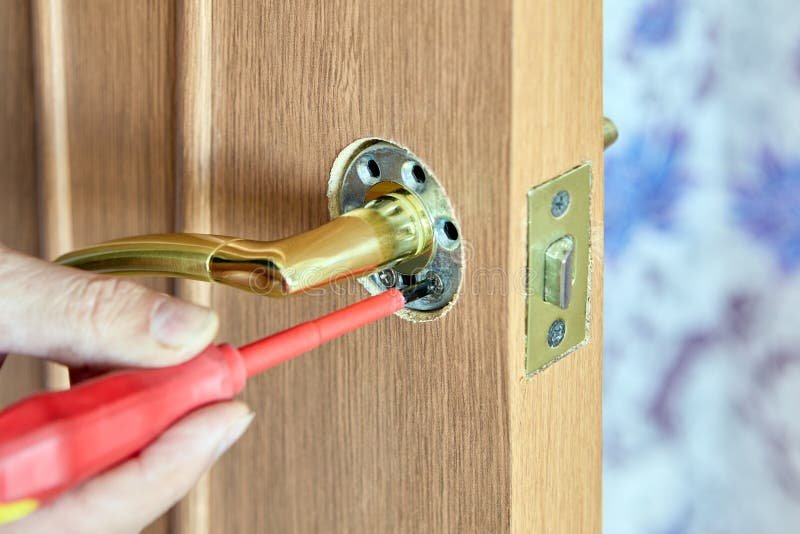
1. Unscrew the Latch Plate: Use your screwdriver to take out the screws holding the latch plate in place on the edge of the door. Set the screws aside in a safe spot so you don’t lose them.
2. Take Out the Bolt: Once the latch plate is free, gently pull the assembly out. Be careful not to damage any other components as you do this.
3. Inspect for Damage: Look at the entire mechanism for any other damage or wear. If everything else looks fine, you can focus on the bent bolt.
Removing the latch can feel daunting, but it’s a straightforward process. Think of it like taking the lid off a box to see what’s inside.
Fixing the Bent Bolt
Now comes the fun part — actually fixing that bent bolt! Here’s how to straighten it out:
1. Use Pliers for Bending: Grab the bolt with your pliers, close to the bend. Gently start bending it back into position. You want to be careful here; forcing it can cause it to snap.
2. Check for Straightness: Every couple of bends, hold the bolt up to your eye level. Make sure it’s straightening out, and don’t rush this step.
3. Lubricate the Bolt: Once it’s straightened, apply a bit of lubricant to ensure it slides smoothly when you reassemble it.
Taking the time to fix the bolt properly will pay off in the end. A well-functioning latch keeps your door secure and makes a difference you’ll notice every day.
Reassembling the Latch Mechanism
With the bolt fixed and lubed up, it’s time to put everything back together. This part is like putting the pieces back into a puzzle. Follow these steps:
1. Insert the Latch Assembly: Slide the bolt back into the door, ensuring it fits snugly.
2. Screw the Latch Plate Back: Using the screws you set aside earlier, reattach the latch plate to the door edge. Make sure it’s secure but don’t overtighten and strip the screws.
3. Test the Mechanism: Give the doorknob a turn and check if the latch engages properly. It should move freely without any sticking.
Reassembling the latch can sometimes be tricky, but with patience, you’ll have it done in no time. If it doesn’t work the first time, don’t worry! Take a moment to check everything again.
Preventing Future Issues
Now that you’ve successfully repaired the bent door latch bolt, you might be wondering how to prevent this from happening again. Here are some tips to keep in mind:
- Avoid Slamming Doors: It sounds simple, but being mindful when closing your doors can save a lot of headaches.
- Regular Maintenance: Check your doors periodically for any signs of wear. Tighten screws if they’re loose, and keep everything lubricated.
- Correct Installation: If doors are improperly installed, they can lead to misalignment. Make sure your doors are hung correctly!
By being proactive, you can keep your doors operating smoothly. It’s like regular oil changes for a car; a bit of diligence goes a long way!
Repairing a bent door latch bolt may seem like a minor task, but it plays a significant role in maintaining your home’s functionality and security. With a few basic tools and the steps laid out above, you can tackle this project confidently. Remember, this small repair not only helps your door function better but also saves you from costly repairs down the road.
Now that you’re equipped with the knowledge to fix that bend, roll up your sleeves and get to work on your door! Before you know it, you’ll be opening and closing that door like it’s brand new. Happy fixing!