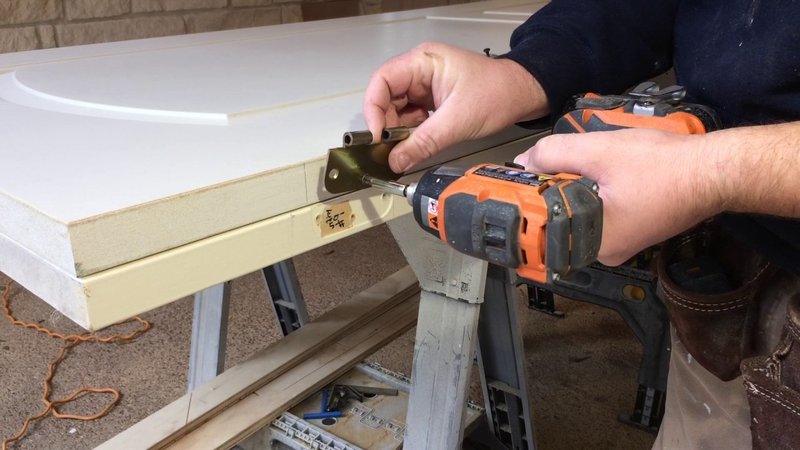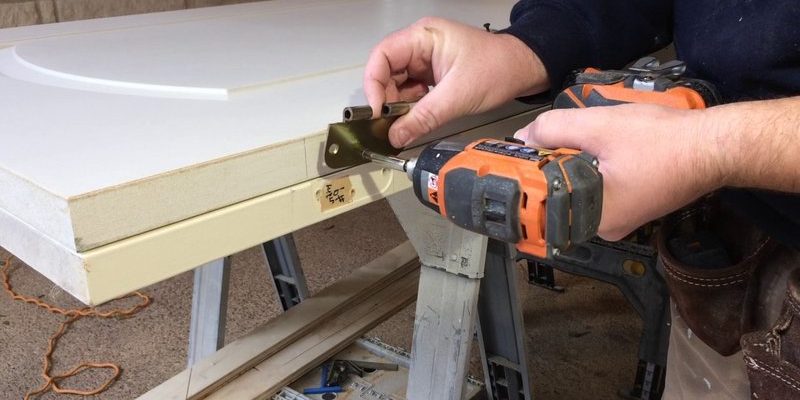
Think of a hollow core door like a sandwich. It looks solid on the outside, but inside, it’s mostly air. This is where reinforcement comes into play. Whether you’re working with a standard knob or a more complicated deadbolt system, securing those components effectively is essential for both function and security. So, grab your tools and let’s dive into how to do this right.
Understanding Hollow Core Doors
Before you start installing, let’s take a moment to understand what hollow core doors are made of. These doors typically consist of a thin layer of wood or composite material on the outside, with a honeycomb or cardboard structure inside. This design saves weight and cost but also means they can be less sturdy than solid doors.
When you’re ready to install hardware, keep in mind that pushing screws into a hollow door can cause it to weaken over time. If you want your hardware to stay in place, you’ll need to reinforce the door where you’ll be installing the hardware. This can mean adding extra support that ensures the screws won’t just pull through the material.
Tools You’ll Need
Gathering the right tools before you start is key to a smooth installation. Here’s a list of what you’ll need:
- A drill with drill bits
- Screwdriver (manual or electric)
- A measuring tape
- A level
- Wood filler or a reinforcing kit (if necessary)
- Your chosen door hardware (handles, knobs, locks)
Make sure each tool is in good condition before you start. A drill that jams or a rusted screwdriver can lead to frustration and may even damage your door. Trust me—a little preparation goes a long way!
Choosing the Right Hardware
Now that you have your tools ready, it’s time to choose the right door hardware. If you’re looking at locks, you might wonder whether to go for a deadbolt or a simpler knob. Here’s the thing: if security is a priority, a deadbolt is generally more reliable. However, if it’s just a closet door you’re dealing with, a basic knob can do the job just fine.
When selecting hardware, make sure it fits the thickness of your door. Most hollow core doors are around 1 3/8 inches thick, but it can vary. Always check the packaging for recommendations and specifications. You want your hardware to fit perfectly to avoid any hiccups during installation.
Preparing the Door for Installation
Once you have your hardware picked out, it’s time to prepare your door. Start by marking where you want the hardware to go. Use a measuring tape to ensure even spacing and a level to keep everything straight.
If you’re installing a lock, mark the location for both the bore hole (the hole for the knob) and the strike plate (the metal piece on the frame that the latch hits). It’s crucial to make these marks clear and accurate since small miscalculations can lead to problems later on.
You might also want to reinforce the area where the hardware will be mounted. Consider using wood filler or a reinforcing kit specifically designed for hollow doors. This helps to provide a solid anchor for your screws, making the installation much more secure.
Installing Door Hardware Step-By-Step
Installing the hardware involves a few steps, but don’t worry—it’s manageable. Here’s a simple guide to follow:
1. Drill the Bore Holes: Start with the bore holes for the knob or lock. Use a hole saw bit that matches the size of your hardware. Drill slowly to prevent chipping the door surface.
2. Install the Latch: For a deadbolt, install the latch first. Align it with your marked spot and secure it using screws. Make sure it’s flush with the door surface.
3. Mount the Knob or Lock: Next, insert the knob through the bore hole and secure it on the other side. Tighten the screws until they’re snug, but don’t over-tighten—you could crack the surface.
4. Attach the Strike Plate: Finally, install the strike plate on the door frame. Make sure it aligns with the latch to ensure proper locking functionality.
Don’t rush through this process. Take your time, and double-check your work as you go.
Testing Your Installation
After the installation, it’s time to test your work. Close the door and check to ensure that the hardware functions correctly. Does the knob turn smoothly? Does the lock engage and disengage without resistance? It’s easier to make adjustments now rather than waiting until later.
If something feels off, don’t hesitate to try loosening and then retightening the screws. Sometimes, a simple adjustment can make all the difference. Pay close attention to how the latch clicks into place against the strike plate—this is an essential part of the security setup.
Troubleshooting Common Issues
Even if you follow all the steps, you might run into some common issues. Here are a few troubleshooting tips:
– If the knob is loose: You might need to tighten the screws a bit more or check if the latch is aligned correctly.
– If the lock jammed: Ensure that there’s no debris in the hole. Sometimes, even a tiny bit of dust can cause issues.
– If the door doesn’t close properly: There may be an alignment issue. Open the door slightly and inspect the hinges and frame to see if the door is hung straight.
By taking a little extra time to troubleshoot, you can ensure your newly installed door hardware will work smoothly for years to come.
Final Thoughts on Door Hardware Installation
Installing door hardware on a hollow core door doesn’t have to be a daunting task. With a clear plan and the right tools, you can do it yourself and save some cash. Just remember to reinforce your door where needed and take things step by step.
You’ve got this! By understanding the structure of hollow core doors, choosing the right hardware, and following these installation tips, you’ll have a securely functioning door that looks great. Plus, there’s something satisfying about completing a home improvement project yourself. Happy installing!
