A tap and die set, like the well-known Irwin Hanson model or Tekton’s classic set, is a must-have for anyone who spends time around metal parts. They don’t just help you fix what’s broken; they actually let you create new threads, repair old ones, and make things work like new again. Let me explain how you can use these tools—even if you’re brand new to the world of threads and fasteners.
What Is a Tap and Die Set, and How Does It Work?
A tap and die set is basically the hero kit for fixing or creating screw threads in metal. Here’s the thing: every bolt and screw relies on tiny grooves called threads to stay put. When those grooves wear out or get stripped, the connection becomes loose—sometimes completely useless. That’s where taps and dies come in.
Taps are for cutting or repairing the threads inside a hole (the “female” part—think screw holes or nuts). They look a bit like a twisted drill bit, but they carve out those neat little spirals that screws love. On the flip side, dies are for fixing or making threads on the outside of a rod or bolt (the “male” part). A die has a hole in the middle with sharp edges arranged in a perfect circle. You twist it over a rod, and it cuts new threads as it goes.
Most tap and die sets (like the Irwin Hanson set I mentioned) come with a range of sizes, marked in metric or SAE. They also include handles—called tap wrenches and die stocks—that give you the grip and leverage you need to turn the tap or die bit. Honestly, if you know how to twist open a bottle cap, you can get the hang of these tools.
Why Threads Strip—and When To Use a Tap and Die Set
You might be wondering, “Why do threads even strip in the first place?” Well, it’s usually because of one of three things. First, overtightening a bolt or screw can flatten or tear out the threads—think of it like crossing out the lines in a coloring book because you pressed too hard. Second, rust and corrosion eat away at metal, making the grooves weak and crumbly. Third, cross-threading (when things go in at the wrong angle) can ruin the spiral pattern in seconds.
If you catch yourself with a stripped screw hole, don’t panic. A tap and die set lets you:
- Restore damaged threads—so existing bolts fit snug again
- Clean out rusty or painted-over threads
- Create entirely new threads in a blank hole or rod
Honestly, the feeling of fixing a “lost cause” with a tap is pretty satisfying. You’re not just patching things up—you’re bringing them back to life with a more permanent solution than glue or oversized bolts.
Gathering Tools and Getting Set Up
Before you start, you’ll need a few things. Besides your tap and die set (let’s say you’ve got a Tekton or Irwin set handy), have these ready for the smoothest experience:
- Cutting oil (or at least a light machine oil) for lubricating
- A wrench or tap handle from your set
- A wire brush for cleaning threads
- A drill (only if you need to enlarge or reset a hole—otherwise, not always needed)
- Safety goggles—because, honestly, metal shavings are no joke
Pick a clean, well-lit area to work. Spread out your tools so you’re not scrambling. Trust me, crawling around on the garage floor looking for a lost screw is the last thing you want.
Choosing the Right Tap or Die Size
Here’s where beginners often get nervous, but it’s simpler than it looks. Find the original thread size by matching the bolt to the dies in your set—there are usually size charts included. If you’re fixing a hole, use the tap that matches the bolt size you want to fit. If you’re repairing a bolt, use the die that fits snugly on the shaft. A gentle test-fit is better than guessing and risking further damage.
How To Use a Tap to Repair Stripped Internal Threads
Let’s say you’ve got a stripped hole in a piece of metal. Using a tap to bring those threads back is a systematic process—but it’s not rocket science. Here’s how I do it:
Step 1: Clean the Hole
Use a wire brush or compressed air to get rid of any debris, rust, or old metal shavings. The cleaner the hole, the better the tap will cut new threads.
Step 2: Choose and Prep the Tap
Match your tap size to the bolt you want to use. A little cutting oil on the tap is a game-changer for smooth cutting and longer tool life.
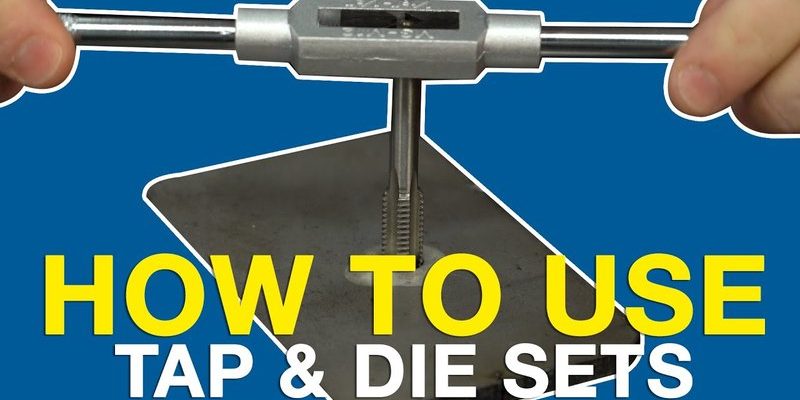
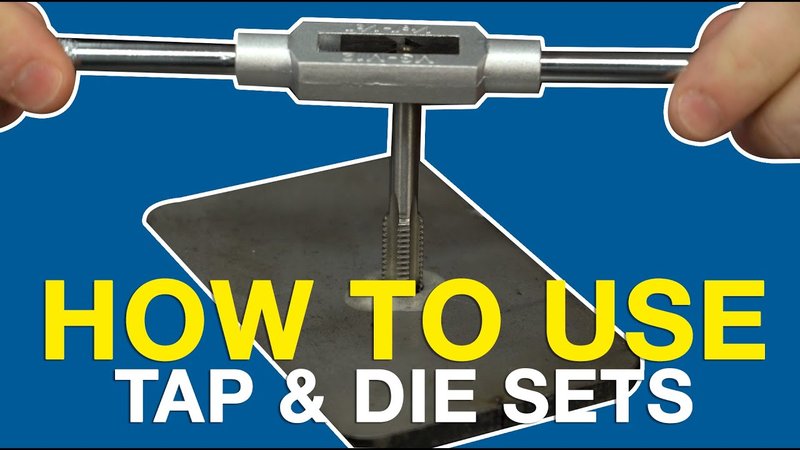
Step 3: Align and Start Tapping
Place the tap in the tap wrench. Insert the tip into the hole, keeping it as straight as possible. Here’s the thing—going crooked can ruin the job. Turn the tap slowly, applying gentle downward pressure until you feel it bite.
Step 4: Cut the Threads
Turn the tap clockwise (righty-tighty) about half a turn, then twist it back a quarter turn every so often to break up and clear the metal chips. You’ll feel resistance—that’s normal. Add a bit more oil if it feels sticky.
Step 5: Back Out and Clean
Once you’re through, twist the tap out gently. Brush out the hole and test-fit your bolt. If the bolt threads in smoothly, you nailed it!
If you feel the tap getting stuck, don’t force it. Just back out, clear the hole, and try again. Patience pays off.
Using a Die to Fix Damaged External Threads
Now let’s talk about repairing the threads on a bolt or rod—maybe you cross-threaded a bolt trying to fix your bike, or the end’s gotten chewed up over time. The process is similar, but with its own quirks.
Step 1: Clean the Bolt or Rod
Wipe off any dirt, grease, or rust. If the threads are really mangled, a file or small grinder can help smooth them before you start.
Step 2: Choose the Right Die
Dies come in lots of sizes and pitches. Slide the die over the bolt and check for a snug fit. The right size should thread on easily but not wobble.
Step 3: Lubricate and Start Cutting
A drop of cutting oil on the threads makes everything smoother. Place the die into the die handle, line it up with the end of the bolt, and start turning it—slow and steady, keeping it straight.
Step 4: Clean and Test
Back off every few turns to clear out metal shavings, then run the die all the way down and off. Brush the threads clean and see how your bolt fits back into the hole.
If you have a stubborn spot, don’t muscle through it. Sometimes a few gentle passes work better than one hard shove.
Tips for Preventing Stripped Threads in the Future
Honestly, fixing threads is rewarding, but it’s even better if you never have to. Here are a few things I always keep in mind to keep threads healthy:
- Don’t Overtighten: Hand snug plus a little twist is plenty for most bolts—you don’t need to break out the Hulk strength.
- Use Anti-Seize or Oil: A dab helps prevent rust and binding, especially on outdoor or automotive fasteners.
- Start Fasteners by Hand: Get things lined up by hand before grabbing the wrench. If the bolt doesn’t want to go in, don’t force it—it probably means the threads aren’t lined up.
- Keep Threads Clean: Dirt, grit, and rust are the enemies of smooth threading. A wire brush is your best friend.
These little habits go a long way—trust me, your future self will thank you.
Comparing Tap and Die Sets: Brand and Type Differences
You might be wondering if a fancy set is necessary, or if any hardware store kit will do. In my experience, brands like Irwin Hanson and Tekton are super reliable—they use hardened steel, which stays sharper longer. Cheaper sets can work for the occasional job, but they might struggle on tougher metals or wear out faster.
There are also differences between metric and SAE (imperial) sets. If you’re mainly fixing American-made stuff, SAE sizes are standard. European or Japanese parts? Metric is usually the way. Many sets include both, which is honestly the most convenient if you work on a variety of projects.
Some sets even come with extra bits, like screw extractors or alignment tools. If you’re serious about working with threads, look for a set that covers the sizes you’ll need most.
Alternatives and When a Tap and Die Set Isn’t Enough
Sometimes, things are too far gone for even the best tap and die set. If the hole is stripped out so badly there’s nothing left to cut into, you might need to try a different tactic. Here are two common alternatives:
- Helicoil inserts: These are little coil springs that screw into the oversized hole, creating new threads for your bolt. They’re great for softer metals like aluminum.
- Oversize fasteners: If there’s enough material, you can drill a larger hole and tap it for a bigger bolt (but this isn’t always practical).
Sometimes, if the part is cheap or easy to swap, a replacement might be the best bet. But for cherished pieces or tough repairs, knowing how to use a tap and die set is a real lifesaver.
Wrapping Up: Mastering the Art of Thread Repair
Repairing stripped metal threads might seem daunting at first, but with a good tap and die set and a bit of patience, it’s totally doable. Whether you’re fixing a table, working on your car, or just trying to salvage an old tool, these skills let you bring things back from the brink—and keep them working for years to come. Next time you’re faced with a spinning, stripped bolt, grab your tap and die set, take a deep breath, and get to work. You’ll be glad you did.