
Imagine standing in front of your door, tools scattered around like a carpenter’s workshop. You’ve got everything you need, but without the right guide, it can feel a bit overwhelming. That’s where the template comes in. It helps ensure that your strike plate is in the right spot, allowing your door to close securely and function properly. Let’s break down how to use a strike plate template, step by step, so you can tackle this project like a pro.
What Is a Strike Plate Template?
A strike plate template is a simple tool designed to help you accurately position a strike plate on your door frame. Think of it as a stencil that holds your strike plate in place while you mark the right spots for drilling. It takes the guesswork out of installation, ensuring everything aligns perfectly.
Most strike plate templates are made from sturdy materials like plastic or cardboard and feature cutouts that match the shape of the strike plate. When you use a template, you don’t have to worry about measuring and marking your door frame multiple times. Instead, you can just line it up, mark your spots, and get to work.
Getting the template right is crucial because if the plate isn’t aligned correctly, your door won’t latch properly. It might stick, wobble, or even get damaged over time. So, having a reliable template is like having a safety net in your corner.
Gathering Your Tools
Before diving in, let’s round up the tools you’ll need for this project. Here’s a handy list to help you prepare:
- A strike plate template
- A pencil
- A drill
- Wood screws (that match your strike plate)
- A screwdriver
- A tape measure
Having the right tools on hand makes the job simpler and more efficient. You wouldn’t want to be halfway through your project and realize you’re missing something important, right?
Here’s the thing: having a good-quality drill and a sharp drill bit will make a huge difference in how smoothly you can install the strike plate. A dull bit can cause splintering in the wood, which may mess up the whole installation.
Measuring and Marking the Right Spot
Once you’ve gathered your tools, it’s time to measure and mark where your strike plate will go. Here’s how to do it:
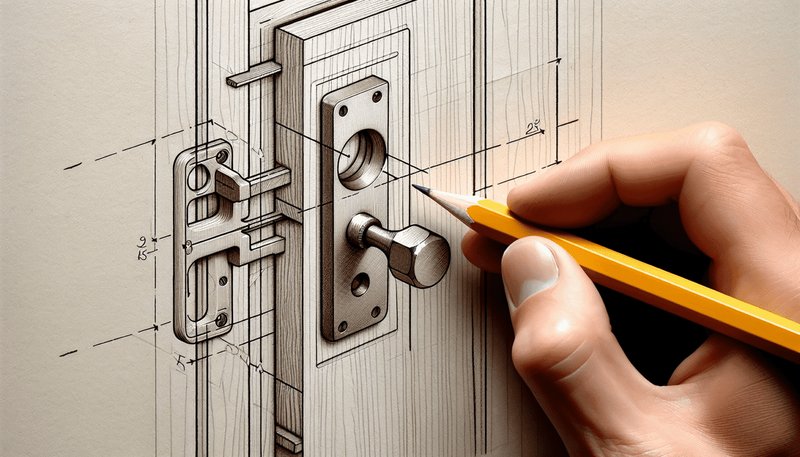
1. Align the Template: Place the strike plate template against the door frame. Make sure it sits flat against the wood and is aligned with the edge of the door.
2. Mark the Holes: Using your pencil, trace around the edge of the template, marking where the holes will go. This step is crucial, so take your time here.
3. Double-Check Your Work: Before moving on, step back and ensure everything looks right. It’s easy to overlook small details, which can lead to bigger problems later.
Making sure your markings are accurate will save you time and frustration during installation. If the marking is off, the strike plate won’t line up with the latch, which defeats the whole purpose.
Drilling the Holes
Now comes the fun part—drilling! Follow these steps to get it right:
1. Choose the Right Drill Bit: Use a bit that matches the size of the screws for the strike plate. A too-small hole means the screws won’t fit, while a too-large hole can make things wobbly.
2. Drill Carefully: Start drilling at the marked spots, applying gentle pressure. Keep the drill straight to avoid creating angled holes.
3. Clean Up: After you’re done drilling, clean out any wood shavings. A clean workspace not only looks better, but it’s also safer.
If you’re drilling into tougher materials, like hardwood, be prepared to use a bit more force. But take care not to push too hard, or you may splinter the wood.
Installing the Strike Plate
Now it’s time to install the strike plate. Here’s how:
1. Position the Plate: Line the strike plate up with the holes you’ve drilled.
2. Insert Screws: Place the screws through the holes in the strike plate and start turning them with your screwdriver. Don’t tighten them all the way just yet; you want to keep the plate adjustable for a moment.
3. Align and Tighten: Close the door to check the alignment. Adjust the plate if necessary, then tighten the screws fully once you’re satisfied with the fit.
Taking a moment to check the alignment before fully tightening the screws can save you from needing to make adjustments later. You might find that slight tweaks can make a big difference in how smoothly your door opens and closes.
Test Your Installation
After everything is installed, it’s time for the moment of truth: testing. Here’s how to ensure everything works smoothly:
1. Open and Close the Door: Swing the door open and shut a few times to see how the latch interacts with the strike plate.
2. Check for Gaps: Look for any gaps between the door and the frame. If it’s not closing properly, you may need to make minor adjustments to the plate.
3. Ensure Security: Make sure the door locks securely. A well-installed strike plate won’t just help with convenience; it also enhances your home’s security.
A quick test can save you stress later on. If the latch isn’t catching properly, it could lead to problems down the line, so don’t skip this step.
Common Issues and Troubleshooting
Sometimes things don’t go according to plan, and that’s perfectly normal. Here are a few common issues you might face, along with simple solutions:
1. Misalignment: If the door doesn’t latch, first check the alignment of the strike plate. You can loosen the screws slightly and adjust it as needed.
2. Too Tight: If the door is hard to close, the strike plate might be too high or low. Loosen it and reposition it until the door closes smoothly.
3. Worn Out Plates: Over time, strike plates can wear down. If you notice excessive wear, it might be time to replace it.
Addressing these common issues early can prevent further damage and ensure your door operates smoothly.
In the end, using a strike plate template for new installations is a handy way to improve your home’s functionality. By following these steps, you can feel confident in installing and troubleshooting your door hardware. So, gather your tools, take your time, and soon you’ll have everything working seamlessly. Happy installing!