Instead of blindly poking around and risking damage, you can send in a tiny camera on a flexible cable and get a real-time video feed on your phone or laptop. It almost feels like you’ve got x-ray vision, only cheaper and without all the comic book drama. If you’re new to the world of inspection cameras, don’t stress—using one is easier than wiring a universal remote, and a lot less intimidating than it sounds. Let me explain exactly how to do it, step by step, so you can troubleshoot sticky locks, track down weird noises, and get your hardware sorted out without a call to a locksmith.
What Is a Small Inspection Camera and Why Use One?
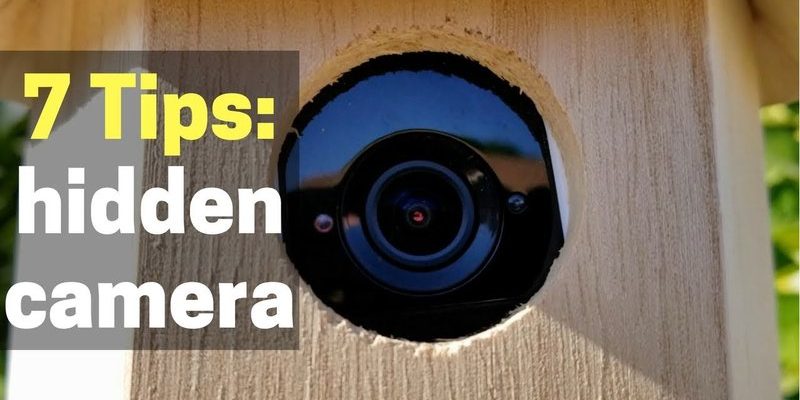
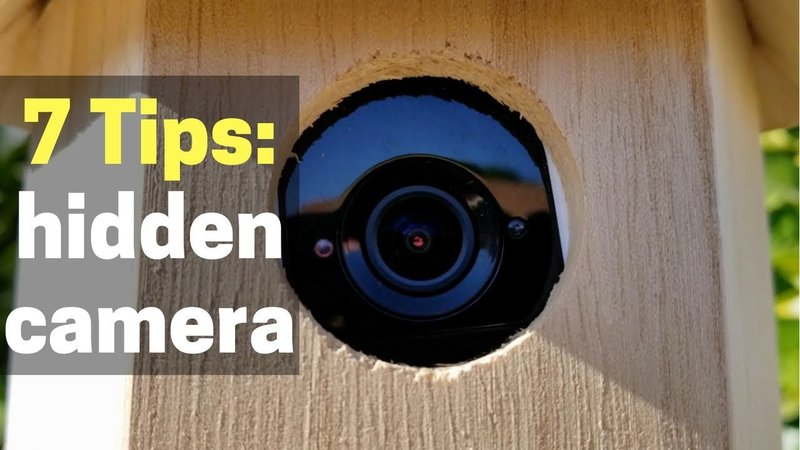
If you’re picturing a high-tech gadget only plumbers or car mechanics would use, you’re not alone. A small inspection camera—also called an endoscope or borescope—is a slim camera attached to a long, flexible cable. You plug it into your smartphone, tablet, or computer, and the camera sends live video back to your screen. Some even have built-in LED lights to help you see in dark, cramped spaces. Honestly, it’s like a selfie stick for places you never want to put your face.
Here’s the thing: exterior door hardware isn’t always easy to inspect with the naked eye. If you’ve got stubborn locks, tricky mechanisms, or hardware tucked behind doorframes or weatherstripping, an inspection camera is the perfect tool. It lets you troubleshoot issues without prying off panels, unscrewing everything, or damaging the door.
You might be wondering, is this really necessary? If you’ve ever tried to fix a sticky deadbolt, replace a battery in a keypad lock, or check why your lock isn’t syncing with your remote system, you know how tough it gets when you can’t see what’s going on. Using a small camera cuts out the guesswork and saves a lot of frustration—not to mention money on unnecessary service calls.
Plus, these cameras aren’t expensive or hard to use. Brands like Depstech or Teslong make plug-and-play models that work with most modern smartphones and computers. In fact, it feels similar to connecting a universal remote—just plug it in, open the app, and you’re good to go.
How to Set Up Your Small Camera for Door Hardware Inspection
Getting started usually takes less than five minutes. Honestly, if you can connect Bluetooth headphones or pair a basic remote, you can handle this.
- First, unbox your camera and check what’s included—usually a camera probe, a USB or micro-USB/Lightning cable, and sometimes a few clip-on accessories (like hooks or magnets).
- Download the recommended app from the manufacturer onto your smartphone or computer. With Depstech, for example, it’s often called “Depstech-View.”
- Plug the camera into your device. You might need an adapter if your phone doesn’t have a USB port (Apple users, I’m looking at you).
- Fire up the camera app. You should see the live video feed—wiggle the camera and check for a clear image. Most cameras let you adjust the built-in LED lights right from the app or a small dial on the cable.
- Test the controls: Try the light adjustment, photo or video capture buttons, and see how the camera responds as you bend the cable.
If you run into problems—say the feed is dark or won’t sync—double-check your phone’s permissions (it might be blocking access to the camera/USB port), or try a quick reset by unplugging and plugging the camera back in. Many hiccups are solved by a simple restart.
Finding the Right Access Points on Your Exterior Door
You might be staring at your door wondering, “Where do I even put this camera?” The trick is to look for gaps, screw holes, or small openings around your locks, latches, or handles—anywhere you can slip the camera cable without damaging anything.
Let me walk you through the usual suspects:
- Check around the lock cylinder or deadbolt area. Sometimes there’s a small gap between the hardware and the door, especially if the weatherstripping is flexible.
- If your door has a peephole, you can often remove it and insert the camera for a clear view of the interior mechanism.
- Look for removable cover plates or escutcheons on the handle set; these often pop off with gentle pressure or a thin screwdriver.
- Some exterior doors have small drainage or inspection holes along the bottom edge. These are perfect for sliding in a slim camera probe.
Be gentle—don’t force the camera anywhere it doesn’t fit. If you need to, take out a screw or two to make a little more space. And if you’re dealing with electronic door hardware or remotes that require battery changes or resets, the camera can help you see small reset switches, syncing buttons, or battery compartments without complete disassembly.
Step-by-Step: Inspecting Hidden Hardware With a Small Camera
Alright, here’s how to actually use the camera to check out your door’s hidden parts:
- Lightly clean the area where you’ll be inserting the camera. Dirt or debris can smear the lens and make the image useless.
- Slowly insert the camera cable into the gap or hole you’ve chosen. Keep an eye on your device’s screen to watch the live feed—it’s a bit like threading a needle, but with instant video feedback.
- Move the camera gently, using small rotations or gentle pushes and pulls. The flexible cable should bend around corners, giving you a complete view of the mechanics inside.
- Turn on the camera’s LED lights if it’s dark. You’ll be able to see details like springs, gears, or broken parts that would otherwise be hidden.
- If you spot a problem—like a loose screw, jammed latch, or corroded wire—mark the location on the door’s outside using a bit of painter’s tape as a reference for repairs.
- Capture photos or video if you need to share the problem with a locksmith, your landlord, or a hardware store expert.
Don’t rush. Take your time to scan the whole area, especially if you’re troubleshooting something weird like a lock that won’t pair with its remote, or if you want to double-check the code reset buttons inside an electronic lock.
If the camera fogs up or the video is blurry, gently clean the lens with a soft cloth. Avoid using water or harsh cleaners—they can damage delicate electronics!
What Can You Actually See (and Fix) With an Inspection Camera?
You might be surprised how much you can spot with a good look inside your door hardware. Even a budget camera will show:
- Bent or broken lock mechanisms: If your lock feels gritty or won’t turn, the camera might reveal a stuck latch or bent piece you couldn’t otherwise see.
- Batteries and electronics: For smart locks, you can scope out battery compartments, check wiring, or look for loose connections. If your remote isn’t syncing, the camera can spot buttons or ports inside the lock body.
- Dirt and debris: Sometimes, a little sand or dust is all that’s jamming a mechanism. You’ll see it on the live feed, and maybe even fish it out using a tiny hook attachment (included with some cameras).
- Missing or loose screws, springs, or pins: Instead of guessing where that rattle is coming from, the camera can pinpoint exactly what’s out of place.
Here’s the thing: not everything you find can be fixed without some disassembly, but knowing what’s wrong is half the battle. You’ll know whether it’s a quick fix—like an easy battery reset or re-syncing a remote—or if you need to call in the pros.
Tips for Using Your Camera Safely and Effectively
Using a camera probe is safe, but a little caution never hurts.
- Don’t force it: If the camera doesn’t fit, find another access point. Forcing the cable can bend pins, scratch lenses, or even get stuck inside.
- Check your device’s battery: Live video drains power fast. Make sure your phone or computer is charged, or keep a power bank handy.
- Watch for weather: If you’re inspecting an exterior door on a rainy day, make sure your electronics stay dry. Water and electronics are not friends.
- Clean up after: If you removed any screws or hardware, replace them carefully. Double-check that no loose parts were pushed deeper inside during the process.
If you’re troubleshooting a lock that works with a remote or requires syncing, use the camera to spot tiny reset or pair buttons inside the mechanism. This is especially useful with smart locks that hide their controls behind panels. A camera makes it way easier to locate the right spot so you don’t damage anything by poking blindly.
How Does This Compare to Just Taking the Door Apart?
You might be tempted to just unscrew the whole lock set or pop the door off its hinges when you can’t figure out what’s wrong. But honestly, using a small camera is safer, faster, and less stressful.
It’s the difference between opening a can of soda with the tab and stabbing the top with a screwdriver—it technically works, but one way makes a lot less mess.
If you take the door hardware apart and don’t know exactly what’s inside, you risk dropping springs, damaging alignments, or even voiding warranties. With a camera, you can look before you leap, so you know exactly which screws to remove or just skip the hassle entirely if the fix is minor.
And while you could call a locksmith right away, many minor issues—like a reset button that won’t press, a stuck battery, or a missing sync button—are easy to spot and explain with a quick camera inspection. Plus, if you need to send photos to support or a repair pro, you’ve got visual proof of what’s happening.
Alternatives: When a Small Camera Isn’t Enough
There are a few situations where even the most flexible camera can’t solve your problem:
- The internal damage is too deep or hidden behind non-removable panels.
- You see obvious signs of rust or broken wires that require a full replacement, not a quick fix.
- The gap is too small for any standard camera probe (most are about 5–8mm wide).
- You’ve identified a major electronic fault that needs professional tools to reset or re-sync the lock and remote system.
In those cases, you might have to bite the bullet and remove the hardware—or call a pro. But honestly, most simple issues (like battery swaps, stubborn latches, or stuck reset buttons) are easy DIY repairs once you spot them.
Some high-end locks or doors might require special tools or proprietary codes to reset or pair remotes. If you run into that, don’t force it—look up the specific brand’s instructions or reach out to their support before making things worse.
Wrapping Up: Why a Small Camera Is Your New Secret Weapon
If you’re dealing with sticky locks, stubborn remotes, or mysterious hardware problems on your exterior door, a small inspection camera can save you time, money, and a whole lot of swearing. It’s like gaining night vision and superhuman reach in one go. Instead of guessing what’s inside or risking damage, you get a clear look at exactly what’s happening—whether it’s a jammed latch, a buried reset button, or a loose battery terminal.
With the right camera (the Depstech and Teslong models are easy favorites), just a little patience, and a careful approach, you’ll be able to diagnose and even fix many common hardware issues yourself. Next time your lock won’t budge, or your smart lock remote won’t sync, remember: sometimes you just need to look a little closer. That’s where your trusty, small camera comes in handy—helping you solve problems without ever opening up Pandora’s box.