Using a shim kit can seem daunting if you’ve never done it before, but trust me—it’s not as complicated as it sounds. Imagine you’re trying to fit a puzzle piece into the wrong spot. With a shim kit, you can make the necessary adjustments for that perfect fit, ensuring your door latches smoothly every time. In this guide, we’ll walk through the steps to adjust your strike plate’s depth with a shim kit, turning a frustrating problem into a quick fix.
Understanding Shim Kits and Strike Plates
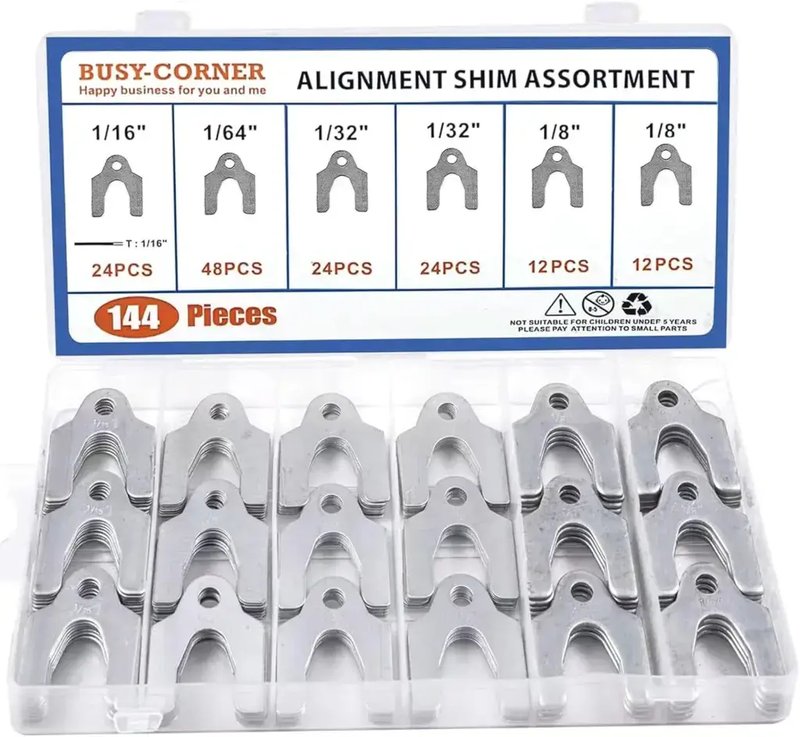
First, let’s break down what a shim kit and a strike plate actually are. A shim kit generally contains various thin pieces of material, usually made of wood or plastic, designed to fill gaps and provide support. These nifty little pieces are used across construction projects but are particularly useful for adjusting strike plates. The strike plate, on the other hand, is the metal plate installed on the door frame to receive the door latch. It’s usually secured with screws and can be moved with a little bit of effort.
You might be wondering why adjusting the strike plate’s depth is important. If the plate is too deep, the latch won’t catch effectively, which can leave your door vulnerable. Conversely, if it’s too shallow, you might have trouble closing the door or risk damaging the latch. The right placement keeps your door secure and functioning smoothly. Getting it right can save you time, money, and a lot of headaches in the long run.
Gathering Your Tools
Before we dive into the actual adjustment process, let’s gather the tools you’ll need. Here’s what you will typically need:
- A shim kit (which can be found at most hardware stores)
- A screwdriver (usually a Phillips or flathead, depending on your screws)
- A tape measure (for precise measurements)
- A level (to ensure everything is straight)
Having the right tools makes the job easier and less time-consuming. Think of it like preparing for a big cooking project—you wouldn’t start baking a cake without measuring cups and a mixer, right? Similarly, if you want this project to go smoothly, gather everything you need ahead of time.
Assessing the Current Situation
Before making any adjustments, take a good look at how your door is functioning. Is it difficult to close? Does it stick? Or does it latch but feel loose? Understanding the issue can guide you on how much adjustment is needed.
Open and close your door several times. Use a level along the edge of the door frame to check if anything seems off. The goal here is to determine whether the strike plate is positioned correctly—essentially, whether it’s too deep or not deep enough. Take note of the measurements and how the door behaves before you’re ready to dive into the adjustments.
Preparing to Adjust the Strike Plate
Once you’ve assessed the situation, it’s time to prepare for the actual adjustment. Start by removing any screws holding the strike plate in place. It can be helpful to keep these screws in a small container or magnetic dish so they don’t get lost.
If the strike plate feels rusted or stuck, don’t force it; instead, you might need some lubrication to loosen it up. A little bit of WD-40 or similar lubricant should do the trick. Let it sit for a few minutes, then try again.
Using the Shim Kit
Now comes the moment you’ve been waiting for: using the shim kit! Start by selecting the right shim from your kit. Depending on how much adjustment you need, you might go with a thicker or thinner shim.
Here’s how to do it:
1. Insert the shim: Slide the shim between the strike plate and the frame. Make sure it’s snug but not overly tight.
2. Reattach the strike plate: Align the holes in the strike plate with the frame and attach it using your screws.
3. Test the door: After securing the plate, open and close the door again. Pay attention to how smoothly it latches.
If the door still doesn’t latch properly, you may need to add more shims or adjust their placement slightly. It’s all about trial and error until you find that sweet spot where everything feels secure.
Final Checks and Adjustments
After making the adjustments, it’s crucial to double-check everything. Use your tape measure again to verify that the alignment is even and the depth feels correct.
Run a quick check with your level, too. If your shim placement is off, it may lead to more problems down the road. It’s better to spend a little extra time now than to come back to this issue later.
Finally, close the door and listen for any sounds that indicate it’s not latching properly. If all is well, you’ve effectively used the shim kit to adjust your strike plate’s depth!
Common Issues and Troubleshooting
Even with careful adjustments, you may run into some common issues. For example, if you find that your door still sticks after you’ve adjusted your strike plate, it might not be just the strike plate that’s the problem. Sometimes, the hinges might be misaligned or worn out.
Additionally, if your door is still difficult to close, check for warping in the door itself—this can happen due to changes in humidity or temperature. In such cases, other adjustments might be necessary, or it may even be time to consider replacing the door.
Should you find that it’s a persistent issue, don’t hesitate to consult with a professional. They can provide insights and repairs that might be outside your DIY comfort zone.
Closing Thoughts
Using a shim kit to adjust a strike plate’s depth is a straightforward process that can have a big impact on your door’s functionality. With the right tools, patient adjustments, and keen observation, you can make your door latch securely, giving you peace of mind. So, the next time your door feels off, don’t stress—grab your shim kit, and dive into the fix. You’ve got this!