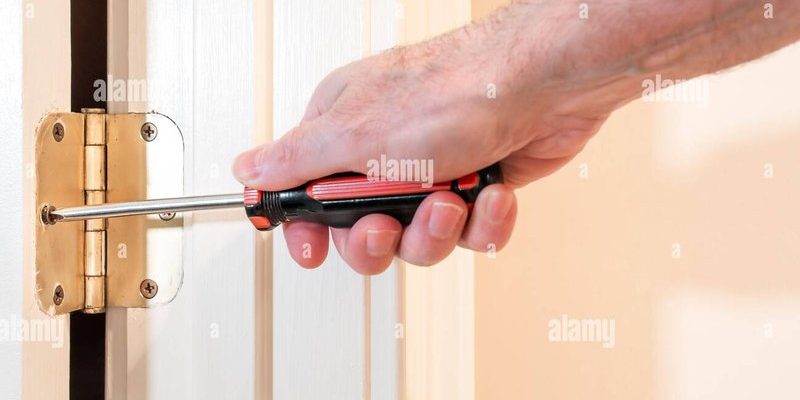
Think of a screwdriver as the Swiss Army knife of basic home repair. It’s the first thing you reach for when something’s loose, stuck, or out of place—especially with brands like Schlage, Kwikset, or Yale, where most parts are held together with standard screws. If you’ve never tackled a door hardware fix before, don’t stress. Most repairs are less about brute force and more about patience, gentle hands, and knowing exactly where to twist.
Here’s the thing: understanding how to use a screwdriver properly can be the difference between saving the day and making the problem worse. Let me walk you through the whole process, step by step, so you’ll know exactly what to do the next time your exterior door hardware acts up.
Why Exterior Door Hardware Needs Repair
Door hardware—think knobs, handles, locks, and deadbolts—faces the elements every single day. Rain, sun, heat, and cold all team up to wear down metal, dry out lubricants, and loosen screws. Over time, this leads to common problems, like a handle that’s loose, a lock that sticks, or even a deadbolt that won’t budge when you need it most.
You might be wondering: is it really just normal for things to get loose or break? Honestly, yes. Even the most reliable brands like Kwikset or Schlage will need some care after a few years. It’s not always about poor quality; it’s just that hardware lives a tough life on an exterior door. Screws work themselves free, and the mechanics inside locks can get clogged with dirt or even rust from weather exposure.
Taking the time to check and repair your hardware isn’t just about comfort—it’s also about security. A loose lock can make it much easier for someone to break in. So, staying on top of exterior door hardware repair isn’t just fixing a minor annoyance; it’s about keeping your home safe, too.
Types of Screwdrivers You’ll Need
Not all screwdrivers are the same. There are two main types you’ll bump into during exterior door hardware repair: the Phillips head and the flat head. Let me explain how to tell them apart and when to use each.
- Phillips head screwdriver: Recognizable by its cross-shaped tip, this is the most common screwdriver for door hardware from brands like Schlage or Kwikset. It grips the screw securely, making it perfect for both removing and tightening screws without slipping.
- Flat head screwdriver: This one has a single, flat blade. You’ll use it less often for exterior door repairs, but it’s handy for prying off faceplates or working with older locks that use slotted screws.
Honestly, if you only have one of each, you’re set for 99% of home repairs. Some universal screwdriver sets come with interchangeable bits, letting you swap out the tip for any screw type—a nice-to-have, but not strictly necessary. When you’re dealing with more specialized locks, like electronic smart locks, you might run into hex or Torx screws, but that’s rare for mainstream residential doors.
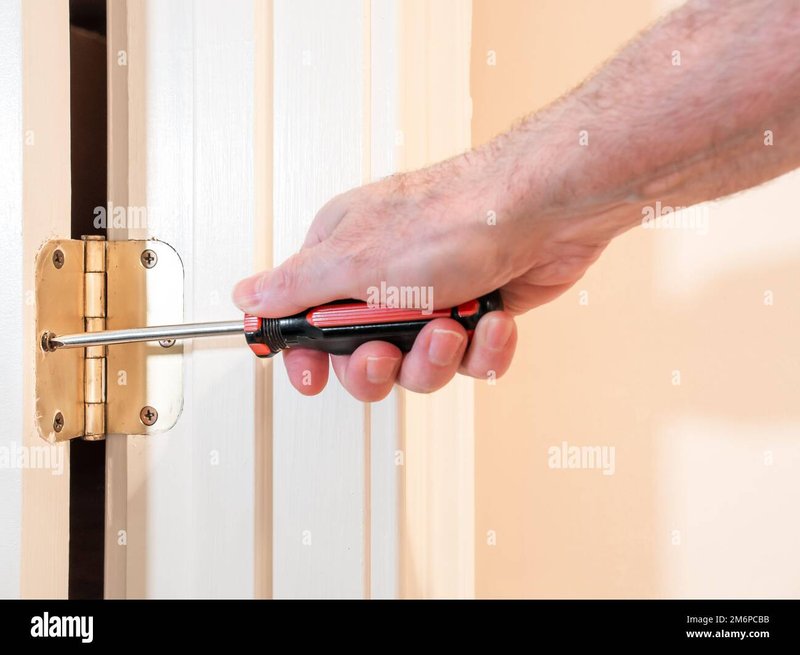
How To Remove Exterior Door Hardware with a Screwdriver
Ready to get hands-on? The first thing you need to do is remove the old or damaged hardware, and your screwdriver is the main tool here. Start by looking for the screws that hold the doorknob, handle, or lock in place. Most of the time, you’ll find these screws on the interior side of the door.
Here’s a step-by-step approach:
- Check for covers or faceplates: Sometimes, hardware has a decorative plate that hides the screws. Use your flat head screwdriver to gently pry this off.
- Unscrew the hardware: Place the tip of your screwdriver into the screw head and turn it counterclockwise. It’s common for old screws to be tight, so apply steady pressure. If it slips, stop and make sure you’ve got the right screwdriver for the job to avoid stripping the screw.
- Remove the hardware: Once the screws are out, the knob or lock should pull straight off. If it sticks, wiggle it gently—don’t force it, or you could damage the door.
You might be surprised at how many small parts come out with the hardware: screws, faceplates, maybe even springs. Set these aside in a cup or small tray so nothing rolls away under the furniture. Trust me, those tiny screws love to disappear when you’re not looking.
Repairing Loose or Stuck Door Handles
A wobbly doorknob or stuck handle is usually a sign that the screws have loosened or the internal mechanism needs a bit of attention. Here’s how to tackle it using your screwdriver.
Tightening a loose handle:
First, check both the interior and exterior sides of the handle. Most of the time, all you’ll need to do is find the exposed screws and turn them clockwise with the correct screwdriver. Keep tightening until the handle feels snug, but not so tight that it won’t move. Overtightening can strip the screw or even crack the hardware.
Fixing a stuck handle:
If pushing or pulling the handle feels stiff, remove the handle as described above. Look for dirt, gunk, or rust that might be clogging the mechanism. Wipe it clean, and if you notice rust, gently scrape it away. Sometimes, a tiny drop of lubricant in the moving parts can make a big difference.
Reinstalling the handle:
When you’re ready to put it all back together, align the handle and reinsert the screws. Here’s the thing: make sure all parts fit flush against the door, and test the handle before tightening the screws all the way. This way, you can adjust if something feels off before it’s locked in place.
How To Fix or Swap an Exterior Door Lock
Dealing with a lock—especially a deadbolt—can feel intimidating, but with a screwdriver and a little patience, you’ve got this. Whether you’re doing a basic repair or swapping out the lock for a new one, the steps are pretty similar.
Removing the existing lock:
First, find the screws on the inside plate of the door. These usually face you when the door is open. Use your Phillips or flat head screwdriver to loosen them. Once unscrewed, the lock cylinder and exterior plate should come free pretty easily.
Inspecting or repairing the mechanism:
Sometimes, the problem is as simple as a bit of dirt or a misaligned latch. Clean out any debris and check that the latch moves smoothly when you manually push it in and out. If it sticks, a little graphite powder or silicone spray can help. For more complex issues—like a lock that won’t turn at all—you might need to replace the internal mechanism. Many brands, including Schlage and Kwikset, sell replacement kits that are compatible with standard doors.
Installing a new lock:
If you’re installing a new lock, line up the new hardware with the existing holes. Insert the screws, then tighten everything evenly. Pairing a new lock with your existing key or code may take a few extra steps, but most brands include easy-to-follow instructions. Double-check the screws are snug, but again, don’t overtighten.
A tip: Always keep the old screws as backups. Even new lock kits can surprise you with missing or mismatched parts.
Common Problems When Using a Screwdriver for Door Repair
It’s easy to think, “How hard can it be?”—until you hit a snag. Here are a few of the most common issues beginners run into, and how to handle them.
Stripped screws:
This happens when the screwdriver tip slips and chews up the slot. If you feel your screwdriver slipping, stop right away. Try using a different size or type of screwdriver—sometimes switching from Phillips to flat head (or vice versa) can grab what’s left of the damaged screw. If it’s truly stuck, a screw extractor kit (available at hardware stores) is your best friend.
Lost screws or tiny parts:
Honestly, it’s almost a rite of passage to have a screw roll under the fridge. Use a small tray or even a shallow bowl to keep everything together. If you do lose a piece, replacement screw packs from brands like Yale or Kwikset are easy to find.
Overtightening:
Remember, it’s easy to get carried away and crank down on a screw. Too much pressure can split wooden doors or even shear off the screw entirely. Tighten until snug—then give it a gentle extra twist, and that’s usually enough.
When You’ll Need More Than Just a Screwdriver
Most exterior door hardware fixes are doable with just a screwdriver, but sometimes, you’ll need another tool or two. If the lock is badly rusted, you might need a lubricant or even a replacement kit. For doors with electronic locks, a small battery replacement may be part of the job. Some electronic models need you to reset or sync the lock after reassembly—check the brand’s instructions for specifics.
For old or damaged wood doors, you might want wood filler or a small drill for enlarged screw holes. If the latch won’t retract even after cleaning, sometimes the internal spring has failed, and replacing the entire unit is the safest bet.
The truth is, screwdriver work will get you through 90% of common repairs. For more complex issues (like warped doors or electronic lock resets), it’s smart to check your lock’s manual or call in a pro rather than guess your way forward.
Tips for Keeping Exterior Door Hardware Working Smoothly
Preventing problems is way easier than fixing a major breakdown. A little regular maintenance, performed with—yes—a screwdriver, goes a long way.
- Tighten screws twice a year: Set a calendar reminder to go around and check all the exterior door screws. A quarter-turn is often all that’s needed.
- Clean and lubricate: Dust, dirt, and rust love to hide in door hardware. Wipe everything down and use a lubricant designed for locks once a year. Avoid WD-40 for locks—instead, use graphite or silicon sprays to avoid gumming up the works.
- Check for damage: Look for cracked plates, warping, or missing screws. Addressing tiny problems right away is so much easier than dealing with a broken door lock in the middle of the night.
Think of this as a seasonal tune-up. A few minutes with a screwdriver now can save you a huge headache later.
Final Thoughts: The Simple Power of a Screwdriver
Here’s what I’ve learned: even if you’ve never done exterior door hardware repair before, the humble screwdriver is all you really need to get started. With a little patience, care, and the right technique, you can tackle everything from loose handles to stubborn deadbolts. Most brands—whether it’s Kwikset, Schlage, or Yale—are designed so that basic repairs are totally beginner-friendly.
So next time your front door hardware feels wobbly or acts up, skip the stress and remember that a solid screwdriver and this step-by-step approach have got your back. Fixing a door might not be glamorous, but knowing you can handle it? That’s some pretty serious peace of mind.