You might be wondering how to get started with a sanding sponge. The process is straightforward, but it helps to know a few tips and tricks along the way. Grab your sanding sponge, and let’s dive into how it can help you transform your hardware from drab to fab!
What Is a Sanding Sponge?
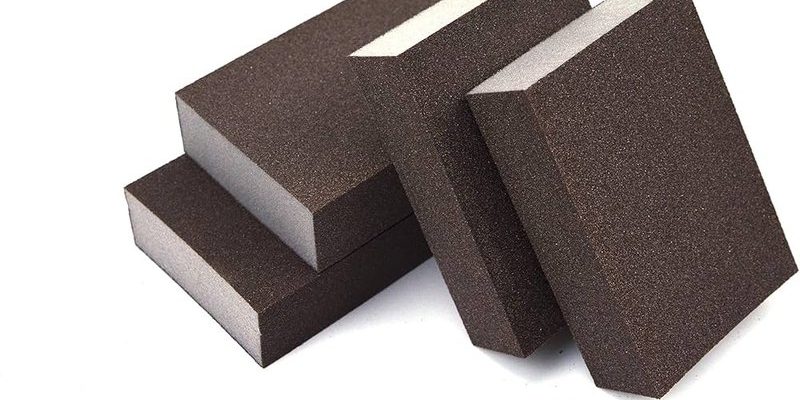
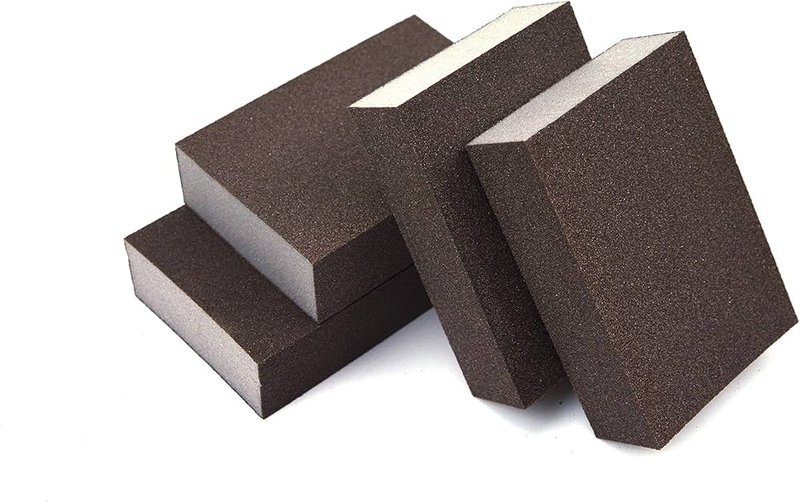
A sanding sponge is a flexible, foam pad coated with abrasive material. It’s designed to sand surfaces smoothly and can easily conform to different shapes. Unlike traditional sandpaper, which can be rigid and unwieldy, sanding sponges offer a bit of give, making them perfect for intricate or curved surfaces.
You can find them in various grits, ranging from coarse for heavy sanding to fine for finishing touches. This versatility allows you to tackle a range of projects—whether you’re just knocking off a layer of old paint or prepping a surface for a new coat.
When choosing a sanding sponge, look for a medium to fine grit for light refinishing tasks. This grit level will help you achieve a smooth finish without damaging the underlying material.
Why Use a Sanding Sponge for Light Refinishing?
Using a sanding sponge is particularly advantageous for light refinishing projects for several reasons:
– Versatility: As we just touched on, sanding sponges work well on various surfaces, including wood, metal, and plastic. This makes them ideal for refinishing all types of hardware.
– Control: The foam backing allows for better control and a more even application of pressure, which means less risk of damaging the item you’re working on.
– Convenience: They’re easy to handle and can get into tight spaces that traditional sandpaper might struggle with. No more awkward angles or hard-to-reach spots!
Imagine you’re refinishing a set of cabinet knobs that have seen better days. If you used regular sandpaper, you might find it tough to get around the curves. But with a sanding sponge, you can easily contour to every bit of the shape, making the process smooth and efficient.
Preparing Your Work Area
Before you start, take a moment to prepare your work area. This step is crucial for both safety and efficiency.
1. Clean Up: Clear your workspace of clutter. A tidy area reduces distractions and helps prevent accidents.
2. Protect Surroundings: Lay down a drop cloth or some newspaper to catch any dust or debris. This will save you cleanup time later.
3. Gather Your Tools: Besides the sanding sponge, gather other materials like safety goggles, a dust mask, and maybe some wood conditioner or finish if you’ll be applying a new coat afterward.
Honestly, a little preparation goes a long way. You’ll feel more focused, and your project will flow more smoothly.
Step-by-Step Guide to Using a Sanding Sponge
Here’s a straightforward process to follow when diving into your light refinishing project:
1. Choose the Right Grit: Start by selecting a sanding sponge with the appropriate grit. For light refinishing, a fine grit (around 220) is usually best.
2. Sand the Surface: Lightly rub the sanding sponge over the hardware. Use a circular or back-and-forth motion, applying just enough pressure to remove any old finish or rough patches.
3. Check Your Progress: After a few passes, take a moment to inspect your work. You want the surface to feel smooth without any deep scratches.
4. Clean Up Dust: Wipe down the hardware with a damp cloth or a vacuum to remove dust. This step ensures a clean surface for any finishing products you may apply later.
5. Apply Finish (if desired): If your next goal is to add a new finish, now’s the time to do it. Follow the manufacturer’s instructions for the best results.
Remember, patience is key. Rushing through the sanding process might cause you to miss uneven spots, leading to a less-than-perfect finish.
Common Mistakes to Avoid
Even if you’re eager to get started, there are some common pitfalls to avoid when using a sanding sponge:
– Using Too Much Pressure: Sanding should be gentle, especially for light refinishing. Pressing too hard can create grooves or scratches.
– Skipping Grit Levels: If you’re working with a surface that has a lot of old finish, consider starting with a coarser grit before moving to a finer one. Skipping this step can make it harder to achieve a smooth finish.
– Neglecting Clean-Up: Dust from sanding can interfere with finishes. Always make sure to clean the surface thoroughly before applying anything new.
By keeping these tips in mind, you can ensure a smoother, more successful refinishing project.
Alternative Tools for Refinishing
If you’re curious about other options, there are alternatives to sanding sponges for refinishing tasks:
– Traditional Sandpaper: This works, but it may be less efficient on rounded surfaces and can be harder to control.
– Rubbing Blocks: These are similar to sanding sponges but are less flexible. They can be useful for flat surfaces but might not perform as well on intricacies.
– Power Sanders: While this might seem tempting for larger projects, power tools can quickly remove too much material, leading to uneven surfaces. They’re best reserved for larger areas that need significant material removal.
In short, choosing the right tool depends on the specifics of your project. For light refinishing tasks, sanding sponges usually come out on top.
Final Thoughts on Using Sanding Sponges
Using a sanding sponge for light refinishing of hardware is an efficient and user-friendly method. It’s all about taking your time and embracing each step of the process. With a little practice, you’ll find that transforming your hardware can be both satisfying and enjoyable.
So grab that sanding sponge, think of it as your secret weapon, and get ready to breathe new life into your old hardware. You might just discover a new favorite tool in your DIY kit!