People reach for a rubber mallet when dealing with delicate hardware, stubborn parts, or anything that just won’t budge with hand force alone. You might find a Stanley or Tekton mallet in an amateur’s toolbox or a pro’s belt—either way, the concept’s the same. It’s all about gentle persuasion, not brute force. If you’re new to the idea, don’t worry—using a rubber mallet is straightforward, forgiving, and oddly satisfying once you get the hang of it.
What Is a Rubber Mallet and Why Use One?
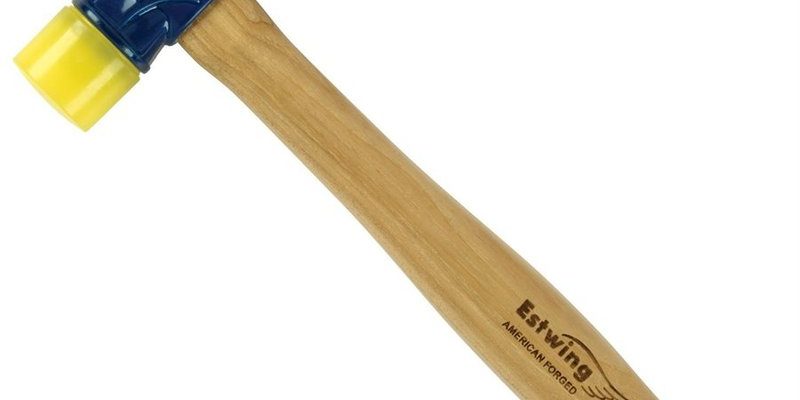
If you haven’t met a rubber mallet before, think of it as the soft-spoken cousin of the standard hammer. The head is made of dense rubber instead of metal, which makes every strike softer and less likely to leave marks. Most hardware stores stock a bunch of different brands and sizes, but the basic idea is always the same.
So, why not just use a regular hammer? Here’s the thing: metal hammers are perfect for driving nails, but they’re not subtle. If you hit something fragile—like wood joints, cabinet hardware, or laminate flooring—you’ll end up with dents, cracks, or chips. A rubber mallet lets you tap, nudge, or align things without the stress of causing damage.
In practical terms, people use rubber mallets for:
- Assembling furniture without splintering the edges
- Tightening joints when glueing or syncing wood pieces
- Resetting tiles or pavers gently into place
- Pairing metal parts that need encouragement but not force
- Code for handling light-duty, surface-safe striking—yes, even in some DIY electronics cases
You might be surprised just how handy a rubber mallet becomes once you understand its gentle touch. It’s like having troubleshooting backup for hardware that’s stubborn but precious.
Getting to Know the Parts of a Rubber Mallet
Before you start swinging a rubber mallet around, let me explain what you’re actually holding. Most mallets share a pretty simple structure, but a closer look helps you use it right.
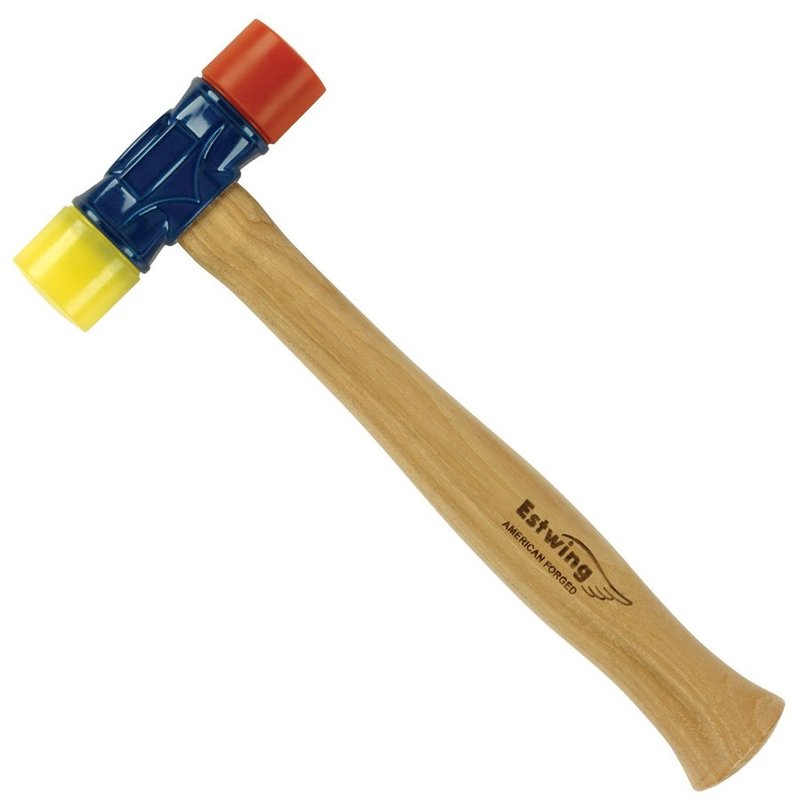
First, the head is the main act. It’s usually a thick, black, or white chunk of rubber, built to absorb shock and deliver even force. Some brands, like Tekton, use dual-material heads for extra control. The handle can be wood, fiberglass, or even steel wrapped in a rubber grip. A comfy handle keeps your aim true and your hand from aching.
You might notice the shape—often round, sometimes square, but always designed to spread out the impact. That’s what separates a mallet from a regular hammer. There aren’t any sharp edges, so you don’t leave dings or code-shaped imprints on your project.
Sometimes, manufacturers add special details like vibration-absorbing designs or balance adjustments for a tailored feel. But honestly, even a basic rubber mallet from a hardware store will do the job if you know what each part’s for.
When Should You Use a Rubber Mallet?
Here’s a question that pops up all the time: “How do I know when I need a rubber mallet?” The answer is any time you want to move, align, or reset hardware without damaging it. Let me walk you through some scenarios.
Furniture Assembly: Ever tried syncing wood joints for IKEA furniture or a clever DIY shelf? If you use a regular hammer, you’ll risk splitting the wood or leaving marks. A rubber mallet lets you nudge joints together with just enough force.
Flooring Projects: Resetting laminate or tile means you need things tight, but not shattered. A rubber mallet gives you control. Tap pieces together until they’re flush, without chipping the edges. If you’re laying pavers on a patio, a mallet is essential for resetting them snugly after a misstep.
Automotive Adjustments: Gentle tweaks aren’t just for woodworkers. Mechanics use mallets for adjusting body panels, syncing parts, and even troubleshooting parts stuck from rust or battery acid. The soft head keeps paint and surfaces safe while getting things unstuck.
Electronics or Light Repairs: Some folks even use small rubber mallets for opening battery compartments or resetting stubborn remote cases. Just a light tap does the trick—no cracking plastic or damaging delicate code-packed hardware.
How To Use a Rubber Mallet: Step-by-Step
Ready to give it a try? Here’s a simple process to get real results without stress.
- Choose the right mallet. For most home projects or gentle hardware adjustments, a medium-sized mallet (about 12-16 ounces) works well. Smaller ones are great for electronics. Avoid oversized mallets unless you’re working with heavy pavers or stubborn metal.
- Check your workspace. Clear away clutter and set up on a flat surface. Make sure the part you’re working on is supported so it won’t wobble or bounce as you tap.
- Grip the mallet firmly. Hold the handle close to the end for good leverage, but keep your wrist relaxed. Don’t strangle the handle—you want smooth control.
- Start with gentle taps. Begin with light strikes. Watch how the piece reacts. If nothing moves, increase the force little by little, keeping your swings short and controlled. You don’t need to wind up like a baseball player—this isn’t about power.
- Reset as needed. For syncing joints or pairing parts, check your alignment every few taps. If something seems off, pause and adjust before continuing. That’s the beauty of a mallet—it gives you time to troubleshoot with each tap.
- Inspect your work. After you finish, check for any marks or damage. If you see any, you might be swinging too hard or hitting the wrong spot. A rubber mallet should leave things looking just as good as before, only better aligned or reset.
There’s no shame in taking things slow. A rubber mallet rewards patience more than muscle.
Safety Tips for Using a Rubber Mallet
You might be thinking, “It’s just rubber—what’s the worst that could happen?” Well, while rubber mallets are about as friendly as tools get, there are a couple of things to keep in mind.
Eye Protection: Always wear safety glasses, especially if you’re hitting things that could chip or shatter. It’s rare, but even a soft strike can send debris flying.
Secure Your Work: Wobbly hardware can slip out from under your mallet. If possible, clamp your work or hold it steady on a solid surface. This also helps every tap go exactly where you want.
Inspect the Mallet: Before you start, check the head for cracks or the handle for loose parts. A damaged mallet can break mid-swing or cause you to miss your mark.
Know When to Stop: If something isn’t syncing after a few gentle taps, don’t just hit harder. Pause and look for hidden screws, stuck code, or other problems. Sometimes the real fix is a different tool or a quick reset.
Comparing a Rubber Mallet to Other Hammers and Tools
Why not just use any old hammer, or even your fist, for these jobs? Let’s break down the differences.
- Claw hammer: Great for driving and pulling nails, but the metal head will dent, chip, or snap hardware that needs a gentle touch.
- Wooden mallet: Often used with chisels for woodworking, but the harder face isn’t as forgiving on delicate surfaces.
- Dead blow hammer: Filled with sand or shot for extra impact but less bounceback. It’s a good sync between power and gentleness, but often overkill for home hardware adjustments.
- Rubber mallet: Best for pairing, aligning, or troubleshooting delicate hardware and surfaces. It’s light, bouncy, and leaves things looking clean.
Honestly, if you’re new to hardware work and want one tool for gentle tapping, a rubber mallet is the safest bet. If you ever need to step up the force, keep heavier hammers nearby—but give the mallet the first shot.
Troubleshooting Common Issues When Using a Rubber Mallet
Sometimes, things don’t move as easily as you’d like. Here are a few common problems and what to do about them.
Part Won’t Budge: If you’re tapping and nothing’s syncing, double-check for hidden fasteners or glue. Sometimes you’re up against more than friction. Try some light wiggling or gentle prying to reset stuck parts.
Mallet Leaves Marks: While rare, some rubber heads can leave smudges on painted or light wood. Wipe the surface clean before tapping, and don’t hit harder than necessary. If marks persist, consider a white rubber mallet or a soft cloth between the head and your hardware.
Handle Feels Loose: If the mallet’s handle starts to wiggle, stop and tighten it. A loose handle is a safety hazard and makes every strike unpredictable.
Hardware Pops Out of Place: If parts move too much, hold them steady or add a soft pad underneath. Control comes from steady hands, not wild swings.
Gentle adjustments are about finesse, not force. Most hardware problems can be solved with a little patience and a trusty rubber mallet.
Maintaining Your Rubber Mallet
Just because a rubber mallet is simple doesn’t mean it’s indestructible. Taking care of it keeps your work smooth and safe.
Clean the Head: After use, wipe the rubber head with a damp cloth to remove dirt, glue, or battery acid. Sticky residue can transfer to your next project.
Store Properly: Keep your mallet in a toolbox or on a shelf, away from direct sunlight. Rubber can crack or harden if exposed to heat for too long.
Inspect Regularly: Give the handle and head a look-over every so often. If you spot deep cuts or cracks, it’s time for a new mallet. Most brands, like Stanley and Tekton, offer affordable replacements.
Don’t Overdo It: Remember, a rubber mallet isn’t meant for heavy demolition. Use it for gentle adjustments, and it’ll last for years.
Wrapping Up: Give Your Hardware the Gentle Touch
Once you start using a rubber mallet for gentle hardware adjustments, it’s hard to go back. Whether you’re syncing joints on a bookshelf, resetting battery covers, or troubleshooting stubborn parts, this simple tool offers the perfect blend of force and finesse. You don’t have to be a pro, or even particularly handy, to get great results—just patient, careful, and willing to learn as you go.
So, next time you’re faced with a squeaky piece of furniture, a misaligned tile, or a stuck remote, reach for that rubber mallet. Sometimes, the best results come from the gentlest touch.