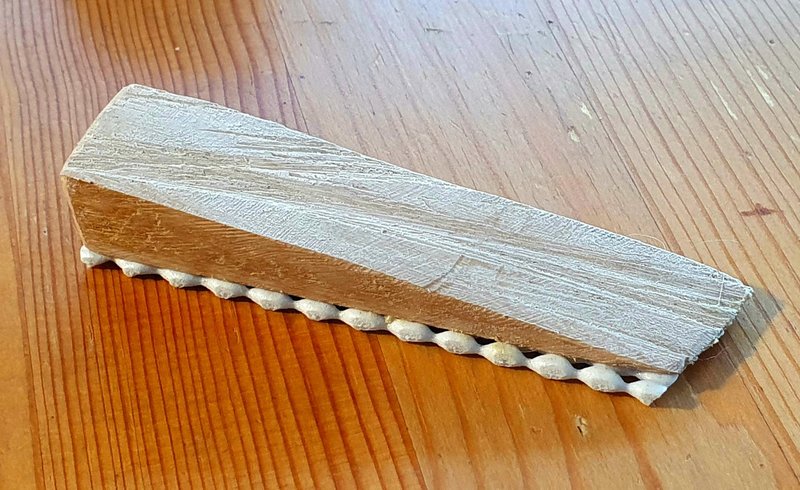
That’s where a humble plastic wedge comes in. Think of it like the mini crowbar you never knew you needed; it’s simple, cheap, and surprisingly powerful. Instead of struggling with screwdrivers or risking a cracked door, you can use a plastic wedge to lift and position your door just right. It’s kind of like using a doorstop—but with real precision and zero damage to the wood or hinges. Whether your home is full of heavy oak doors, lightweight hollow-cores, or something in between, a plastic wedge is a must-have for quick, no-fuss fixes.
What Is a Plastic Wedge, and Why Does It Matter for Doors?
A plastic wedge is exactly what it sounds like: a small, rigid, triangular tool made from sturdy plastic. It’s designed to slide under or beside objects and gently lever them into position. You might see them sold as “shims” or “leveling wedges.” They often come in multipacks at hardware stores—no big labels or fuss, just a handful of smooth, angled tools.
Why choose plastic instead of something else? Honestly, the beauty of plastic wedges is in their balance of strength and gentleness. Metal tools can scratch up your floor or door, while wood shims can splinter and sometimes get stuck. Plastic wedges are sturdy enough to lift a heavy door for a few minutes, but soft enough not to mar surfaces. Most are reusable, and they’re lightweight enough to toss in a drawer or toolbox.
When adjusting a door, having the right clearance is crucial. Too little space and you can’t open or close the door smoothly. Too much, and you’ll get drafts, noise, or even a less secure latch. A plastic wedge is the unsung hero for tweaking that gap just right—without permanent changes.
When and Why Would You Adjust Door Clearance?
You might be wondering, “When do I actually need to mess with door clearance?” There are a handful of classic trouble signs:
- Sticky door: If you have to force a door shut or it drags on the floor, the clearance is too tight.
- Gaps and drafts: Light or air coming through the frame means there’s too much clearance—maybe after changing weather or a new floor installation.
- Misaligned latch: If the door doesn’t easily click shut, you may need to realign things.
These problems don’t always require major repairs. Sometimes, a simple tweak to the hinges does the trick. But here’s the catch: doors are heavy, and holding one in position while you reset the screws is awkward at best and back-breaking at worst. This is where the plastic wedge really shines. It holds the door steady and just the right height, making adjustments a breeze for one person.
Tools and Supplies You’ll Need for Adjusting a Door with a Plastic Wedge
Before you start, it’s smart to gather everything up. It’s no fun balancing a door with your foot while you hunt for a screwdriver. Here’s a simple setup:
- Plastic wedge(s): One or two is usually plenty. Brands like Shepherd or ToughBuilt are easy to find online or in stores.
- Screwdriver: Usually a Phillips head, but check your door’s hinges just in case.
- Hammer or mallet: Sometimes, a gentle tap helps slide the wedge in.
- Optional: Level for perfectionists (not strictly necessary for a basic fix).
If you have a universal door hinge wrench or a tool kit with extra screws, keep those handy too. But honestly, most adjustments just need the basics above.
Step-by-Step: How To Use a Plastic Wedge for Door Clearance Adjustments
Let me walk you through the process—no handyman experience required. If you’ve never done this before, take your time. Rushing is how doors end up out of sync even worse than before.
- Open the Door: Start by opening the door partway so you can access the hinges and the bottom edge. If your door is sticking badly, you might need to wrestle it free.
- Slide in the Plastic Wedge: Gently push the wedge under the latch edge or hinge side of the door (whatever needs adjusting). The ramp shape lets you fine-tune the lift—push it in further for more height.
- Check Clearance: Use your eyes, a piece of paper, or a level if you’re picky. Most doors need about 1/8 inch (3mm) of clearance at the bottom—enough for a thick business card to slide under, but not much more.
- Adjust Hinges if Needed: With the wedge holding the door where you want it, loosen (don’t remove) the hinge screws slightly. Let the door settle, then retighten. The wedge holds everything steady while you work.
- Remove the Wedge: Gently pull the wedge out. Swing the door open and closed to check your work. Repeat if you need another small tweak.
Using a plastic wedge for adjusting door clearance is one of those “why didn’t I try this sooner?” fixes. It’s quicker and easier than wrestling the door off the hinges—and a lot safer for your fingers.
Common Problems You Can Fix With a Plastic Wedge
It’s not just about doors that barely budge. Here are a few scenarios where a plastic wedge saves the day:
- Sticky after new flooring: Added carpet or tile can steal precious millimeters. A wedge lets you lift the door while you retighten the hinges, gaining back that space.
- Seasonal swelling: Wood doors swell in humidity and shrink in dry weather. Instead of planing the door (which is permanent), a wedge and quick hinge adjustment can fix most cases.
- Uneven floors: In older houses, floors aren’t always level. A wedge lets you install or reset a door with the right gap, no matter how the floor slopes.
- Door won’t latch: Sometimes the whole door shifts and the lock doesn’t line up. Instead of re-drilling the strike plate, try a wedge and hinge tweak first.
Honestly, these fixes all beat calling a pro and paying for a “simple” adjustment.
Why Choose a Plastic Wedge Over Other Tools?
You might be thinking, “Can’t I just use a book, or a folded bit of cardboard?” Here’s why pros and DIYers alike usually stick with a plastic wedge:
- Strength: Plastic wedges don’t squash or buckle under pressure, unlike a book or cheap shim. They’re made to lift 50+ pounds (some up to 300 lbs!) without snapping.
- Precision: The slope lets you lift the door by tiny amounts—often less than a millimeter at a time—so you can get things just right.
- No Damage: They won’t scratch your paint or gouge the wood, unlike a flathead screwdriver or metal pry bar.
- Reusable: Once you’re done, toss it back in the toolbox. No waste, no fuss.
In a pinch, you might get away with other household items, but for a clean, controlled, and reliable fix, plastic wedges are the clear winner.
Extra Tips for First-Timers (And How to Avoid Common Mistakes)
If you’ve never adjusted a door before, a few tiny tricks can save you big headaches:
- Work slowly: Don’t force the wedge under the door—go gently to avoid popping the door off its hinges or cracking the frame.
- Use two wedges for heavy doors: If you’re dealing with a solid wood or fire-rated door, support both edges to prevent twisting.
- Keep screws snug (not overtightened): Too tight and you risk stripping the threads or pulling the hinge too far into the wood.
- Double-check afterward: Open and close the door a few times to be sure everything feels and looks right before putting away your tools.
And if you really mess up, don’t panic—just reset and try again. The beauty of using a plastic wedge is that nothing you do is permanent until you actually move the hinges or hardware.
What If a Plastic Wedge Doesn’t Fix Your Door?
Now, a plastic wedge works wonders for minor-to-moderate clearance issues, but sometimes you’ll run into bigger problems—a warped door, broken hinges, or damage from moisture. If you try the wedge trick and things still aren’t right, here are some next steps:
- Check the frame: Sometimes the problem isn’t the door at all, but the frame itself. Look for loose or damaged spots.
- Try shimming the hinges: Thin plastic shims (not wedges) can be slipped behind hinge plates for extra adjustment.
- Consider planing the door: For serious scrapes or swelling that never goes away, sanding or planing the door edge may be needed. This is more of a permanent solution, so only try it if you’re confident.
- Call a pro: If the frame is damaged, warped, or you’re stumped, it might be worth the investment to bring in a handyman or carpenter.
Don’t stress if your first fix doesn’t do the trick. Each door is a little different, and sometimes it’s a combo of issues.
Wrapping Up: The Simple Power of a Plastic Wedge
Adjusting door clearance doesn’t have to be a headache or a major project. With a plastic wedge in your toolkit, you’ve got a safe, effective way to lift and tweak your doors for that perfect, frustration-free swing. It’s a small investment with a big payoff in comfort and peace of mind. Next time your door starts sticking, dragging, or refusing to latch, remember: you’re just one wedge away from an easy fix. A little patience, the right tools, and a steady hand are all it really takes.
