A nail set is a small tool that’s designed to recess hinge screws below the surface of the wood. This not only creates a cleaner look, but it also prevents the screws from catching on clothing or snagging in hardware. In this guide, we’ll break down how to use a nail set effectively, so you can achieve that smooth, professional look in no time. Whether you’re working with a brand like Dewalt or something more budget-friendly, the technique remains the same.
What You Need: Tools and Materials
Before diving into the steps, let’s gather everything you’ll need for this process. Here’s a quick checklist:
- Nail Set: This is your primary tool, and you can find it in most hardware stores.
- Hammer: A regular claw hammer will do just fine.
- Phillips or Flathead Screwdriver: Depending on the type of screws you’re using.
- Wood Drill: For pre-drilling holes if necessary.
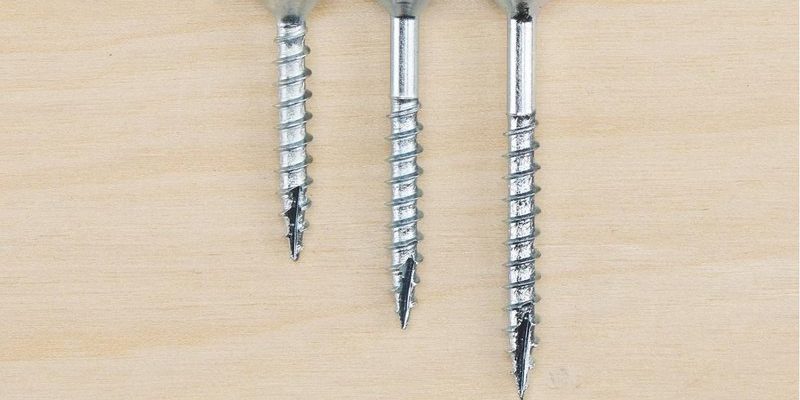
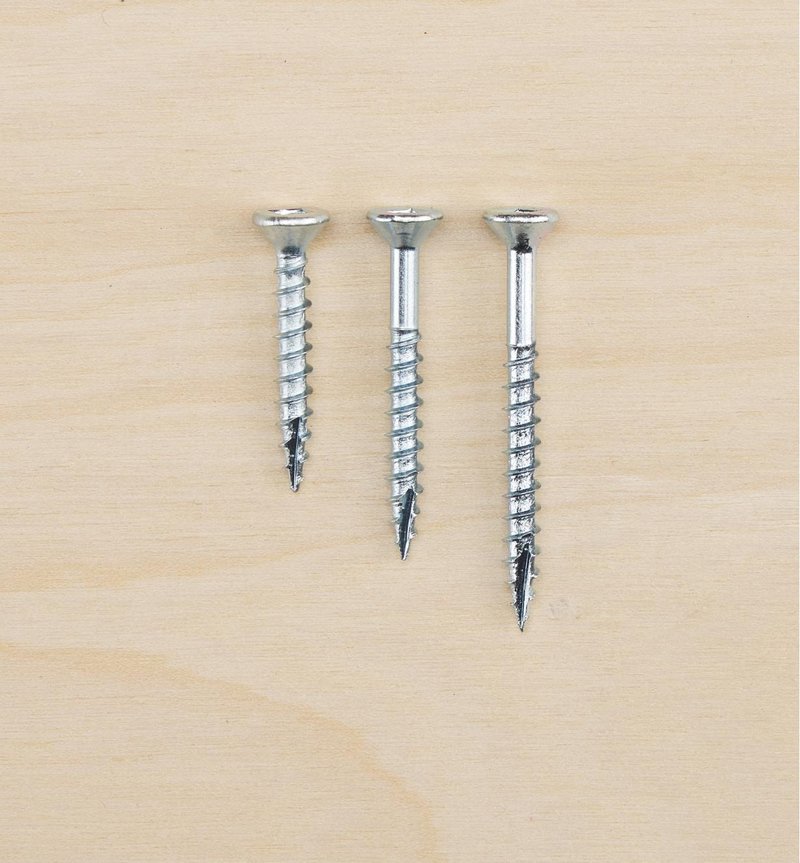
- Hinge Screws: Make sure you have the correct size for your hinges.
Here’s the thing: having the right tools makes your job easier and helps you avoid those frustrating mishaps. Make sure everything is at hand before you start, so you don’t have to run to the store halfway through your project.
Understanding the Importance of Recessing Hinge Screws
You might be wondering why it’s so important to recess those screws. Well, think about it: when screws are flush with the surface, the hinge sits properly and functions as it should. This also helps maintain the integrity of the door over time. If the screws stick out, they can get caught on clothes, bags, or even fingers, leading to snagging and damage.
Additionally, recessed screws offer a sleeker finish that can elevate the overall look of your door. It shows that you put in the effort, and nothing says professional quite like a job done right. Plus, it can help avoid any future issues like misalignment, which can happen when screws aren’t secured properly.
Step-by-Step Instructions for Using a Nail Set
Now that you know what you need and why it matters, let’s get into the actual *how-to* of using a nail set.
1. Prepare the Hinge
Start by attaching the hinge to the door or frame. Use your screwdriver to insert the screws, but don’t tighten them all the way. Just get them snug enough to hold the hinge in place. This allows for some wiggle room when you’re ready to recess the screws.
2. Position the Nail Set
Once you’ve got the hinge in place, take your nail set and position it directly over the screw head. Make sure the flat end of the nail set is snug against the screw. This is critical—any misalignment might make the job harder.
3. Strike with the Hammer
Now comes the fun part. Use your hammer to gently tap the nail set. Start with light taps; you don’t want to overdo it. You’re aiming to recess the screw head below the surface of the wood, not to drive it through. A couple of firm taps should do the trick.
4. Check Your Work
After a few strikes, take a look at the screw. It should be slightly below the surface. If it’s not, go ahead and give it another tap or two. Once you’re satisfied, do the same for the remaining screws.
Common Mistakes to Avoid
Every beginner makes mistakes, and that’s part of the learning process. Here are a few common blunders to steer clear of:
- Over-hitting: Tapping too hard can cause damage to the door or the screw.
- Misalignment: Ensure your nail set is positioned correctly; otherwise, the screw won’t recess properly.
- Skipping the Pre-drilling: If you’re working with hard wood, consider pre-drilling a pilot hole to make it easier to recess the screws.
Honestly, it pays to take your time with each step. Rushing can lead to mistakes that might require extra work later on—like redoing screws or repairing wood.
Alternatives to Using a Nail Set
While a nail set is a handy tool, there are alternatives if you don’t have one on hand. You can also use a flathead screwdriver or a specialized screw recessing tool. These can similarly help you achieve that flush finish.
Another option is to use a power drill with a countersink bit. This will often do the job faster but requires a bit more experience—you don’t want to drill too deep!
Final Touches: Filling the Recessed Screw Holes
After you’ve recessed the screws, you might want to consider filling the holes for a seamless look. Wood filler works well for this. Just apply a bit over the recessed screw, let it dry, and sand it down to create a smooth finish. This step can help further disguise the screws and improve the overall appearance of the installation.
Using a nail set to recess hinge screws properly is a straightforward process that can significantly enhance your door’s appearance and functionality. By following these steps, you’ll not only make your project look more professional, but you’ll also prevent potential issues down the line.
So next time you’re hanging a door, remember that little tool in your toolbox. It can be the difference between a job well done and one that leaves something to be desired. With a little patience and practice, you’ll master this simple technique and feel proud of your handiwork. Happy DIY-ing!