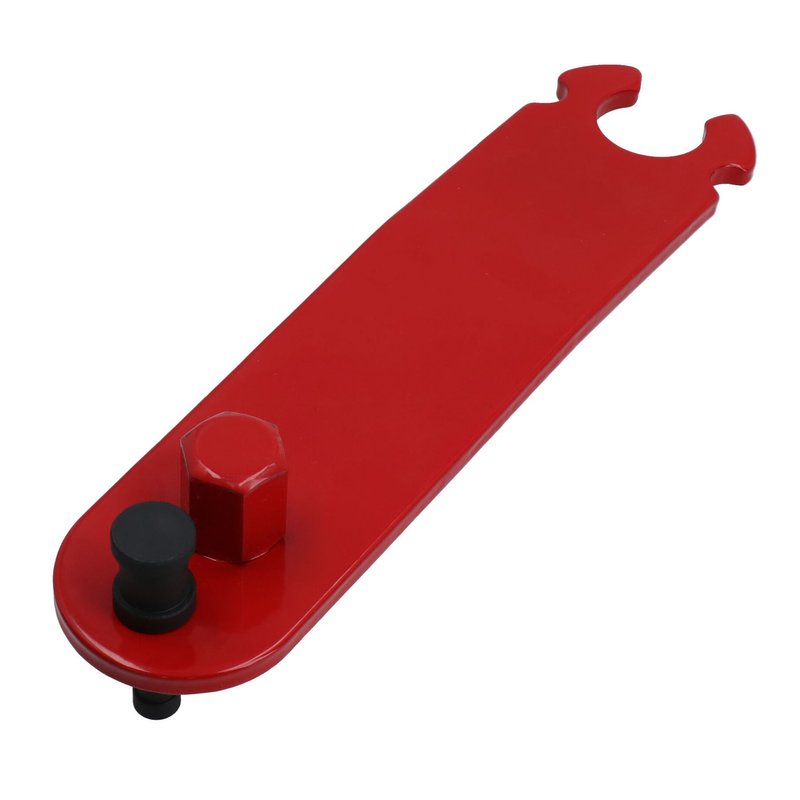
Think of a hinge setter as the “reset” button for your door’s hinges. It helps you get perfectly sized and placed hinge mortises, making sure everything lines up exactly how it should. Using one is kind of like following a stencil: it’s about precision, not brute force. Honestly, once you’ve seen how much smoother your door works, you’ll wonder why you lived with that sticky door for so long.
Why Exterior Door Hinge Alignment Matters
Let me explain why getting your hinges lined up is more important than you might think. A misaligned hinge isn’t just a cosmetic problem. It can cause the door to drag, bind, or even pop open on its own. Imagine coming home after a long day, juggling groceries, and finding your door won’t budge or closes with a loud bang. That’s often the hinge’s fault, not the door’s.
Proper hinge alignment also impacts your home’s security and energy efficiency. If a door isn’t seated tightly in its frame, it leaves little gaps—a perfect spot for cold air (or bugs) to sneak in. Over time, that tiny error can damage the door and frame, leading to more expensive repairs. So, aligning your hinges isn’t just about convenience; it’s about protecting your investment.
Using a hinge setter makes this whole process much easier. It’s designed to remove all the guesswork. You won’t need to eyeball anything or hope your chiseling skills are up to snuff. Hinge setters are all about saving time and avoiding headaches.
What Is a Hinge Setter and How Does It Work?
You might be wondering, what exactly is a hinge setter? In simple terms, it’s a special template or jig that guides your tools so you can cut the perfect recess (also called a “mortise”) for a door hinge. Brands like Milescraft, Porter-Cable, and Ryobi make popular versions, but the idea is always the same: line up, clamp, and cut.
A hinge setter usually has adjustable guides to fit different hinge sizes. It can work with both hand tools and power tools, depending on your comfort level. Some models even come with bits to help you code or mark the hinge locations, so there’s no chance of mistakes. Whether you’re rehanging an old door or installing a brand new one, the hinge setter makes sure everything lines up perfectly.
Honestly, if you’ve ever tried to carve out a hinge mortise freehand, you know how easy it is to go off track. The hinge setter acts like a paint-by-numbers kit for doors. You get consistent results—no matter your skill level.
Tools and Materials You’ll Need
Before you get started, gather all your tools. Here’s what you’ll need to use a hinge setter and correct exterior door hinge alignment:
- Hinge setter (template/jig) – Milescraft HingeMate300, Porter-Cable, or any compatible brand
- Router or chisel – Depending on your tool preference (a router is faster, chisels give you control)
- Drill and bits – For pilot holes and attaching hinges
- Measuring tape and pencil – To mark placement
- Clamps – To hold the template steady
- Screwdriver – For installing screws
- Your hinges – Make sure they match the template size
- Safety gear – Safety glasses and hearing protection if using power tools
Having everything at arm’s reach makes the job smoother. It’s the difference between a quick fix and a day-long frustration hunt. If you’re missing a router, don’t worry—chisels work fine, but take a bit more time and patience.
The right tools make all the difference. Trying to “wing it” without a hinge setter is like cutting your own hair in the mirror—possible, but usually not pretty.
Step-by-Step: How To Use a Hinge Setter for Door Hinge Alignment
Here’s where we get hands-on. If you’ve never used a hinge setter, don’t stress. It’s designed for people who want pro-level results without the pro-level learning curve. Follow these steps and take your time—precision is more important than speed.
-
Remove the Door
Start by taking your door off its frame. Use a screwdriver or drill to undo the hinge screws, then carefully lift the door out. Lay it flat on a pair of sawhorses or a workbench—trust me, working vertically is no fun. -
Mark the Hinge Positions
Measure and mark where your hinges will go. Most exterior doors use three hinges: one about 7 inches from the top, one about 11 inches from the bottom, and one centered between. Double-check your measurements; a little error here causes big problems later. -
Set Up the Hinge Setter
Adjust the hinge setter to match your hinge size. Clamp it in place, making sure your marks line up with the template’s guides. Tighten the clamps to keep everything steady—you don’t want this moving mid-cut. -
Cut the Mortise
If you’re using a router, set the depth to match your hinge thickness. Run the router inside the template, moving slowly and steadily. If you’re using a chisel, score the outline first, then carefully chisel out the wood in thin layers. Don’t rush—clean, flat mortises make for tight-fitting hinges. -
Attach the Hinges
Place your hinges in the mortises, mark the screw holes, and drill pilot holes. Screw the hinges in snugly (but don’t over-tighten). Check that everything sits flush—if the hinge sticks up, your mortise is too shallow; if it sinks, you’ve gone too deep. -
Rehang and Align the Door
With the help of a friend, lift the door back into place. Screw the hinges to the frame, then test the door. Does it swing smoothly? Latch properly? If so, you’ve nailed it!
If there’s a minor drag or gap, loosen the screws slightly, wiggle the door, and retighten. Small adjustments can make a big difference.
Troubleshooting Common Hinge Alignment Problems
Even with the right tools, sometimes things don’t go perfectly. Here’s how to spot and fix typical exterior door hinge issues:
- Door won’t close or rubs the frame: Check if the mortises are at the correct depth. Shallow mortises push the hinge out, causing the door to stick. Deep mortises pull the hinge in, causing gaps. Fix by adjusting the mortise with your chisel.
- Gaps or air leaks around the door: This usually means the hinges aren’t all perfectly aligned, or the door is warped. Try loosening the screws, realigning the door, and retightening. If the gap persists, the frame or door may need planing.
- Screws won’t tighten: Sometimes old door frames have stripped holes. Use longer screws or fill the hole with a wood dowel and glue, then re-drill your pilot hole.
Don’t get discouraged if it’s not perfect immediately. Small adjustments are part of the process. If you’re really stuck, you can always code or mark the hinge positions again with your setter and double-check your work.
Comparing Hinge Setters: Which Brand Works Best?
Not all hinge setters are created equal. If you’re serious about getting exterior door hinge alignment right, it pays to spend a little time picking the right tool. For most DIYers, the Milescraft HingeMate300 is a solid choice—clear guides, simple clamps, and it fits most standard hinges. Porter-Cable makes some heavy-duty router templates that pros love, but they cost a bit more.
A universal hinge setter is useful if you’ve got doors of all shapes and sizes, but they’re slightly bulkier. Brand-specific models may fit better on certain doors or work seamlessly with matching router bits. My advice? Pick a setter that matches your preferred hinge size and your comfort with power tools.
Cheap, generic templates can work in a pinch, but you’ll lose out on precision and durability. Invest in a tool you’ll want to use more than once.
Hinge Setter Alternatives: When You Don’t Have the Tool
If you’re in a bind and don’t have a hinge setter, you can still align your exterior door hinges—just expect it to take longer. Measure carefully, mark your hinge outlines with a pencil, and use a combination of chisels and patience. Some folks try tracing the hinge plate itself, but this can lead to crooked or uneven mortises.
Honestly, you’ll spend more time troubleshooting mistakes than the cost of a basic hinge setter. If you’re even half-serious about home improvement, it’s worth picking one up. The difference in speed and quality is huge.
Still, in emergencies: measure twice, cut once, and always check your alignment before chiseling past the point of no return.
Wrapping Up: Enjoying a Smooth-Swinging Exterior Door
Correcting exterior door hinge alignment isn’t rocket science, but it does take the right tool and a bit of patience. Using a hinge setter makes it almost foolproof, taking the guesswork out of what can otherwise be a frustrating job. Brands like Milescraft, Porter-Cable, and Ryobi have made it easier than ever for beginners to get pro-level results at home.
The next time your door drags, sticks, or squeaks, you’ll know how to tackle it yourself. A well-aligned door isn’t just a small home upgrade—it’s daily satisfaction, every time you walk through. So go ahead, grab that hinge setter, and give your door the reset it deserves.
