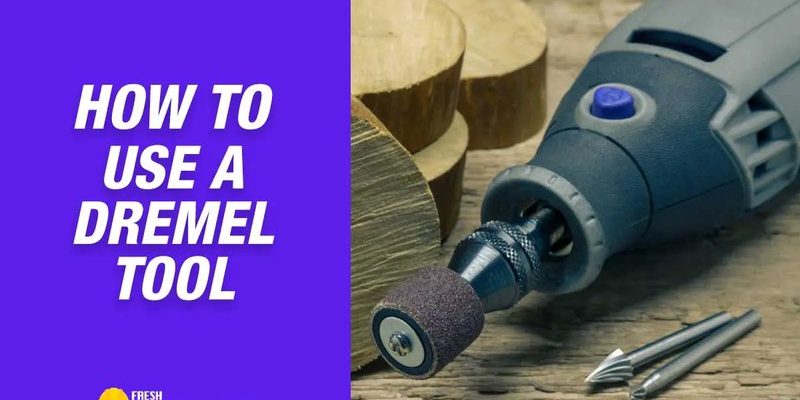
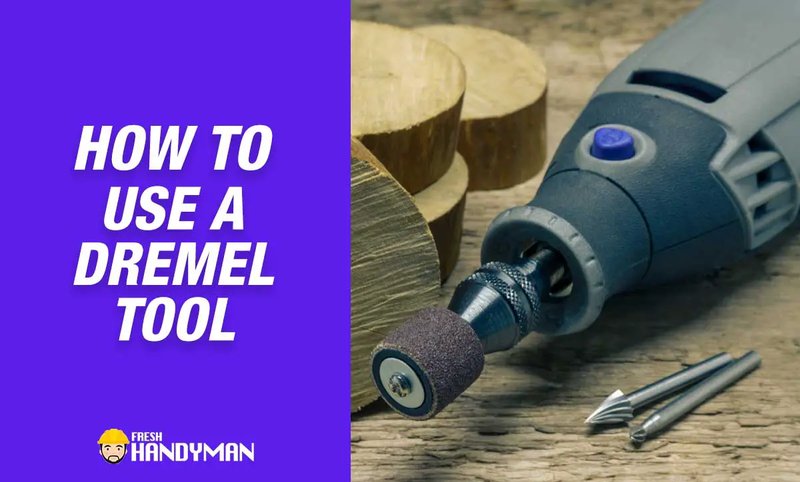
I first picked up a Dremel from a neighbor who swore it was the “Swiss Army knife for woodwork,” and honestly, he wasn’t wrong. With the right attachments and a little patience, you can clean up a mortise in less time and with fewer headaches than most traditional tools. Let me explain how this little rotary wonder can help you fine-tune your exterior hardware mortises for that perfect, professional fit.
What Is a Mortise and Why Does It Matter for Exterior Hardware?
If you’re new to doors and locks, “mortise” might sound like something out of a carpentry riddle. In plain English, a mortise is just the pocket or hole in a door’s edge where hardware—like a lock, latch, or hinge—fits. For things like deadbolts or entry handles, the fit needs to be tight and precise. Too loose, and your lock wobbles. Too tight, and you’re fighting with screws or risking a cracked door edge.
Honestly, most exterior doors are the main defense between your home and the outside world. That means any gaps, poorly fitted hardware, or weak wood can let in drafts—or, worse, make things easier for someone trying to break in. Creating a well-sized, smooth mortise gives your exterior hardware the best chance to work smoothly, live longer, and keep your place safer.
Even if you’re using a template or pre-cutting with a drill or chisel, there’s almost always a bit of “fine tuning” needed. That’s exactly where a Dremel tool shines: cleaning up the corners, smoothing the bottom, or fixing those just-a-little-too-tight spots without damaging the rest of your door.
Choosing the Right Dremel Tool and Attachments
Here’s the thing: not every Dremel tool or bit will work perfectly for mortise fine tuning—it’s worth getting the setup right before you start. Dremel is the brand most people trust for rotary tools, but they offer several models and a sea of attachments. Don’t worry, you don’t need to buy the whole store.
Start with a corded or cordless Dremel rotary tool—most home users go for the popular Dremel 4000 or 3000 series. Either can give you enough speed and control for woodwork. For the attachments, focus on these:
- Carbide Wood Cutting Bits: These are small, pointy, and can nibble away stubborn high spots inside a mortise.
- Sanding Drums: Perfect for smoothing the inside edges and bottom of the pocket without overcutting.
- Router Attachments: If you have to adjust the depth evenly, a router base can help keep things uniform.
You might be tempted to grab a grinding stone—resist that urge! Those are meant for metal and can scorch wood quickly. Always double-check that your bit is meant for use on wood, especially if you’re working on a painted or stained door.
Getting Ready: Door Prep, Safety, and Setting Up
Before you dive in, let’s talk setup. Working with a Dremel isn’t hard, but it demands a bit of prep so you don’t accidentally gouge your door or breathe in a cloud of dust. First, remove the door if you can. Propping it flat on sawhorses or a sturdy workbench makes things a hundred times easier—you won’t be wrestling with gravity or scraping up your floors.
Next up, safety. Even a little Dremel tool can send fine wood dust everywhere, and its motor is surprisingly powerful for the size. Always wear safety goggles and a dust mask. If you have sensitive ears, earplugs aren’t a bad call either—the high-pitched whirr can be fatiguing. Clamp your door firmly, mark out the mortise area with a pencil, and keep your hardware handy for test fits as you go.
Plug in or charge your Dremel, choose your bit, and do a quick test on a scrap piece if you’re new to the tool. The goal is to feel how the speed and pressure work before you touch the real door.
Step-by-Step: Using a Dremel Tool for Mortise Fine Tuning
Here’s where the magic happens. If your mortise hole is already roughly the right shape (maybe from a chisel or hole saw), you’re ready to fine tune it:
- Start with a Carbide Bit: Set your Dremel on a modest speed. Gently guide the bit along any high spots or tight corners. Don’t force it—let the tool do the work.
- Check the Fit: Every minute or so, stop and try your hardware (like the latch plate or faceplate) in the mortise. You want a snug fit, not a rattle.
- Switch to a Sanding Drum: Once the hardware fits, swap in a sanding drum to smooth the pocket. Run it lightly around the edges to knock off rough bits and splinters.
- Depth Adjustments: If the mortise is too shallow, use a router attachment to lower the bottom evenly. Go slow and avoid tilting the tool, which can create uneven spots.
If you get nervous about going too deep, it’s better to take off a little at a time. You can always remove more wood, but you can’t put it back.
Work in small bursts—overheating can scorch the wood or wear out your bits. And always keep a vacuum or brush handy to clear away dust as you work, so you can see what’s really going on inside that pocket.
Common Problems and Dremel Troubleshooting
You might be wondering, what can go wrong? Even with a Dremel, things pop up. Sometimes you’ll hit a hidden nail—stop immediately if you hear a “ping” or see sparks. Dremels are tough, but their bits are not meant for metal. If things get smoky or the wood burns, you’re probably pressing too hard or running at too high a speed; dial it back and go slower.
Let’s say your mortise suddenly feels too loose. Maybe you accidentally cut out more wood than planned. Here’s a simple fix: glue in a thin strip of wood (like a wood shim or even a popsicle stick), clamp it, let it dry, and then fine tune it again with your Dremel. It’s a trick as old as time and much cheaper than replacing a whole door.
If your Dremel starts to lose power, check the battery or cord. For cordless models, have a spare battery on hand. Always keep your bits clean and swap them out if you notice burning or dullness. The hardware world is full of tiny frustrations, but a little patience and common sense will solve most problems.
Comparing Dremel Fine Tuning to Traditional Methods
Let’s be real: nothing beats the look of a mortise made by a seasoned carpenter with razor-sharp chisels. But for most of us, the Dremel is a lifesaver—especially for exterior hardware mortises, where you need precision but don’t want to spend an hour hunched over with a mallet.
Traditional tools like chisels and hand routers are slower and require more skill. You risk splintering the door, especially near edges or if you’re dealing with hard woods. Utility knives can work for tiny adjustments, but they’re tedious. Here’s where the Dremel shines:
- Speed: You can knock out cleanup in minutes, not half an hour.
- Precision: The right bit lets you nibble away at just the tight spots without touching the rest of the pocket.
- Versatility: Swap a bit, and you’re ready for metal, plastic, or even basic polishing on the same door.
There are other power tools, like compact routers, that do similar jobs—honestly, if you’re doing mortises all week, you might want one. But for the occasional project or quick fix, the Dremel is the go-to.
Tips for Smoother Mortises and Clean Installs
Even if you don’t have a workshop full of fancy gear, there are some tricks for getting clean, snug mortises with your Dremel tool. First, mark carefully. Use the hardware itself as a stencil—trace it right onto the door so you’re only cutting where you need to.
Take your time with each step. If you’re switching bits, unplug the tool first. Don’t be shy about testing the hardware multiple times. Sometimes it feels overkill, but it’s way better than realizing your lock is crooked after you’ve screwed everything down.
Clean up as you go—dust and chips can mess with your view of the pocket, and even a little debris can keep hardware from sitting flush. When you’re finished, run a tiny bead of wood glue around the mortise edge if it feels splintery, and sand lightly for a pro-level finish.
Any time you’re working on exterior doors, remember: it’s not just about looks. A precise mortise means stronger hardware, better weather protection, and a longer-lasting door.
When to Call in a Pro vs. DIY With a Dremel
Honestly, most mortise adjustments with a Dremel are totally doable for beginners—especially if you’re patient and don’t rush. But if your doorframe is warped, the wood is cracked, or you’re working on a fancy old door with weird hardware sizes, don’t feel bad calling a pro. Sometimes, a professional locksmith or carpenter can save you hours (and a lot of swearing).
If you’re just making small tweaks for new deadbolts, handles, or strike plates, though, a Dremel will usually get the job done with minimal drama. Just follow the steps, check your progress often, and keep the tool in control—no heavy hands needed.
Wrapping Up: Getting Pro Results With a Dremel Tool
Tuning up exterior hardware mortises with a Dremel tool isn’t just about saving time or looking like you know your way around a toolbox. It’s about getting that satisfying “click” when the lock fits perfectly—and knowing you made your entryway just a little stronger and smarter. The Dremel isn’t magic, but it’s close: with the right bit, a careful hand, and some basic safety steps, you can get results that look and work like something out of a pro’s workshop.
If you ever hesitated to touch up a mortise before, remember, everyone starts somewhere—usually with a few mistakes and a couple of spare bits. Trust your eye, go slow, and let the Dremel do what it does best. Before long, you’ll be looking for excuses to make your next door hardware upgrade just for the fun of it.