It’s a common issue, one that can happen with various brands, whether you’re dealing with a rustic farmhouse style or a more modern design. Don’t worry if you’ve never tackled this before—tightening screws is simple, and with a bit of guidance, you’ll have that door gliding smoothly once again.
Understanding Sliding Barn Door Mechanics
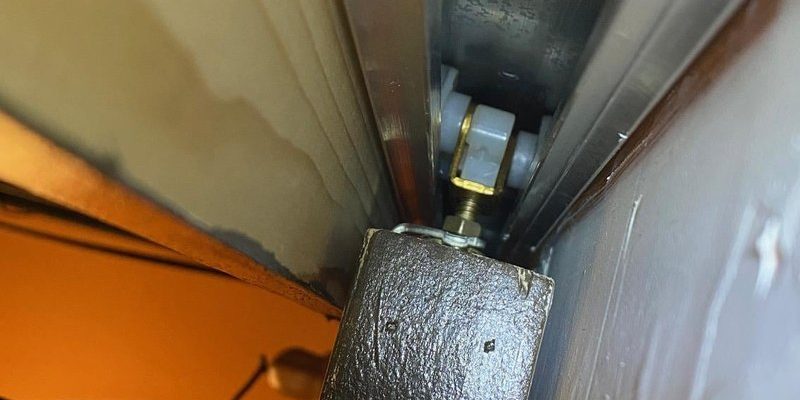
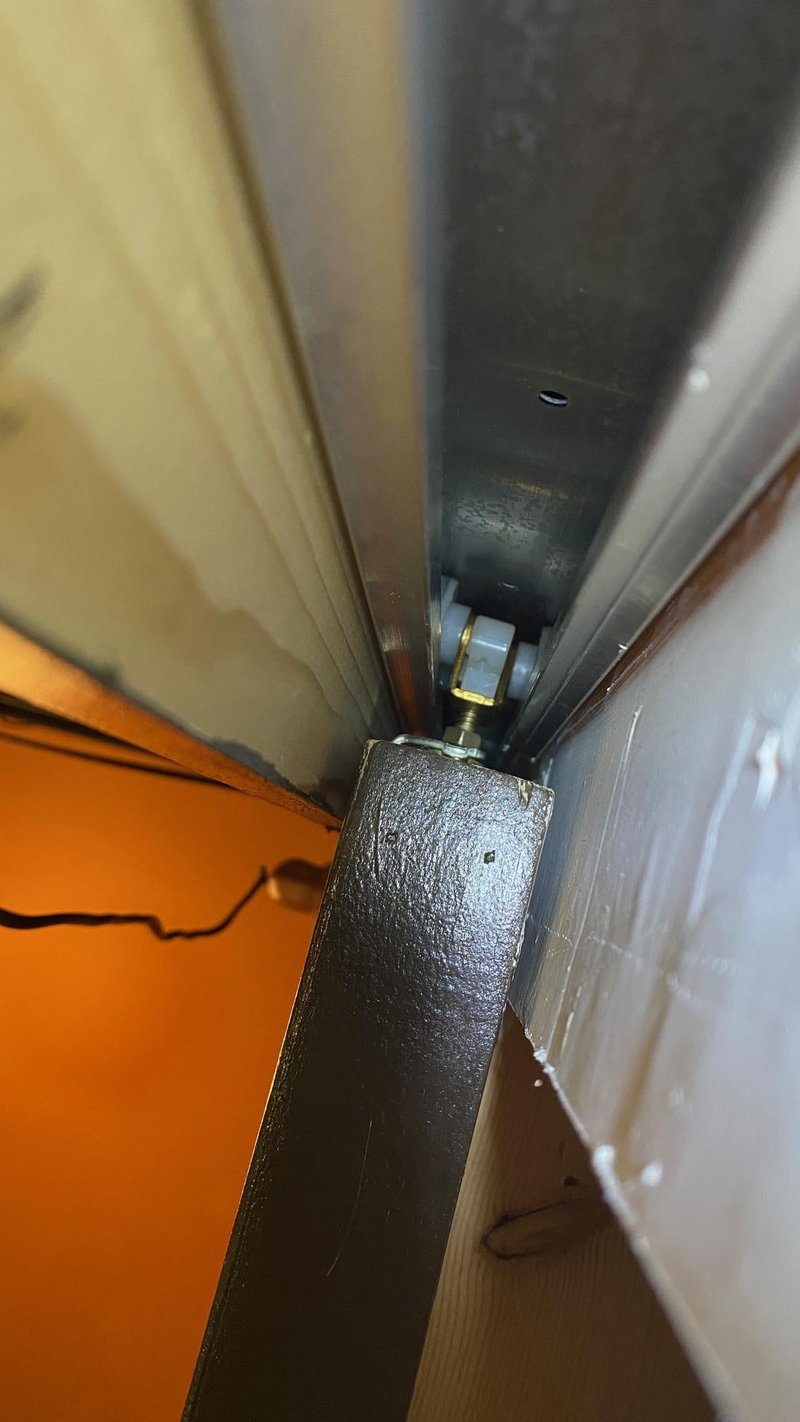
Before you dive into tightening those screws, it helps to understand how a sliding barn door works. At the core, the door hangs on a track mounted to the wall, using a set of hangers or rollers. These hangers are attached to the door with screws. When those screws become loose—whether due to temperature changes or just the passage of time—the door can start to behave oddly, like a kid trying to ride a bike without knowing how to balance.
Here’s the thing: a well-functioning door should glide easily along the track without any wobbling or sticking. If you notice any creaking sounds or if the door feels loose, it’s a sign that it’s time to check those screws. This isn’t just a cosmetic fix—it affects the overall functionality of the door.
Gathering Your Tools
Now that you have a grasp on how the door operates, let’s gather what you need for tightening those screws. You won’t need to make a trip to the hardware store—most of these tools are common household items. Here’s a quick checklist:
- Screwdriver: Ensure you have the right type (flathead or Phillips) for your screws.
- Drill: If you find that screws are stripped or hard to turn, a drill can be very useful.
- Level: This will help you ensure the door hangs straight after you make adjustments.
- Measuring tape: For checking the position of your door if needed.
Having these tools nearby will make the process smoother. If you’ve got a friend or family member who can help, that’s even better. Two pairs of hands can make a tricky task feel much easier!
Inspecting the Door and Hanger System
Before you start tightening screws, it’s essential to inspect the entire hanger system. Look at each component carefully—the track, the hangers, and the screws themselves. Is anything visibly worn or damaged? Having a keen eye can save you time later.
While inspecting, ask yourself:
– Are the hangers properly aligned on the track?
– Do the screws look stripped or out of place?
– Is anything loose, including the track itself?
This step is like checking a recipe before cooking. You want to ensure you have everything right before you start making adjustments. It’s also a good idea to clean the track of any debris or dust, as this can affect how smoothly the door moves.
Tightening the Hangers
Once you’ve inspected everything, it’s time to tighten those screws. Here’s how to go about it:
1. Locate the Screws: Find the screws that secure the hangers to the door.
2. Use the Right Tool: Grab your screwdriver or drill, depending on what’s easier for you.
3. Tighten Gently: Turn the screws in a clockwise direction. Don’t over-tighten; you want them snug, not stripped.
It’s often best to do this one screw at a time and check the balance before moving on to the next. Think of it like fine-tuning an instrument—you want each part to be just right for the whole system to work smoothly.
Adjusting the Track Alignment
Sometimes, a loose door isn’t just about the screws. It could also have to do with the track being out of alignment. If you notice gaps or your door isn’t running smoothly after tightening the screws, it might be time to adjust the track.
To adjust the track:
1. Check the Level: Use your level to see if the track is straight.
2. Loosen Track Screws: If it’s not level, loosen the screws that hold the track to the wall.
3. Reposition the Track: Shift the track till it’s level, then re-tighten those screws.
This might feel like a small tweak, but it can make a noticeable difference. A well-aligned track helps prevent future loosening of the screws.
Testing the Door
After tightening everything up and making adjustments, it’s time for a test run. Open and close the door several times to see how it feels. Is it smooth? Does it rattle or wobble? You might even want to have a friend take a peek to ensure everything looks even from an outsider’s perspective.
If the door slides easily and stays in place, congratulations! You’ve successfully tackled the issue. If it still feels loose or problematic, take a moment to retrace your steps. Often, it’s just a matter of adjusting a few screws.
Maintaining Your Sliding Barn Door
Now that your barn door is back in shape, it’s essential to keep an eye on it. Just like you’d regularly oil a squeaky hinge, check your screws every few months. A quick inspection can prevent those pesky loose screws from becoming a bigger problem down the line.
Here are a few maintenance tips:
- Regularly clean the track to keep it debris-free.
- Inspect the hangers and screws every few months.
- Lubricate the track with a silicone spray if you notice any resistance.
Keeping up with these simple tasks can extend the life of your door and ensure it remains a beautiful part of your home.
In conclusion, tightening loose screws on a sliding barn door hanger is a straightforward task that anyone can handle. With the right tools and a bit of attention, you can have your door functioning like new again. Remember, a well-maintained door not only looks great but also keeps your space functional and welcoming!