If you have a common door latch, like the ones from brands such as Kwikset or Schlage, you’re in luck. The process is straightforward, and with the right tools, anyone can tackle it. So, grab a cup of coffee and let’s walk through the process step by step.
Understanding the Function of the Plastic Stop
Before we dive into the replacement process, let’s clarify what the plastic stop does in the door latch mechanism. Picture it as the cushion that prevents the latch from slamming against the door frame. It helps the latch engage smoothly and keeps everything aligned. Over time and with regular use, this plastic piece can wear down, leading to misalignment and difficulties in opening or closing the door.
When your door latch isn’t functioning properly, it might not catch at all, or it could require extra force to close. Unfortunately, ignoring a worn plastic stop can lead to more severe door issues down the line. If you want to keep your door functioning well, replacing that stop is the best way to go.
Gathering Your Tools and Materials
You won’t need much to replace the worn plastic stop. Here’s a quick list of what you’ll need:
- New plastic stop (make sure it matches your latch type)
- Screwdriver (typically a Phillips head)
- Pliers (if needed)
- Measuring tape (to ensure the correct size)
- Lubricant (for smooth operation)
If you’re unsure what type of plastic stop you need, check the manual for your door latch, or you can take the old one to a hardware store for a comparison. Getting the right fit is crucial!
Removing the Door Latch
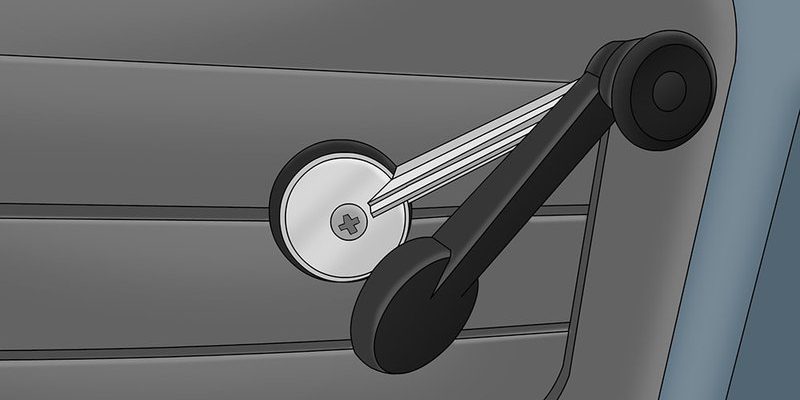
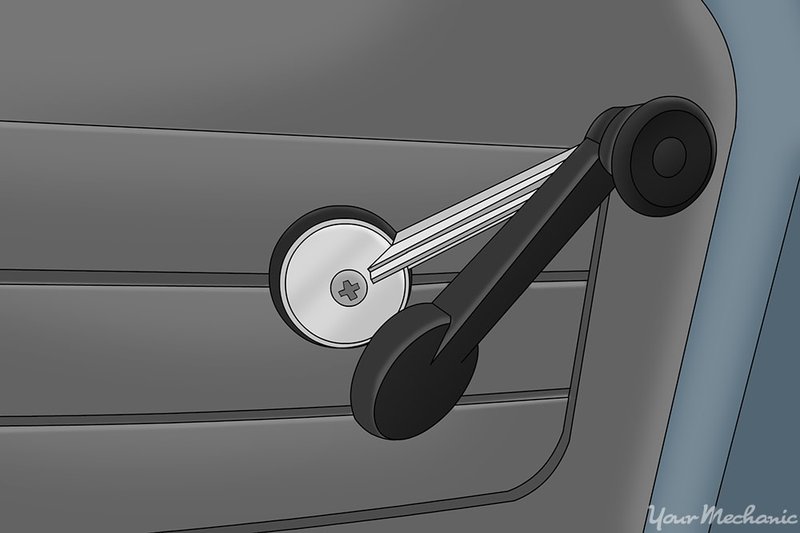
Now that you’ve got your materials ready, it’s time to remove the door latch. Start by using your screwdriver to unscrew the latch from the door. Make sure you keep the screws in a safe place, as you’ll need them later. If the latch is stubborn, using pliers can give you a little extra leverage.
Once the latch is free, you can examine the plastic stop. If it’s worn down or damaged, it’ll be easy to spot. Gently pull it out; some might pop right out while others may need a bit of coaxing. Remember, we’re aiming for a smooth transition, so be careful not to damage the surrounding parts.
Replacing the Plastic Stop
With the old stop removed, it’s time to install the new one. Position the new plastic stop in the same spot where the old one was. Ensure it fits snugly without any gaps. If it’s a bit too big, you can trim it down using your measuring tape and a sharp knife. Just be cautious; you want it to be the right size without compromising its function.
When the new stop is securely in place, it’s a good idea to apply a bit of lubricant around the latch itself. This can help ensure everything moves smoothly once you reassemble it.
Reassembling the Door Latch
Once the new plastic stop is in place, it’s time to put everything back together. Align the latch back into its slot in the door. Using your screwdriver, carefully reattach the latch, ensuring it’s secure but not too tight, which could lead to more wear and tear later.
After reassembling, give the latch a few test runs. Open and close the door multiple times to make sure everything functions smoothly. If you notice any sticking points, that could mean adjustments are needed.
Testing the New Installation
Testing your work is crucial! Once you’ve reassembled the door latch, give it a thorough check. Open and close the door several times to see how it feels. It should glide with ease without any resistance. If you hear any strange noises or feel that it’s not operating correctly, you might want to double-check that the plastic stop is seated properly.
If everything sounds good and feels right, congratulations! You’ve successfully replaced a worn plastic stop in your door latch.
Why Regular Maintenance Matters
Now that you’ve tackled this repair, it’s essential to think about regular maintenance. Keeping an eye on your door latch and other hardware will save you headaches in the long run. Check for wear and tear every few months, especially in high-traffic areas. A little prevention goes a long way in maintaining the functionality and longevity of your doors.
Keep in mind that if you’re ever unsure or face issues that don’t seem to resolve, consulting a professional can be a good option. After all, sometimes you need a little expert help to keep everything in check.
Replacing a worn plastic stop in a door latch might seem like a daunting task, but as you’ve seen, it’s a simple process that anyone can do. With just a few tools and a bit of time, you can restore your door to smooth-operating condition. Remember, taking care of these small issues can prevent bigger problems later on. So, whether you’re dealing with a Kwikset or Schlage door latch, now you know how to handle it! Happy fixing!