
Pocket doors work by sliding into a wall, which makes them a great option for tight spaces. However, the recessed pull or handle is often the most visible part, so it’s essential to get it right. If you’re thinking about DIY-ing this project, don’t worry! We’ll cover everything from tools needed to installation steps. Grab a cup of coffee, and let’s dive in.
What You’ll Need for the Replacement
Before diving into the actual replacement, it’s good to gather your tools. This will make the process smoother and more efficient. Here’s a quick list of what you’ll typically need:
- Replacement recessed pull or handle
- Screwdriver (usually a Phillips head)
- Drill (if necessary)
- Measuring tape
- Level
- Chisel (for adjustments)
- Pencil for marking
Having these tools on hand will save you from running back and forth to your toolkit mid-project. It’s like preparing for a road trip; the more you plan ahead, the smoother the journey will be!
Choosing the Right Recessed Pull or Handle
Now, let’s talk about the pull or handle itself. You might be wondering how to choose the right one. When shopping, consider the following factors:
1. Style: Do you want a modern look or something more traditional? The pull should match your home’s aesthetic.
2. Size: Measure your current handle’s dimensions or the recess in the door. Choosing a handle that’s too small or large can lead to frustration.
3. Material: Handles come in various materials like metal, plastic, and wood. Each has its own feel and durability, so pick one that suits your needs.
When you’re in the store, hold the handles in your hand and see how they feel. It’s like trying on shoes; they should fit comfortably and be easy to use.
Removing the Old Pull or Handle
Once you have your new handle ready, it’s time to remove the old one. Here’s the step-by-step process:
1. Unscrew the Handle: Use your screwdriver to remove the screws holding the old pull in place. Keep these screws; you might need them for the new handle.
2. Pull It Out: Gently pull the handle out of the recess. If it’s stubborn, a light tug may be necessary, but don’t force it.
3. Inspect the Area: Take a good look at the recess and door surface. If there are any cracks or damages, you might want to fix these before proceeding.
This step is crucial—taking your time here will save you headaches later on. Remember to keep your workspace organized so you don’t lose any screws or parts.
Preparing the New Handle for Installation
To make sure the new pull fits perfectly, we need to prepare it for installation:
1. Check Fit: Place the new pull into the recess to see if it fits snugly. If it doesn’t, you may need to adjust the recess with a chisel. Just a few light taps should do the trick!
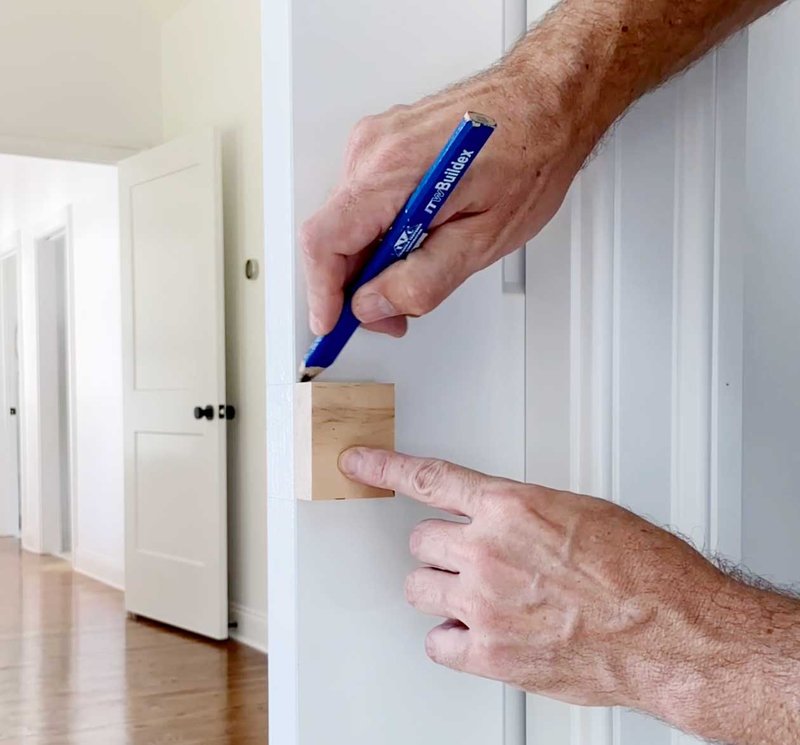
2. Mark Screw Holes: Using your pencil, lightly mark where the screw holes will go based on your new pull’s design.
3. Drill Holes (if necessary): If the new handle requires different screw placements, drill holes at the marked spots. Always double-check your work with a level to keep the handle straight.
Preparation is often overlooked, but it sets the stage for success. Make these adjustments carefully to ensure a smooth installation.
Installing the New Pocket Door Pull or Handle
Now we’re getting to the exciting part—installing your new pull! Follow these easy steps:
1. Align the Handle: Slide the new pull into the recess and ensure it’s aligned with the screw holes.
2. Insert Screws: Begin screwing in the screws by hand to avoid cross-threading. Once they are all in place, use your screwdriver to tighten them, but be careful not to overtighten.
3. Test the Handle: Give the handle a tug or push to make sure it’s securely attached. It should move smoothly without any wobbling.
Installing the new pull is like putting the cherry on top of a sundae. It’s crucial to make sure it’s done right for both functionality and appearance.
Final Touches and Troubleshooting
With your new pocket door pull in place, take a moment to step back and admire your handiwork. If everything looks good, here are a couple of final checks:
1. Check Alignment: Ensure the pull is level and aligned with the door. If it’s not, you might need to adjust the screws slightly.
2. Close the Door: Open and close the door several times, testing the pull for comfort and ease of use. If it feels awkward, consider repositioning it.
If you run into issues, like the pull feeling loose, you can tighten the screws a bit more. For stubborn handles, sometimes a little WD-40 can help with movement.
Replacing a pocket door pull or handle may seem small, but it can have a huge impact on the functionality and look of your door. Plus, tackling this DIY project can be quite rewarding! Remember to gather your tools, choose the right pull, and give yourself enough time to do the job right. Each step—from removal to installation—will bring you closer to making your space feel a little more like home. So go ahead, get started on your pocket door upgrade, and enjoy the satisfaction of transforming your door with a simple replacement!