A double-bore knob has two holes drilled into your door: one for the knob itself and another for the latch. On the flip side, a single-bore knob only requires one hole, which can make installation a bit tricky but definitely doable. So, how do you make this change without turning your door into a DIY disaster? Let’s dive into it!
Understanding the Difference Between Double-Bore and Single-Bore Door Knobs
Before you dig into this project, it’s essential to know what you’re dealing with. Double-bore door knobs have two different functions: the knob turns to open the door, while the latch keeps it secure. This arrangement requires a larger cutout area, which means more complexities when switching to a single-bore knob.
On the other hand, a single-bore door knob is simpler. It makes use of a single hole for the knob and its latch combined into one unit. It’s sleek and can give a more modern look to your door. If you’re tired of that bulky hardware, switching to a single-bore knob might just be your ticket to a cleaner aesthetic.
Honestly, you might be wondering why anyone would want to make this switch. Well, if you’re updating the look of your home or simply want a different type of knob, this change can completely transform your door’s appearance.
Gathering Your Tools and Materials
Before you start, having the right tools on hand is crucial. Here’s what you’ll need:
- Screwdriver: A Phillips or flathead depending on your existing door hardware.
- Drill: If you need to create a new bore for the single-bore knob.
- Chisel: To help fine-tune the shape of the hole if needed.
- Measuring Tape: For precise measurements to avoid mishaps.
- New Single-Bore Door Knob Set: Make sure it’s compatible with your door thickness!
Now that you have your tools, it’s time to get to work. The process can be a bit of a journey, but with patience and attention to detail, you’ll end up with a door that feels brand new.
Removing the Old Double-Bore Door Knob
Let’s take a moment to tackle the removal of your old double-bore knob. Here’s a step-by-step approach:
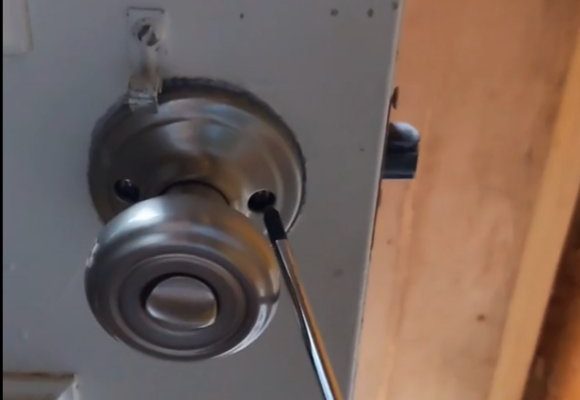
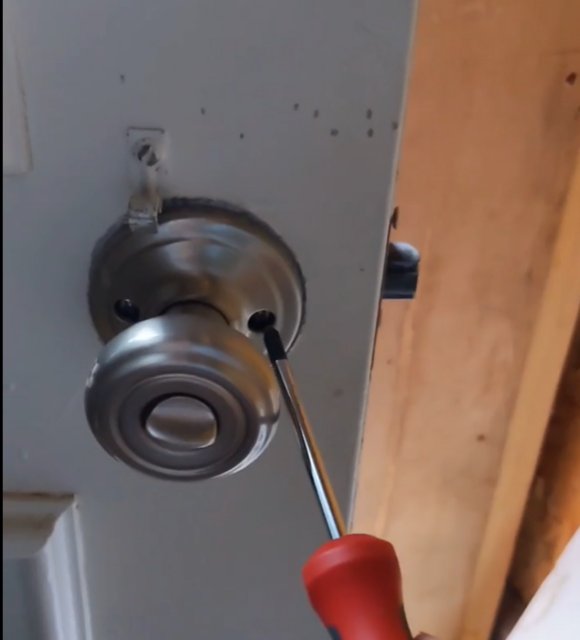
1. Identify the Screws: Turn the knob and find the screws holding it in place. Most knobs will have screws either on the side or behind the knob itself.
2. Unscrew the Knob: Using your screwdriver, remove the screws. Keep them in a safe place; you might need them later.
3. Remove the Latch Plate: Next, you need to pull out the latch mechanism. It’s usually held in place with two screws. Unscrew those gently.
4. Take Out the Knob: Once everything is free, you should be able to slide both sides of the knob off the door.
At this point, the old knob is out, and you might start to feel a little accomplished. However, be careful! You’re just one step into this project, and fresh challenges might be just around the corner.
Preparing the Door for the New Single-Bore Knob
Now that your old knob is gone, it’s time to prep the door for the new single-bore knob. This part is crucial for ensuring a clean fit:
– Measure the Bore Size: Double-check your new single-bore knob’s measurements. It should fit snugly in a hole that’s typically around 2 1/8 inches wide.
– Drill or Adjust the Hole: If your current hole is too large or unfit for your new knob, you might need to drill a new hole. Remember to keep your drill level for an even fit.
You might be wondering why this step matters so much. If the hole isn’t right, the knob won’t function properly, and you’ll end up frustrated on day one. It’s like trying to fit a square peg in a round hole—it just won’t work!
Installing the Single-Bore Door Knob
At last, we’re getting into the installation! Here’s how you can successfully install your new single-bore knob:
1. Insert the Knob: Place the new knob into the hole, ensuring it’s facing the right direction.
2. Secure the Latch Mechanism: Attach the latch that came with your new knob. This will go inside the door, sliding into the single bore.
3. Fasten the Knob: Use the screws to secure the knob to the door. Make sure it’s tight, but don’t overdo it; you don’t want to crack the door material.
4. Test the Mechanism: Before you close the door, turn the knob a few times to ensure everything is working as expected.
The excitement you feel when you complete these steps is palpable! You’re almost done, and it’s time to see your hard work come to life.
Testing and Troubleshooting Your New Door Knob
Once your new single-bore knob is in place, it’s time for a test drive. Try opening and closing the door several times to make sure everything functions smoothly. If you notice anything off, here are a few common issues and how to fix them:
– Knob Sticking: If the knob sticks, check to see if the latch is aligned properly. Adjust it if necessary.
– Loose Mechanism: If the knob feels loose, retighten the screws. A loose knob can lead to it falling off.
– Misalignment: Sometimes, the door frame might not align perfectly. In this case, check to see if you need to adjust the hinges.
Let’s face it—nothing ruins a new door knob’s vibe like it not working right. By taking a few extra moments to troubleshoot, you save yourself potential headaches later.
Final Thoughts on Replacing a Double-Bore Door Knob
Making the switch from a double-bore door knob to a single-bore knob might seem challenging at first, but with the right tools, steps, and a bit of patience, it’s a straightforward task. You’re not just changing a piece of hardware; you’re enhancing the look and feel of your space.
Plus, once you get the hang of it, you might just find yourself looking for other projects around the house to tackle. So grab your tools, trust the process, and enjoy the satisfaction of your new door knob! Happy DIY-ing!