Understanding the Problem: What Causes a Gritty Door Latch?
Let’s break down what makes a door latch feel rough. The most common culprits are dirt and grime that accumulate over time. Picture this: every time you close or open the door, tiny particles can seep into the latch mechanism. It’s like sand getting stuck in your shoe. Eventually, it builds up and causes friction.
Another factor could be the lubricant used in the latch. If you’ve used a spray lubricant in the past, it might attract dust and dirt, exacerbating the problem. Or, you might simply have a latch that’s aged and rusted. In any case, the good news is that repairs are usually straightforward and don’t require any specialty tools.
Lastly, environmental factors like humidity or temperature fluctuations can also cause materials to expand or contract, leading to stiffness in the latch. Whatever the cause, recognizing that there’s a problem is the first step toward a smooth solution.
Tools and Materials You’ll Need
Before you start your repair, gather a few simple tools and materials. Here’s what you’ll need:
- Screwdriver: Depending on your latch, you might need a flathead or Phillips screwdriver.
- Lubricant: Opt for a silicone spray or a graphite lubricant—these work wonders without attracting too much dust.
- Cleaning cloth: A microfiber cloth is ideal for wiping down surfaces.
- Compressed air (optional): If you have it, this can be great for blowing out any trapped debris.
- Replacement parts (if needed): Sometimes, a part may need replacing, so having a spare latch handy can be helpful.
Having everything on hand before you start will make the process smoother and help you avoid interruptions.
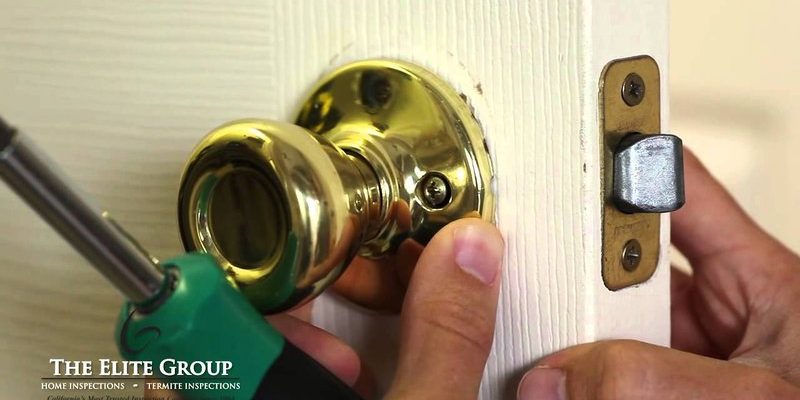
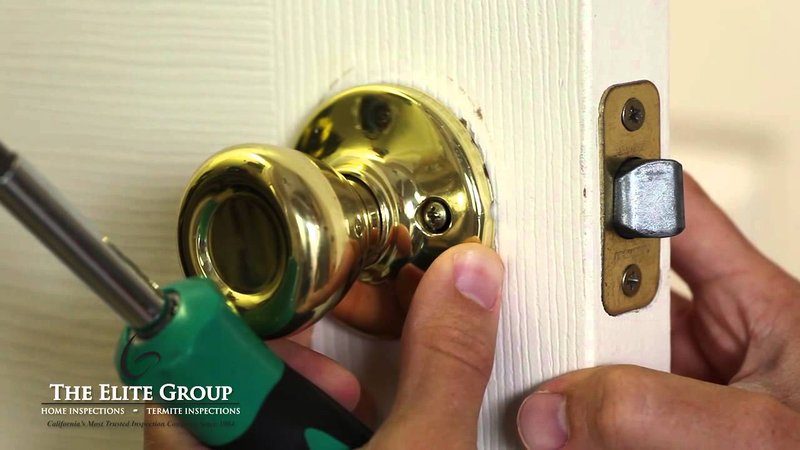
Step 1: Remove the Latch from the Door
Now let’s get into the nitty-gritty of fixing your latch. The first step is to remove it from the door. Here’s how to do that:
1. Locate the screws: Inspect both the plate and the latch mechanism. Often, there are screws holding it in place.
2. Unscrew the latch: Using your screwdriver, carefully unscrew the latch from the door. Keep the screws in a safe place; you’ll need them later.
3. Take out the mechanism: If it’s stuck, gently wiggle it free. Don’t force it, as that can damage the door or latch.
Once the latch is removed, you’ll have a better view to assess the extent of the dirt or damage.
Step 2: Clean the Latch Mechanism
With the latch in hand, it’s time to give it a thorough cleaning. Here’s how:
1. Wipe it down: Start by using your cleaning cloth to wipe away any visible dirt on the latch. Pay close attention to crevices where grime can hide.
2. Use compressed air: If you have compressed air, it’s perfect for blowing out any stubborn dirt or debris stuck inside the mechanism. Just a few short bursts should do the trick.
3. Inspect for rust: While cleaning, check for any signs of rust. If you see it, don’t panic. A bit of rust can often be scrubbed away with a fine steel wool pad.
Cleaning your latch is crucial for ensuring that it operates smoothly again. It’s like giving the latch a fresh start!
Step 3: Lubricate for Smooth Operation
Now that your latch is clean, it’s time to apply some lubricant. This part is key to making sure your latch feels smooth and doesn’t accumulate dirt again.
1. Choose the right lubricant: As mentioned, a silicone spray or graphite lubricant is ideal. They don’t attract as much dust compared to oil-based lubricants.
2. Apply the lubricant: Spray or apply a small amount of lubricant directly to the moving parts of the latch. Don’t go overboard—a little goes a long way.
3. Work it in: Gently move the latch back and forth to work the lubricant into the mechanism. This helps ensure that it’s evenly distributed.
Lubricating correctly will enhance the performance of the latch, much like oiling a bike chain keeps it running smoothly.
Step 4: Reattach the Latch to the Door
With your latch cleaned and lubricated, it’s time to put it back where it belongs. Here’s how:
1. Align the latch: Hold the latch up to the door, aligning it with the screw holes.
2. Insert and tighten screws: Start inserting the screws you removed earlier. Tighten them securely but be careful not to overtighten, as this can strip the screws or damage the latch.
3. Test the latch: Once everything is reattached, give the door a few test opens and closes. It should feel smooth and quiet, free from that gritty sensation.
If everything feels good, congratulations! You’ve successfully repaired your door latch.
Step 5: Troubleshooting Common Issues
After reassembling, you might encounter a few hiccups. Don’t worry; it happens! Here are some common issues and how to resolve them:
– Persistent grit: If the latch still feels gritty, double-check that you cleaned all the parts thoroughly. Sometimes, a second cleaning is necessary.
– Difficulty locking or unlocking: If the latch doesn’t engage smoothly, ensure it’s aligned properly. Sometimes, minor adjustments can resolve misalignment.
– Squeaking sounds: If it squeaks after lubrication, it may need more lubricant or a different type. Test out a silicone spray if you’ve used oil-based before.
These small tweaks might be all you need to get your latch back to its best performance.
Restoring a door latch that feels gritty or rough doesn’t have to be a daunting task. With some cleaning, lubricating, and a little bit of patience, you can make it work like new again. Whether it’s an interior door latch or a more complex deadbolt, the principles are much the same.
Now that you’ve got the tools and knowledge to tackle this issue, you can regain that satisfying click every time you close the door. And who doesn’t appreciate a little smoothness in life? So next time your latch begins to feel rough, remember these steps and enjoy the small victory of a well-functioning door latch.