Think of it this way: removing a stubborn latch is much like solving a puzzle. You need to understand the pieces—how the latch works, what tools you’ll need, and the steps to take. Whether you’re dealing with a simple round latch or a more complex mechanism, I’m here to guide you through the process step by step.
Understanding Your Door Latch
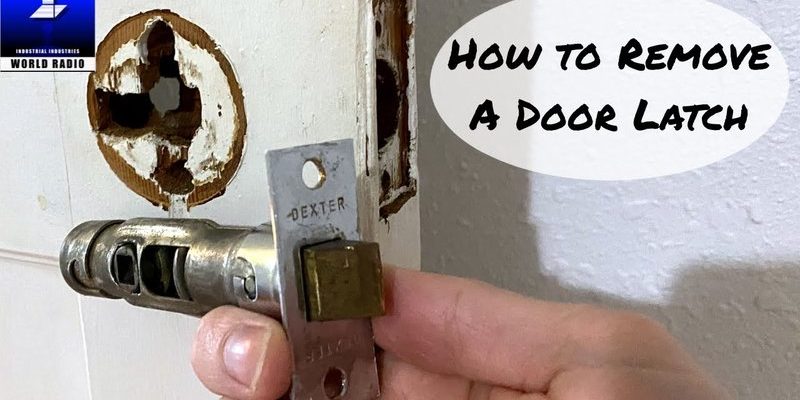
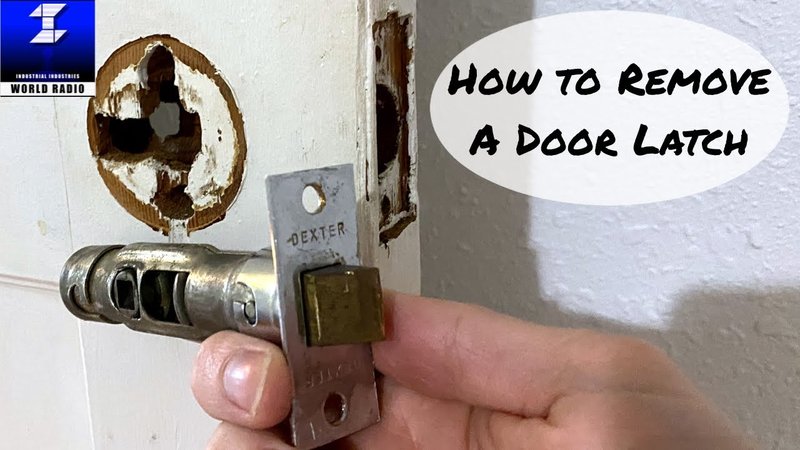
Before diving into the removal process, it’s crucial to understand what kind of latch you’re working with. Most door latches consist of the following components:
- Strike Plate: This is the metal plate attached to the door frame that the latch clicks into when shut.
- Latch Bolt: This is the part that moves in and out when the handle turns, securing or releasing the door.
- Handle or Knob: This is what you turn or push to operate the latch.
Knowing these components helps you figure out where to focus your efforts. If you’re looking at a latch that seems jammed, there might be dirt or rust interfering with its movement. Here’s the thing—understanding the latch makes troubleshooting a lot easier.
Gather Your Tools
You won’t get far without the right tools. Here’s what you’ll need to tackle a stubborn door latch:
- Screwdriver: Most latches are screwed into place, so a Phillips or flathead screwdriver will be essential.
- Pliers: These can help you grip and twist stubborn parts.
- WD-40 or Lubricant: A good lubricant can work wonders on rusted or stuck mechanisms.
- Drill (optional): If screws are stripped or stuck, a drill can help remove them.
Having these tools on hand will make the process smoother. Honestly, trying to remove a latch without the right tools is like trying to bake a cake without flour—you’re just not going to get it done.
Inspecting for Damage
Before you start removing the latch, take a moment to inspect its condition. Look for:
- Rust: Rust can prevent the latch from moving freely. If you spot it, a bit of lubricant can often help.
- Stripped Screws: If the screws look worn, you may need to use a drill to carefully remove them.
- Alignment Issues: Sometimes, the latch is just misaligned with the strike plate, so check that, too.
Understanding these issues can save you time. If the latch is damaged, replacing it might be a better option than trying to remove it.
Removing the Latch
Now we get to the good stuff—removing the latch itself. Here’s how to do it step by step:
1. Remove the Handle or Knob: Start by unscrewing the handle or knob. Most of them can be easily removed by turning the screws in a counter-clockwise direction.
2. Unscrew the Latch Plate: Look for screws that hold the latch plate in place. Carefully remove these with your screwdriver. If the screws are stuck, a bit of lubricant applied with a cloth can help loosen them.
3. Pull Out the Latch: Once all screws are removed, gently pull the latch straight out from the door. If it feels stuck, try wiggling it slightly or applying some lubricant to ease it out.
4. Inspect the Inside: Check the hole for any obstructions or damage. Cleaning it can help if you’re planning to install a new latch.
Here’s a tip: if you find that pulling on the latch doesn’t work, try using pliers for a better grip. Sometimes a little extra pressure can make a difference.
Dealing with Stubborn Screws
If you encounter screws that just won’t budge, don’t panic. Many DIY enthusiasts face this issue, and there are ways around it:
- Use a Rubber Band: Place a rubber band over the screw head before trying again with your screwdriver. It can provide extra grip.
- Apply Heat: Warm the screw with a hairdryer for a minute. The heat can cause the metal to expand slightly, making it easier to turn.
- Drill Them Out: If all else fails, carefully use a drill to remove the screw. Make sure to use a drill bit that’s slightly smaller than the screw shaft.
These tricks can help you tackle those pesky screws that just won’t cooperate. Imagine being at a party where no one wants to dance; sometimes, you just need to give it a push to get things moving!
Reinstalling or Replacing the Latch
Once you’ve successfully removed the stubborn latch, you may want to reinstall it or replace it with a new one. If you’re reinstalling, simply reverse your steps:
1. Insert the New Latch: Slide the new latch into the hole and ensure it fits snugly.
2. Attach the Latch Plate: Secure the plate with screws and tighten them properly to avoid any future looseness.
3. Reattach the Handle or Knob: Finally, put the handle or knob back on, ensuring it turns smoothly.
If you’re replacing the latch, follow the manufacturer’s instructions to ensure a proper fit. Just like putting together furniture, having the right parts and following the steps makes all the difference.
Final Thoughts
Removing a stubborn door latch may seem daunting, but with the right tools and techniques, it can be a straightforward task. Just take your time, know what to look for, and don’t be afraid to use a little muscle when necessary.
If all else fails, remember: sometimes, asking for help is the best option. Whether it’s a friend who’s handy or a professional, getting the job done right is what matters. So next time you find yourself wrestling with a latch, just think of it as a little DIY adventure—you might even find it fun!