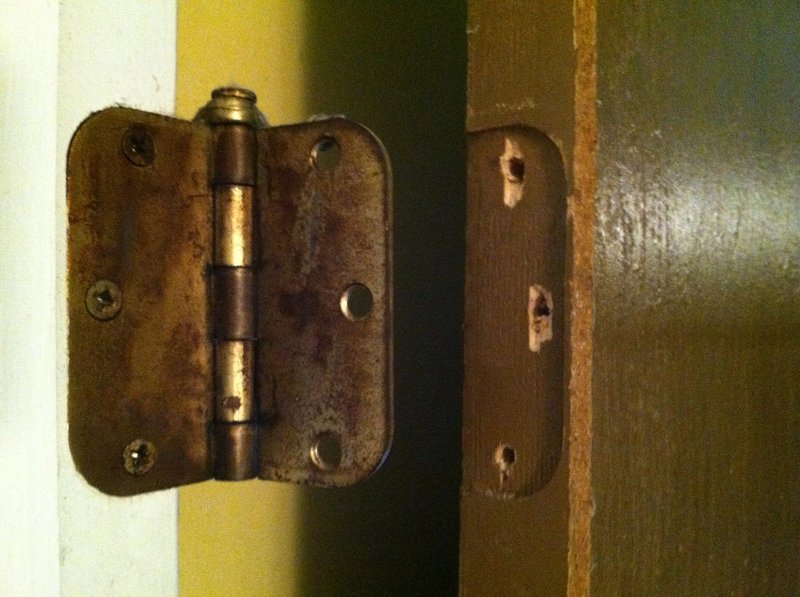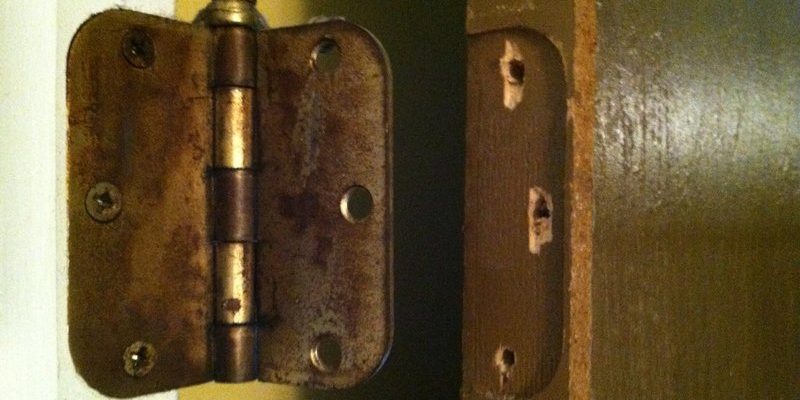
Picture this: you’re in the middle of a home project, and you’re excited to finish it. But then, as you’re working, you encounter that pesky stripped screw. Not only does it delay your progress, but it can feel like you’ve hit a brick wall. Understanding how to deal with this issue will give you the confidence to tackle it head-on, turning that frustration into a “hey, that wasn’t so bad” moment.
Let’s walk through the process step by step, using some tools you probably have lying around your home. With a bit of patience and these easy-to-follow tips, you’ll have that hinge screw removed in no time.
Understanding What a Stripped Hinge Screw Is
First things first, let’s clarify what we mean by a stripped screw. When the head of a screw becomes damaged, it makes it difficult or even impossible to turn it with a screwdriver. Think of it like trying to turn a key in a lock that’s rusted shut—no matter how hard you try, it just won’t budge.
Stripped hinge screws can occur for several reasons: the wrong size screwdriver, excessive force, or simply wear and tear over time. You might have twisted it too much, or it could be that the screw was never properly installed to begin with. Understanding the issue is key to fixing it.
The good news is that there are several methods to remove a stripped hinge screw. Depending on what tools you have available, some methods might be easier or more effective than others. Let’s dive into those methods now, shall we?
Tools You’ll Need to Remove a Stripped Hinge Screw
Before you get started, having the right tools will make your job much easier. Here’s a quick list of what you’ll likely need:
- A pair of pliers
- Screw extractors
- A rubber band
- A drill with the appropriate drill bit
- Wood filler (optional, for fixing any damage)
Let’s break these down a bit.
Pliers can be your best friend when dealing with a stripped screw. If the screw head is slightly protruding, you might be able to grip it and twist it out. Remember, a firm but gentle grip is essential to avoid breaking the screw further.
Screw extractors are specifically designed for these situations. They have a reverse thread that grips the inside of the stripped screw, giving you the leverage needed to pull it out. If you plan on tackling home repairs often, investing in a set of screw extractors could be worth your while.
You might be surprised by the effectiveness of a rubber band. Placing a rubber band over the head of the stripped screw can sometimes provide the extra grip your screwdriver needs.
Finally, having a drill handy can help if you decide to go the route of drilling out the screw. While this option might seem extreme, it can be a last resort if other methods fail.
Method 1: Using Pliers
One of the simplest ways to tackle a stripped hinge screw is by using pliers. This method works best if there’s enough screw head showing for you to grip it. Here’s how to do it:
1. Locate the right pair of pliers: Needle-nose pliers are usually effective, but any sturdy pliers will do.
2. Grip the screw head: Firmly grab the screw head, making sure not to apply too much pressure that would cause it to snap off.
3. Twist counterclockwise: Slowly turn the pliers counterclockwise. If you feel resistance, do not force it—try again or move on to the next method.
This method is quick and often successful, especially if the screw wasn’t overly damaged in the first place.
Method 2: The Rubber Band Trick
If the pliers didn’t do the trick, let’s try the rubber band method. It’s simple but surprisingly effective for some people.
1. Choose a rubber band: Find one that’s thick enough to provide some grip without being too bulgy.
2. Place the rubber band on the screw head: Lay the rubber band over the stripped area of the screw.
3. Insert your screwdriver: Push the screwdriver into the rubber band and turn counterclockwise. The rubber band can fill in the gaps of the stripped screw, giving your screwdriver some extra grip.
It’s a clever little hack that might just save you a lot of time and frustration.
Method 3: Using a Screw Extractor
If the previous methods didn’t work, it might be time to bring out the screw extractor. This tool is designed specifically for situations like this, and using it is pretty straightforward.
1. Drill a hole in the screw: Using a drill, create a small hole in the center of the stripped screw. Make sure the bit is slightly smaller than the screw extractor.
2. Insert the extractor: Choose a screw extractor that fits into the hole you just drilled. Insert it and turn it counterclockwise.
3. Remove the screw: As you turn the extractor, it should grip the screw securely and allow you to pull it out.
This method is highly effective, especially for screws that are significantly damaged.
Drilling Out the Stripped Screw
If you’ve tried the previous methods and nothing worked, you may need to resort to drilling out the screw. Here’s how to do it safely:
1. Select the right drill bit: Use a bit that is slightly larger than the screw.
2. Drill gently: Go slow and steady, applying light pressure. You want to drill through the screw and into the material behind it without damaging the door or frame.
3. Remove the remaining pieces: Once you’ve drilled through, you can usually pull the screw remnants out with pliers.
This method may leave you with a larger hole, so be prepared to fill it with wood filler if necessary afterward.
Repairing Damage After Removing the Screw
Once you’ve successfully removed the stripped hinge screw, you might notice some damage to the surrounding area. Here’s how to fix that:
1. Assess the damage: Look at the hole left behind. Is it large? Does it look like it can accommodate a larger screw?
2. Use wood filler: If needed, apply wood filler to the hole. Make sure to smooth it out with a putty knife for a clean finish.
3. Let it dry: Allow the filler to dry completely before attaching the hinge again. This usually takes a few hours.
By taking care of this damage, you’ll set yourself up for a better fit when installing the new screw. It’s like putting a nice layer of icing on a cake—it makes everything look and work better.
Final Thoughts
Removing a stripped hinge screw doesn’t have to be a nightmare. With the right tools and methods, you can tackle it confidently. Remember, it’s all about patience and finding the technique that works for you.
Whether you use pliers, a rubber band, a screw extractor, or decide to drill it out, you’ve got options. And once you’ve removed that stubborn screw, take a moment to celebrate your victory. After all, every little DIY project is a step toward becoming more confident in your home repairs. Now, go on and tackle that door!
