Refinishing door hardware can seem daunting, especially if you’re new to DIY projects. You might think of it like painting a picture; it takes patience, skill, and the right materials. But here’s the good news: with a little guidance, you can turn your worn-out bronze into a stunning focal point. So, let’s dig into how to bring new life to that door hardware, shall we?
Gathering Your Materials
Before diving into the actual refinishing process, it’s important to gather all the necessary materials. Having everything on hand will make the task smoother and more enjoyable. Here’s a quick checklist of what you’ll need:
- Protective Gear: Gloves and goggles are a must to keep your skin and eyes safe.
- Cleaning Supplies: A gentle cleaner, like dish soap, plus a soft cloth to wipe down your hardware.
- Sandpaper: Get two types: coarse (around 80-grit) and fine (around 220-grit).
- Metal Primer: This is essential for helping your new finish adhere properly.
- Bronze Paint or Patina: Depending on the look you’re aiming for, choose between a metallic bronze spray or a patina solution.
- Clear Sealant: To protect your newly refinished hardware.
Having this list handy helps you avoid those frustrating trips to the store in the middle of the project. Trust me; nothing kills the momentum like searching for missing supplies!
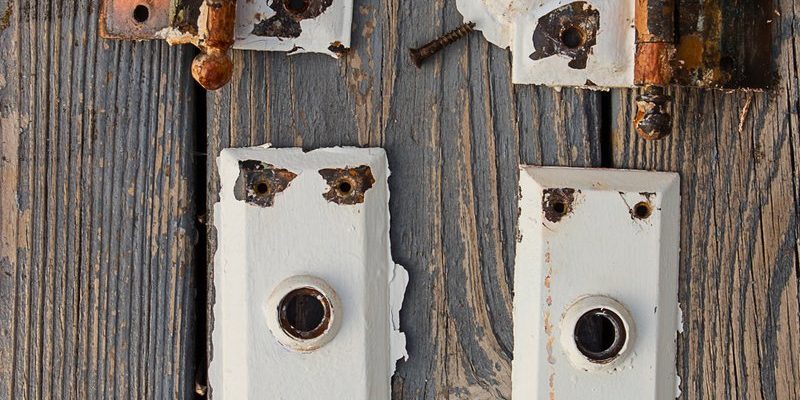
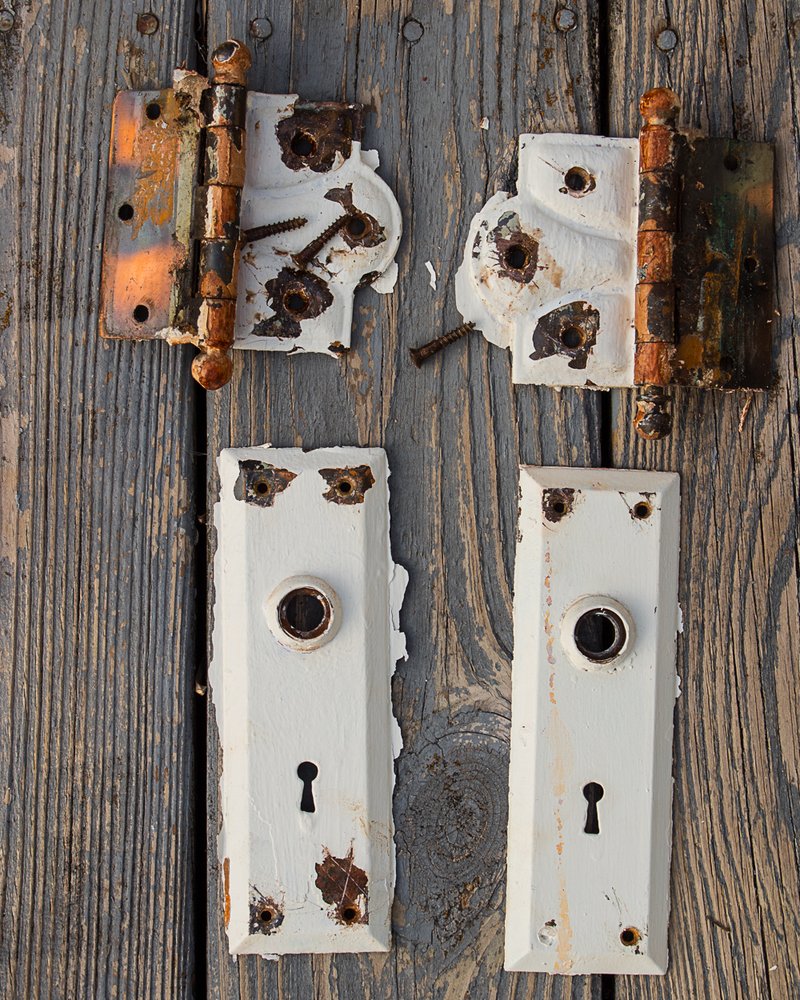
Removing the Hardware
Now that you’re equipped with the right tools, it’s time to remove the door hardware. This step is crucial because it allows you to work on your pieces comfortably without damaging the door or frame. Grab a screwdriver and follow these steps:
1. Unscrew the Knobs and Plates: Carefully turn the screws counter-clockwise until they’re completely loose. Keep them in a small container so you don’t misplace them.
2. Detach Any Accessories: If your hardware has any additional pieces, like a latch or a thumb turn, remove those gently as well. You don’t want to force anything, as old hardware can be more fragile than it looks.
3. Take Photos: Before taking everything apart, consider snapping some pictures. This can help you remember how to reassemble everything later. It’s like a DIY insurance policy!
Taking the time to remove the hardware properly sets you up for success. It’s much easier to refinish pieces when you can work with them on a flat surface.
Cleaning the Hardware
Once the hardware is removed, it’s time to clean it thoroughly. This step will ensure that any dirt, grease, or old finishes are stripped away, giving you a fresh start. Here’s how to tackle it:
– Soap and Water: Use a mild soap mixed with warm water and a cloth to wipe down the hardware. Focus on all the crevices where dirt can settle.
– Rinse and Dry: After cleaning, rinse the pieces with clean water and dry them completely with another soft cloth. Any moisture left on the hardware can interfere with the refinishing process.
– Inspect for Damage: As you clean, keep an eye out for any scratches or dings. If you find any, you may want to address those with sandpaper during the refinishing process.
Cleaning isn’t just a chore; it’s a crucial step in ensuring your refinishing efforts last. A clean surface helps the new finish adhere better, so don’t rush through this part!
Sanding the Surface
Now comes the part where you can really start to see a difference—sanding the surface of the hardware. This step helps to smooth out imperfections and prepares the metal for the new finish. Here’s how to do it:
1. Start with Coarse Sandpaper: Use the 80-grit sandpaper to remove any old finish and to smooth out rough spots. Sand in circular motions to avoid creating deep scratches.
2. Switch to Fine Sandpaper: Once you’ve gotten rid of the old finish, switch to the 220-grit sandpaper. This will refine the surface, giving it a nice, smooth texture.
3. Wipe Off Dust: After sanding, be sure to wipe down the pieces with a clean, dry cloth. You want to remove all the dust created by sanding. Otherwise, it can mix with your new finish and create an uneven look.
Sanding may seem like a hassle, but this step is essential for achieving a sleek finish. It’s like prepping a canvas before painting—it sets the stage for a beautiful outcome.
Applying Primer
With everything cleaned and sanded, it’s time to apply a metal primer. This is a crucial step for ensuring that your new finish adheres well and lasts longer. Here’s how to do it:
– Choose a Well-Ventilated Area: You’ll want to work in a place with good air circulation, preferably outdoors. If that’s not possible, open windows and doors to allow for airflow.
– Shake the Primer: Before applying, give the primer a good shake, following the instructions on the can. This ensures an even application.
– Apply a Thin Layer: Using either a spray can or a brush, apply a thin layer of primer to the hardware. Don’t spray too close; about 6-12 inches away works well to avoid drips.
– Let It Dry: Allow the primer to dry as per the manufacturer’s instructions. Usually, this takes about 30 minutes to an hour.
Applying primer might feel like an extra step, but it’s what ensures your new finish doesn’t peel or chip off easily. Think of it as a protective barrier between the metal and the elements.
Painting and Finishing Touches
Now for the fun part—applying the new finish to your hardware! This is where your bronze pieces will really start to shine. Here’s how to go about it:
– Select Your Finish: Whether you choose a metallic bronze spray or a patina solution, make sure it’s suitable for metal surfaces. If you’re going with spray paint, make sure to shake the can well.
– Apply Light Coats: Just like the primer, apply thin layers of paint. It’s better to do multiple light coats than one thick one, as this helps to avoid drips and uneven spots.
– Drying Time: Allow each coat to dry completely before applying the next one. This can take anywhere from 30 minutes to a couple of hours, depending on the product used.
– Final Sealant: Once you’re happy with the color and finish, apply a clear sealant. This will protect the paint and give your hardware a nice sheen.
The painting process is where your creativity really shines. Don’t hesitate to experiment a little, as long as you maintain a steady hand. Your door hardware will look fantastic when you’re finished!
Reinstalling Your Hardware
With everything dried and looking fabulous, it’s time to put your hardware back where it belongs. But before you jump in, here are a few tips to ensure you get it right:
1. Refer to Your Photos: Check your earlier pictures to remind yourself how everything was assembled. This will save you from any guesswork.
2. Align Properly: When attaching knobs and plates, take your time to align them correctly. Misalignment can lead to uneven wear over time.
3. Tighten, But Don’t Overdo It: As you screw everything back in place, tighten the screws just enough to hold the hardware firmly without stripping the screws.
Reinstalling the hardware can feel a bit like putting the final piece in a puzzle. It’s so satisfying to see everything come together, especially when you remember how worn out it once looked!
Enjoying Your Refurbished Hardware
Congratulations! You’ve just refurbished your distressed or antique bronze door hardware, and it’s time to admire your hard work. Not only does it look fantastic, but you’ve also given new life to a piece that carries history.
Take a moment to appreciate the transformation. Maybe even invite friends over to show off your handiwork. And here’s the thing: don’t shy away from future projects. Whether it’s another piece of hardware or a different DIY venture, you now have the skills and confidence to tackle them head-on.
Refinishing isn’t just about the end result; it’s about the experience. You learned, created, and perhaps even had some fun along the way. So, the next time you see an old piece of hardware, you’ll know just what to do!
Your journey in refinishing doesn’t have to stop here; there are plenty of other projects waiting for your attention. Happy DIYing!