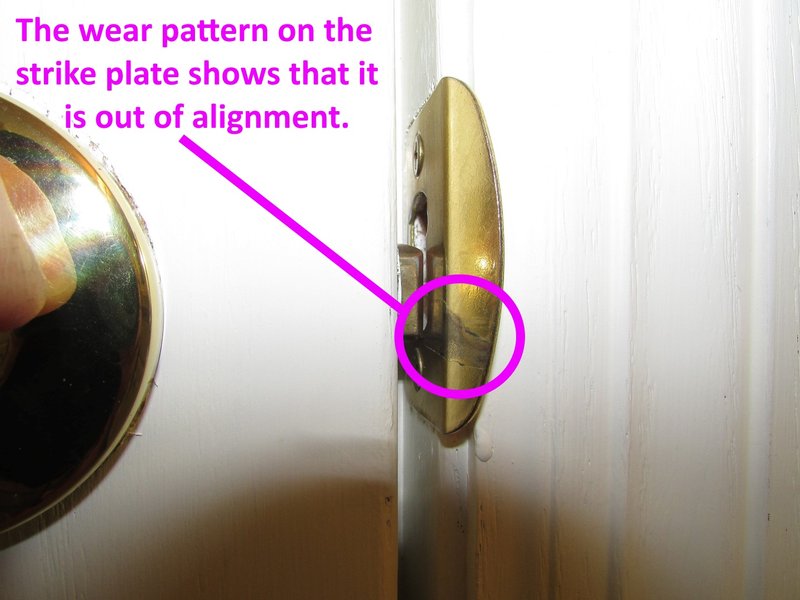
Refinishing a door strike plate is a simple task that can breathe new life into your door’s security system. Imagine giving your door a mini-makeover; it’s satisfying and can improve your home’s overall aesthetic. So, if you’re feeling up to the challenge, let’s dive into the step-by-step process of refinishing that tired-looking strike plate.
What You’ll Need for the Job
Before you start, gather your supplies. Having everything on hand makes the process smoother and more enjoyable. Here’s a quick list:
- Sandpaper (fine grit and medium grit)
- Metal primer
- Metal paint (preferably spray paint for ease)
- Clear coat (optional for added protection)
- Rags or paper towels (for cleaning)
- Screwdriver (to remove the strike plate)
- Drop cloth (to protect your workspace)
Having these items ready will set you up for success. Honestly, starting without the right tools can lead to frustration, and nobody wants that.
Removing the Door Strike Plate
To refinish your strike plate, you first need to remove it. This step is pretty straightforward but needs a bit of care.
1. Start by closing the door to make it easier to access the strike plate.
2. Use your screwdriver to remove the screws holding the plate in place. Keep these screws in a safe spot so you don’t lose them.
3. Gently pull the strike plate away from the frame. If it’s stuck, you might have to wiggle it a bit, but be cautious. You don’t want to damage the door frame.
Here’s the thing: once the strike plate is off, take a moment to clean the area it was mounted on. Dust and dirt can accumulate there, and cleaning it now will ensure a better finish later.
Cleaning and Sanding
Now that you have your strike plate off, it’s time to give it a thorough cleaning. This part is crucial for a successful refinish.
1. Clean the strike plate using a rag or paper towel. You want to remove any grease, dirt, or old paint. If it’s especially grimy, a mild cleaner can help.
2. Next, it’s sanding time. Using medium grit sandpaper, gently sand the surface of the strike plate. This will help remove any rust and create a better surface for the paint to adhere to.
You might be wondering, “How much should I sand?” Aim for a smooth finish, but don’t go overboard. After the medium grit, switch to fine grit sandpaper for a polished look. If you feel a bit of resistance, that’s just the metal getting smoother; keep going until it feels nice and even.
Priming the Surface
Before you dive into painting, priming the strike plate is important. Think of it as the foundation of your paint job.
1. Apply a thin layer of metal primer using a brush or spray can. The primer helps the paint stick better and provides extra protection against the elements.
2. It’s a good idea to let the primer dry completely. Typically, this will take about 1-2 hours, but check the manufacturer’s instructions for specifics.
This step might seem tedious, but honestly, it can make a huge difference in how your finished product looks. Plus, it helps prevent rust from sneaking in later.
Painting the Strike Plate
Once the primer is dry, it’s time for the fun part: painting!
1. Grab your metal paint. If you’re using spray paint, hold the can about 6-12 inches away from the plate. This distance helps avoid drips and uneven application.
2. Apply the paint in light, even coats. It’s better to do multiple thin layers than one thick one. Let each coat dry thoroughly before applying the next one.
You might find that one or two coats are enough, but if you want a deeper color, feel free to add more. Just keep an eye on the drying times; you don’t want to smudge your hard work!
Finishing Touches with Clear Coat
After you’re satisfied with the paint, consider adding a clear coat. This option isn’t mandatory but can enhance durability.
1. A clear coat provides an extra layer of protection against scratches and weathering. If you decide to use it, apply it just like the paint—light and even coats.
2. Allow the clear coat to dry completely before handling or reinstalling the strike plate.
Honestly, a clear coat may seem like an extra step, but it’s like icing on the cake. It keeps your work looking fresh for longer.
Reinstalling the Strike Plate
After everything has dried, it’s time to reinstall that shiny, refinished strike plate.
1. Align the strike plate with the holes in the frame. This should be straightforward since you left the screws in place.
2. Use your screwdriver to securely fasten the screws back into place. Be careful not to overtighten, as this could bend the plate or damage the wood.
Make sure the plate is flush against the door frame and not wobbling. A snug fit means your door will close securely, just like before!
Final Thoughts on Refinishing Your Door Strike Plate
Refinishing a worn-out door strike plate might seem like a small task, but it can make a big difference in how your door looks and functions. By taking the time to clean, sand, prime, and paint, you’re not just fixing a part of your door; you’re enhancing your home’s overall feel. Plus, it’s a rewarding DIY project that can help you feel more connected to your space.
So next time you notice that your door strike plate is looking a bit shabby, remember that a little effort can go a long way. You’ve got this!
