Think of a door knob like a tiny piece of machinery that needs a bit of TLC. When it comes apart, it might seem daunting, but with the right instructions, it’s just like putting together your favorite board game—follow the steps, and you’re back in business. In this guide, we’ll walk through how to reassemble a dislodged interior door knob step-by-step, ensuring you have clear, easy-to-follow instructions that anyone can handle.
Gather Your Tools
Before you dive in, let’s make sure you have everything you need. It’s a lot easier to fix things when you have the right tools on hand. Here’s a quick list to consider:
- Screwdriver (usually a flathead or Phillips, depending on your door knob)
- Replacement screws (if any are missing or damaged)
- Tape (masking or painter’s tape works well)
- Flashlight (if you need to see inside dark spaces)
Having the right tools is like having the right ingredients for a recipe. You can’t make a cake without flour, right? If you find that you’re missing something, a quick trip to your local hardware store might be in order. Now that you have your toolkit ready, it’s time to assess the situation.
Identify How the Door Knob Came Apart
Understanding how your door knob came apart gives you clues about how to put it back together. Most interior door knobs have a simple mechanism, but the way they connect can vary based on the brand and design.
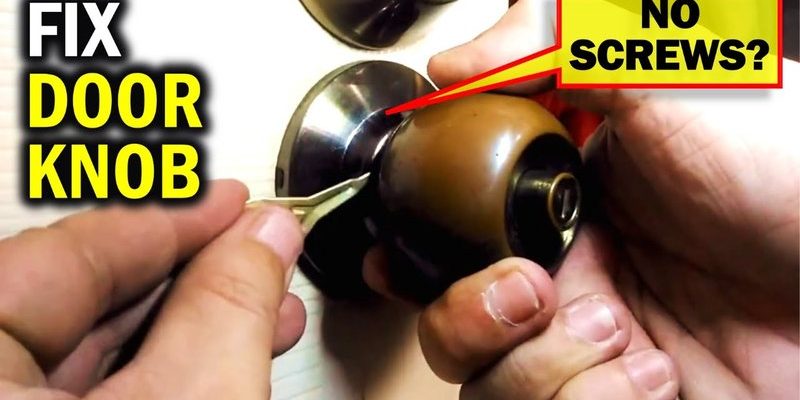
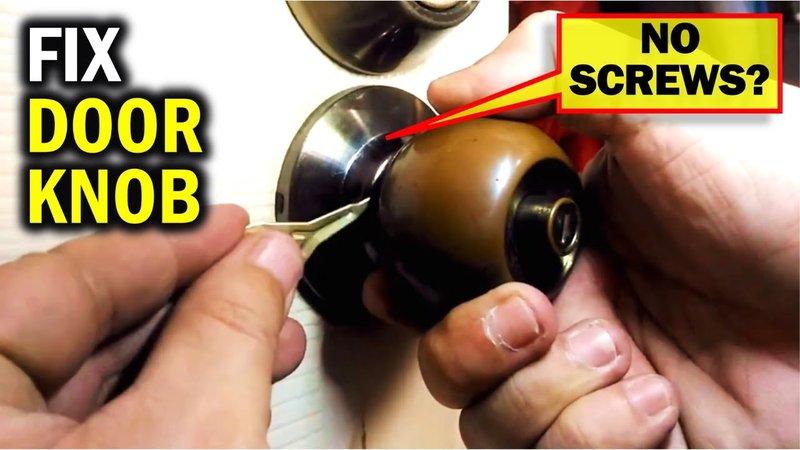
You might be wondering, “How do I know which pieces belong where?” Take a minute to look at the dislodged pieces. Door knobs typically feature pairs of knobs, a spindle to connect them, and a plate or latch that holds them in place.
Take a photo with your phone if you need a reference later. This quick snapshot will help remind you where everything goes, especially if it seems a bit chaotic. If any parts are damaged or missing, now’s the time to note that too before moving on to reassembly.
Reassemble the Knob Components
Now for the fun part: reassembly. If you’ve ever put together a piece of IKEA furniture, you can handle this!
1. Start with the spindle: This is the metal rod that connects both knobs through the door. Slide it into one of the knobs.
2. Attach the second knob: Gently slide the other knob onto the spindle. You may need to align a small hole on the knob with a notch on the spindle for it to fit correctly.
3. Secure with a retaining pin or screw: Some knobs use a small pin to secure the knobs to the spindle; others use screws. Make sure this part is snug but not overly tight.
It’s often the small pieces that trip us up, so keep an eye on those pins or screws. They may be tiny, but they’re essential for ensuring your knob works smoothly once it’s back on the door.
Install the Door Knob Back onto the Door
Once your knobs are reassembled, it’s time to put everything back on the door. This part is straightforward.
1. Align the latch: Ensure that the latch—which is the part that actually keeps the door closed—is correctly positioned with the hole in the doorframe.
2. Attach the knobs to the door plate: Slide the assembled knob set back through the holes in the door.
3. Secure with screws: Use your screwdriver to fasten the screws back into the door. Ensure they’re secure, but take care not to strip them.
Here’s the thing: while you want everything snug, over-tightening can be counterproductive, leading to damage or misalignment.
Test the Functionality
Now that everything is back in place, it’s time for a test drive! Gently turn the knob a few times to make sure it operates smoothly. You want to ensure that it turns freely and the latch clicks into place.
Effective testing is like taking a new car for a spin; you want to know it’s running smoothly before you drive it far. If the door knob feels stiff or sticks, double-check that all screws and pieces are aligned correctly. Sometimes, a little wiggle is all it takes to fix a stubborn knob.
Troubleshooting Common Issues
If your door knob isn’t working quite right even after reassembly, don’t toss in the towel just yet. Here are some common issues to consider:
– Loose screws: If the knob feels wobbly, it might just need a good tightening. Make sure all screws are snug.
– Misalignment: If the latch doesn’t catch, check that the knob and latch are aligned properly. A quick adjustment might do the trick.
– Wear and tear: Sometimes, parts simply wear out. If you notice any broken pieces or stripped screws, you may need to replace them entirely.
If all else fails, consider consulting with a local hardware store professional. They can often guide you in the right direction for replacements or give you tips specific to your knob model.
Consider Upgrades or Alternatives
If your door knob is repeatedly falling apart or feels outdated, it might be worth thinking about an upgrade. Modern knobs can come with improved mechanisms for enhanced durability. You might want to consider:
– Smart locks: For a high-tech option, smart locks can seamlessly blend convenience and security.
– Universal knobs: These are designed to fit most doors and can offer a fresh look while being easy to install.
No need to feel locked into what you have—upgrade options can add a personalized touch to your home while offering improved functionality.
Wrapping Up Your DIY Door Knob Journey
Reassembling a dislodged interior door knob isn’t rocket science, but it does require patience and a bit of attention to detail. With the right tools and steps, you can tackle it easily, and soon enough, you’ll be back to turning that knob without a hitch.
Remember, every time you fix something yourself, you’re building confidence in your skills. Whether it’s a door knob or something more complicated down the line, you’ve proven that you can handle it. So, give yourself a pat on the back and enjoy the satisfaction of a job well done!