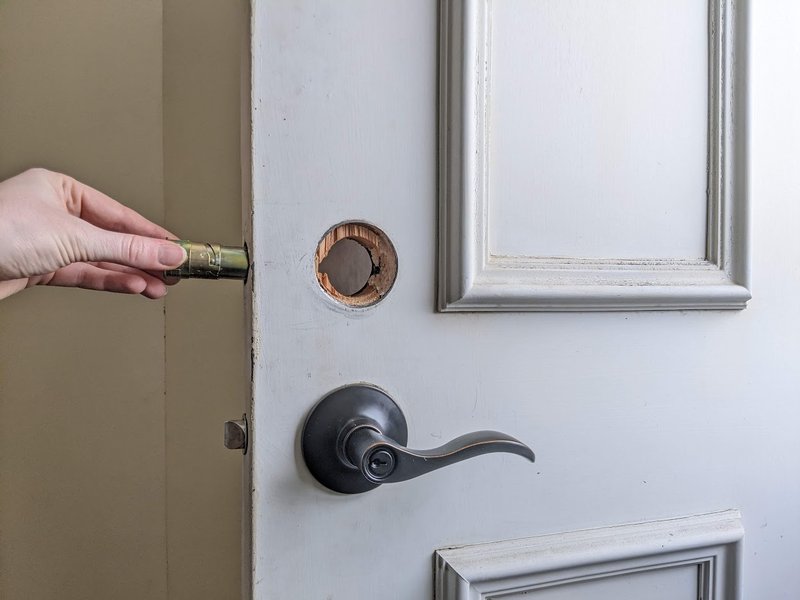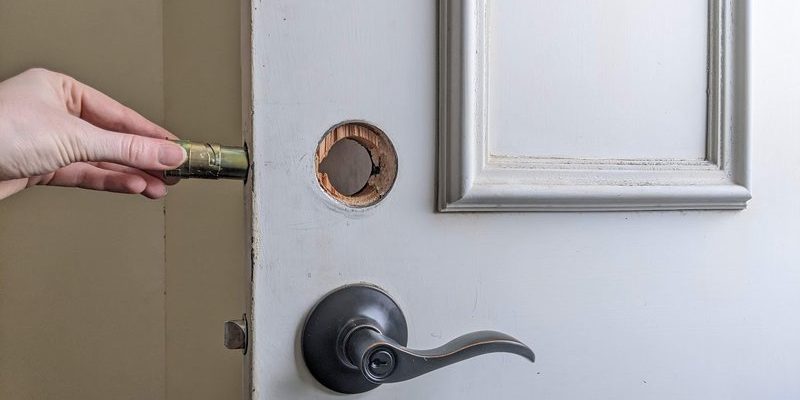
But honestly, most deadbolt mechanisms—from basic Schlage and Kwikset models to the fancier electronic Yale and August locks—work on pretty similar principles. All it takes is a little patience and the right steps to get your deadbolt back together. If you’ve got the parts, a screwdriver, and the willingness to troubleshoot, you’re well on your way to feeling safe in your home again.
Let me explain how a deadbolt mechanism fits together (and sometimes falls apart), why it happens, and exactly how to reassemble everything—without getting overwhelmed by tiny springs or mystery screws. No locksmithing degree needed.
How Deadbolt Mechanisms Work (And Why They Fall Apart)
Deadbolts are simple, but sturdy. When you turn the key or thumb turn, a piece called the bolt slides into the door frame—making it tough for anyone to force the door open. Inside the lock, you’ll find a set of plates, springs, and a cylinder that all work together. Most of the time, a deadbolt will run smoothly for years. But a heavy slam, poorly installed hardware, or just old age can knock the mechanism loose.
You might be wondering why a deadbolt would come apart in the first place. Usually, it’s because one part slips out of alignment. For example, the bolt might pop out of its track if the lock body isn’t tight against the door. Or, the screws working loose over time can let the whole thing shift. Don’t worry—almost every modern deadbolt, whether a classic keyed model or a battery-powered smart lock, can be put back together with a bit of tinkering.
Here’s the thing: A dislodged deadbolt isn’t just a nuisance—it’s a weak point in your home’s security. Plus, if you don’t reassemble it correctly, you could wear down the parts or make it harder to lock and unlock in the future. So it’s worth taking the time to do it right.
Gathering Your Tools and Deadbolt Parts
Before you dive in, you’ll need to collect a few basics. Most reassembly jobs just need a standard Phillips screwdriver, but some deadbolts (especially smart ones) might call for a tiny flathead or a hex wrench. Grab a flashlight, too—those tiny set screws love to hide in dark corners.
Here’s a quick prep checklist:
- Screwdrivers (usually Phillips-head, sometimes flathead or hex)
- Replacement screws or springs (if any are stripped or missing)
- All deadbolt parts (bolt, faceplates, mounting plate, cylinder, thumb turn, etc.)
- Flashlight or headlamp (for visibility inside the door or lock case)
- Lithium batteries (if you’re dealing with an electronic deadbolt like Schlage Encode or Yale Assure)
Pro tip: Lay out a towel or tray to keep small parts from rolling away. If a screw is missing or a spring is bent, many hardware stores have inexpensive kits for the most common brands—just ask for a “universal deadbolt repair kit.”
If you’ve never opened up a lock before, don’t stress! The mechanism only fits together one way—think of it like assembling a simple puzzle. Just keep track of which piece came from where.
Step-By-Step Deadbolt Reassembly Process
Here comes the fun part—actually putting everything back together. You might be dealing with a traditional keyed deadbolt or a more modern smart lock like August or Kwikset Halo, but the basic steps stay the same. Let’s go slow.
- Insert the bolt mechanism first. This is the rectangular metal piece that slides in and out of the door edge. Make sure the slanted part of the bolt faces the outside so it meets the strike plate properly.
- Attach the exterior side (keyed cylinder) and interior side (thumb turn or keypad). These sandwich the bolt in the middle. Carefully line up the spindle or tailpiece—it’s the thin rod or bar that runs through the bolt and connects both sides.
- Feed the screws through the mounting plate holes. Don’t overtighten just yet; make sure everything lines up and feels snug before you make it permanent.
- Add the faceplates and test the action. Turn the key or thumb turn to make sure the bolt slides smoothly into the frame. If it sticks or feels gritty, you might need to reset the spindle, adjust the alignment, or check that the bolt isn’t upside down.
If you’re working with a smart deadbolt, you’ll want to sync and reset the electronics as you go—usually by installing new batteries and following the pairing instructions in your lock’s manual. Don’t be afraid to troubleshoot a bit—sometimes the tiniest misalignment can stop the bolt from moving. If so, loosen the screws, wiggle the assembly, and try again.
Common Problems During Deadbolt Reassembly
Here’s the thing: You might hit a snag or two. Maybe the key won’t turn, or the thumb turn feels loose. This is where a little troubleshooting goes a long way. Let me walk you through the usual suspects.
- The bolt won’t retract: Double-check that the spindle or tailpiece is seated in the bolt mechanism. If it’s not, the key or thumb turn won’t move the bolt.
- Loose parts: If the lock wobbles or wiggles, the mounting screws might not be tight enough, or a plate might be backwards.
- Key won’t fit or turn: The cylinder could be misaligned, or a spring/pin is caught. Take it apart gently and re-seat everything.
- Smart lock issues: If the code doesn’t work or the remote seems unresponsive, try a full reset and a fresh battery. Most smart deadbolts need to pair with their hub again after disassembly. Check your model’s guide for the exact re-sync steps.
Most reassembly failures happen because of one of two things: parts aren’t properly lined up, or screws are too loose/tight. Go slow, watch the alignment, and don’t force anything that doesn’t feel right.
Testing the Reassembled Deadbolt
When you think everything’s back in place, don’t just slam the door and hope for the best. Take a minute to test the mechanism. Start with the door open so you can watch the bolt in action. Turn the key or thumb turn a few times—does the bolt move smoothly in and out? Is there any sticking or grinding?
If everything feels right, try closing the door and locking it. Listen for a solid “chunk” as the bolt slides into the strike plate. If you hear scraping or the bolt won’t go all the way in, the strike plate might be misaligned or the bolt itself could be upside down. Sometimes, just loosening the screws, adjusting the position, and tightening again will fix this.
For electronic deadbolts, don’t forget to test both manual and remote functions. Does the lock respond to your remote or phone app? Can you set and use a code? If not, try a reset and check the battery levels. It’s always better to spot a problem while you’re still standing inside with your tools.
Reassembling a Smart Deadbolt vs. a Traditional Deadbolt
Here’s what I’ve noticed after working with both kinds: Smart deadbolts like Schlage Encode or August Wi-Fi lock have a few extra steps, mostly around electronics and pairing, but the core assembly isn’t that different. The main difference is the need to sync and reset after you reassemble everything.
With traditional deadbolts, once everything clicks into place, you’re pretty much done. Just test with the key and thumb turn. But with smart deadbolts, there’s always that extra moment—installing batteries, pairing to your phone, possibly troubleshooting a “lock not responding” notification.
If you’re the DIY type, both are manageable. Universal repair kits can even help with brand mismatches, and most smart locks use the same battery style (lithium AA or CR123). Still, read your brand’s instructions closely. Some require holding a special reset button or entering a code to pair after a reset.
Don’t let wires or circuit boards scare you. Smart deadbolts are designed to be user-friendly. As long as you’re careful with the parts and take your time syncing, you’ll be just fine.
When to Call a Locksmith (And When to Keep Going)
Honestly, most dislodged deadbolts can be reassembled by the average person. But there are exceptions. If you find a broken or warped piece inside, or if the lock just will not fit back together no matter what, it might be time to call for backup. Locksmiths have special tools for tricky situations—like a stripped screw or a broken code module in a smart lock.
Still, don’t give up too soon. If you’re getting stuck on the same problem, take a break and search for a YouTube video for your specific brand or model. Sometimes seeing someone else do it is all it takes to spot the step you missed. Replacement mechanisms for Schlage, Kwikset, Yale, and other common brands are widely available, and a universal repair kit works for many off-brand deadbolts.
Here’s the deal: If your safety is at risk, or if the lock is for a critical area (like a rental property or office), don’t hesitate to get professional help. But for most home deadbolts, you can troubleshoot, reset, and reassemble with just a bit of patience.
Final Tips for Keeping Your Deadbolt Working Smoothly
Once you’ve wrangled your deadbolt back together, take a few extra steps to keep it running smoothly. It’s worth adding a drop of dry lubricant to the mechanism once a year (never use oil or graphite on modern locks, especially electronic ones). Make sure the strike plate stays tight, and occasionally check that screws haven’t started to work themselves loose again.
If you have a smart lock, keep extra batteries on hand and check for firmware updates. If your remote or code starts acting up, it could be a sign the battery is low or the lock needs to be reset and paired again. And if you ever move or lose a key, rekeying or re-coding your deadbolt is a smart safety move.
A working deadbolt isn’t just about security—it’s about peace of mind. Taking a little time for reassembly and maintenance means you’ll never get locked out at the worst possible moment.
In the end, reassembling a dislodged deadbolt mechanism is a totally doable DIY project. All it takes is patience, a steady hand, and a little troubleshooting. Once you know how the pieces fit together, you’ll feel a lot more confident tackling whatever household lock problems come your way.
