Imagine how satisfying it feels to finish a DIY project. Painting door hinges is a small task that can make a big difference in your home’s aesthetic. With the right materials and technique, you can achieve a polished look without the hassle of removing and reinstalling everything. So, let’s dive into the steps, tips, and tricks to refresh those hinges, making your doors not just functional, but fabulous!
Gather Your Supplies
Before you start, it’s important to gather everything you need. Think of it like assembling your toolbox before tackling any project. Here’s what you’ll want to have on hand:
- Paint: Choose a paint that’s appropriate for metal. Spray paint works great for this, but you can also use a small brush and a can of paint if you prefer precision.
- Primer: If your hinges are really rusty or you’re making a dramatic color change, a good quality primer will help the paint adhere better.
- Paintbrush or Spray Paint Can: Depending on your choice of finish, have a brush (preferably a small one for detailing) or a can of spray paint ready.
- Drop Cloth or Newspaper: To protect the area around the hinges, lay down a drop cloth or some old newspapers to catch any drips or overspray.
- Masking Tape: Use this to tape off areas around the hinges that you don’t want to paint. This helps keep your work neat and tidy.
- Rags or Paper Towels: For cleaning the hinges before you paint, and for any necessary touch-ups afterward.
Having everything on hand means you won’t be running around, trying to find supplies while paint dries. Plus, it sets you up for a smoother painting experience!
Clean the Hinges Thoroughly
Cleaning the hinges might feel like a boring step, but it’s crucial! Picture trying to paint over a dirty surface; it won’t stick, and you’ll end up frustrated. Start by wiping down the hinges with a damp rag to remove dust, grease, or dirt. If they’re particularly dirty or rusty, consider using a little soap and water, then dry them well.
Once you’ve wiped them down, check if there’s any rust. If there is, you can use a fine sandpaper or a wire brush to gently scrub it away. Just be careful not to scrub too hard; you don’t want to damage the metal. The goal is to create a clean base so that your paint adheres well and lasts longer.
Protect Surrounding Areas
It’s time to tape off those edges! You don’t want to end up with paint on your door or the wall. Use masking tape to cover any areas around the hinges that you want to protect. Make sure to press the tape down firmly, especially at the edges, to keep the paint from bleeding underneath.
Lay down a drop cloth below to catch any drips or spray paint. It’s like laying down a safety net before stepping into a high dive. You’ll be glad you did when it comes time to clean up!
Applying Primer (If Necessary)
Now that everything is clean and protected, you can decide if you need to apply primer. Primer isn’t always necessary, especially if you’re using a paint with built-in primer. However, if you’re painting over rust or making a significant color change, applying a coat of primer can make a big difference.
Use a small brush to apply the primer evenly on the hinges, or use spray primer if you’re confident in your abilities. Make sure to let it dry completely according to the manufacturer’s instructions. This usually takes about an hour, but it’s worth the wait for a professional-looking finish.
Time to Paint!
Here’s the fun part—painting! If you’re using spray paint, hold the can about 10-12 inches away from the hinges for a nice and even coat. Start with light coats, moving back and forth. You can always add more layers, but it’s harder to fix a thick, drippy mess. If you’re using a brush, apply paint in the same direction as the hinge for a uniform look.
Let the first coat dry completely before assessing whether you need a second coat. More coats may be necessary, especially with lighter colors, but aim for 2-3 light coats rather than one heavy one.
Allow the Paint to Cure
After you’ve painted the hinges to your satisfaction, it’s time to let them dry. This part is similar to letting a cake cool before icing it; you want to ensure everything sets properly. Depending on the paint, this could take anywhere from a few hours to a full day.
It’s tempting to touch them right away, but allowing the paint to cure helps avoid smudging or chipping later on. Check the paint can for specific drying times, and trust me, waiting it out will pay off!
Finishing Touches and Cleanup
Once everything is dry, carefully remove the masking tape. Do this slowly to avoid peeling any paint away with it. If you see any spots that need touching up, use a small brush with a bit of paint to fix them.
Finally, clean up your workspace. Fold up that drop cloth, throw away used tape, and wash your brushes with soap and water if you used regular paint. It’s like putting away your tools after a job well done—it keeps your space neat and allows you to appreciate your hard work.
Enjoy Your New Look!
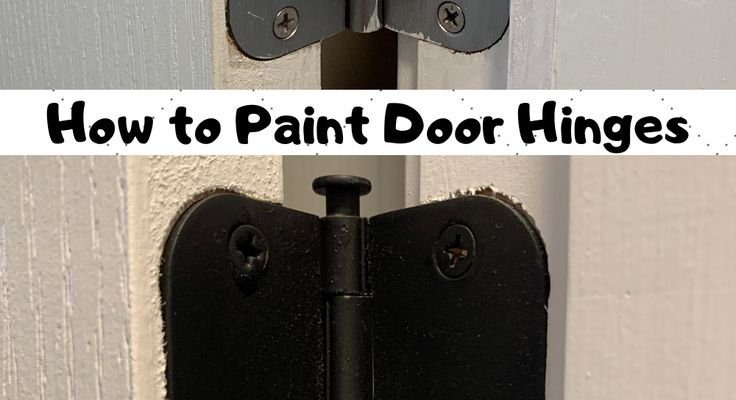
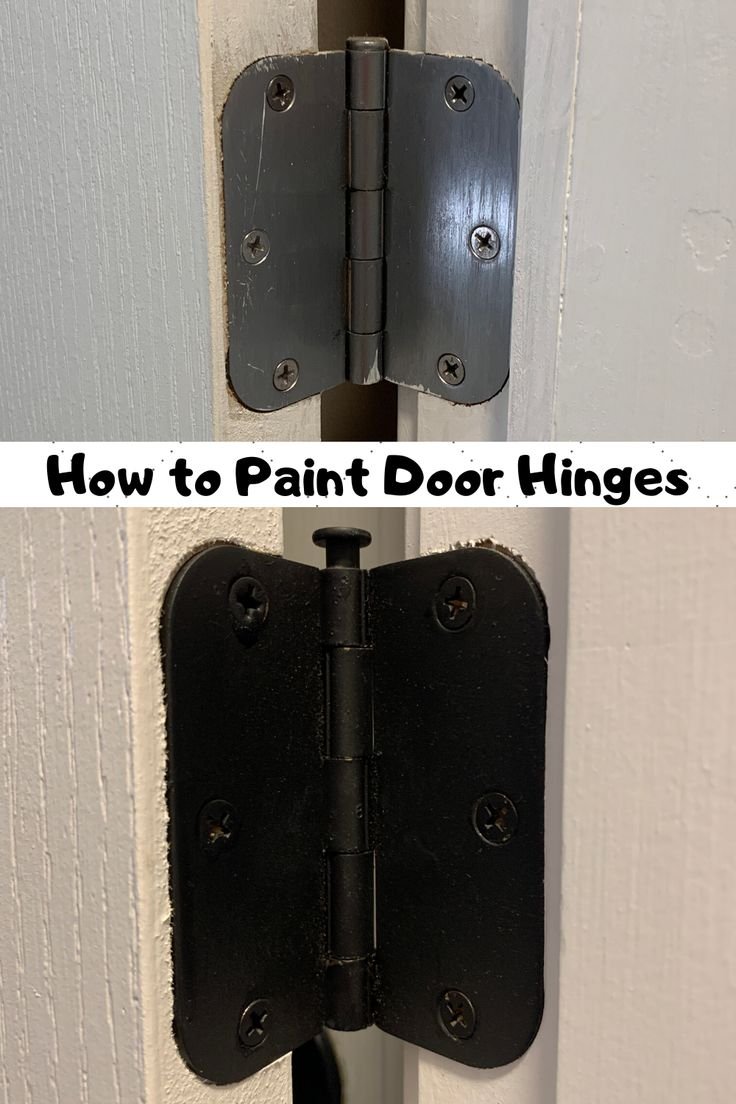
Now you can step back and admire your handiwork. Freshly painted door hinges can completely transform the vibe of a room. It’s like putting the cherry on top of a beautifully frosted cake. Whether you chose a bold color or a sleek black finish, your doors are bound to feel more cohesive and polished.
Remember, painting door hinges without removing them is not just about aesthetics—it’s about pride in your home. You’ve taken the time to elevate a small detail that will impress both you and your guests. So go ahead, swing those doors open and show off your new look!