You might be wondering why it’s important to measure the backset accurately. Well, just as you wouldn’t want to wear mismatched shoes, installing a door knob with the wrong backset can lead to problems such as misalignment or even security issues. Knowing how to measure backset properly will help you confidently select the right door knob, whether you’re upgrading for style or replacing a worn-out lock.
So, let’s dive in and explore how to measure the door knob backset for a precise and hassle-free replacement.
Understanding Backset Measurement
To start off, let’s clarify what backset means. The term refers to the distance from the door’s edge to the center of the hole where the knob or lock is installed. Common backset measurements typically include 2-3/8 inches and 2-3/4 inches.
Knowing which backset you have is vital for two reasons. First, it determines what types of knobs will fit your door. Second, it affects how your door functions—if it’s off, you might find it hard to fully close your door or lock it securely.
Here’s the thing: if you’re replacing a door knob, it’s often easier to measure the backset of your current knob or lock rather than guessing. By doing this, you’ll make sure that your new hardware aligns well with your door and enhances its aesthetic, not detracts from it.
Tools You’ll Need
To measure the backset accurately, you’ll need a few basic tools. Here’s what you’ll require:
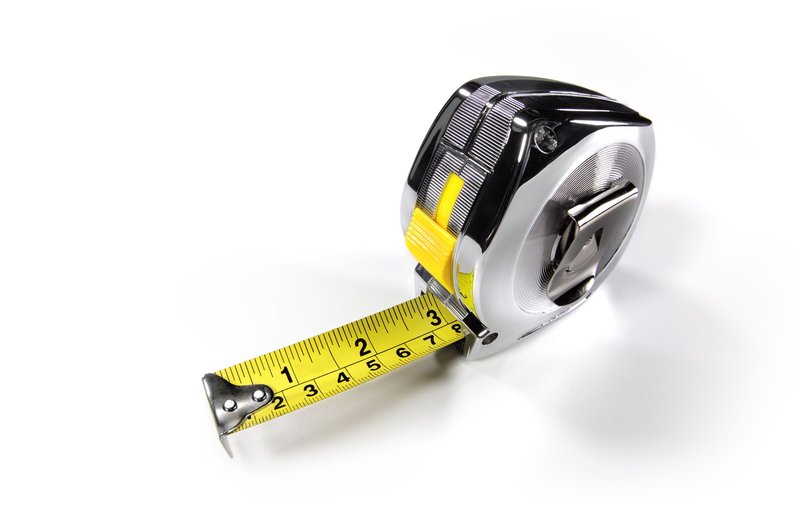
- Measuring tape: A flexible measuring tape will give you the most accurate results.
- Pencil: Use this to mark your measurements if needed.
- Ruler or a level: Helpful for ensuring your measurements are straight.
Having the right tools on hand can make the measuring process much smoother. Honestly, there’s nothing worse than getting halfway through a project and realizing you’re missing a crucial item!
How to Measure Door Knob Backset
Now that you have your tools ready, let’s get down to the actual measuring. Follow these simple steps for an accurate backset measurement:
1. Open the Door: Start by opening the door fully to give yourself enough space to work.
2. Identify the Center of the Knob Hole: Look at your existing knob and locate the center of the hole where it’s installed. You can easily do this by visual inspection.
3. Measure to the Edge of the Door: Take your measuring tape and extend it from the center of the knob hole to the edge of the door. Make sure to keep the tape straight to avoid errors.
4. Record the Measurement: Note down the distance you measured. If it’s 2-3/8 inches or 2-3/4 inches, you’re good to go!
This process might feel a bit tedious, but getting it right now saves you from headaches later on—like having to return a knob that doesn’t fit.
Common Issues with Backset Measurement
Sometimes, you might run into common issues when measuring the backset. Here are a few to watch for:
– Misalignment: If the existing knob seems off-center, it could cause your new knob to not fit properly. Make sure to double-check your measurements.
– Door Thickness: Not all doors are the same thickness. A door that’s thicker than usual can cause confusion about the backset. Measure the door thickness to ensure you’re selecting the right hardware.
– Existing Locks: If you have a deadbolt or other locking mechanism, make sure to measure both the knob and the lock for optimal compatibility.
Addressing these potential issues will not only save time but will also ensure a smoother installation process later on.
Choosing the Right Replacement Knob
Once you have your backset measured, it’s time to choose a replacement door knob. You’ll find that knobs come in a variety of styles, sizes, and finishes. Look for knobs that specifically state compatibility with your backset measurement.
Here are a few tips for making a great choice:
– Style: Consider the overall aesthetics of your home. Are you looking for something modern or more classic?
– Material: Choose between metal, brass, or even ceramic based on durability and look.
– Security Features: If safety is a priority, look for knobs that offer enhanced security features.
Finding the right knob is like selecting a piece of art for your wall— it should enhance the overall look of your space!
Installing Your New Door Knob
After you’ve picked out the perfect knob, it’s time to install! Here’s a quick overview of the steps involved:
1. Remove the Old Knob: Unscrew the existing knob and pull it out carefully.
2. Position the New Knob: Align your new knob with the hole and ensure it fits snugly.
3. Screw in the Knob: Secure the knob by tightening the screws.
4. Test the Function: Give the knob a turn and make sure it operates smoothly. If it doesn’t, double-check your measurements and the installation.
Installing a new door knob is easier than it sounds and is a great skill to learn for home maintenance.
Final Thoughts on Measuring and Replacing Your Door Knob
Measuring the backset for your door knob might seem like just another task on your to-do list, but getting it right can significantly impact your home’s safety and comfort. By following these steps, you can ensure a proper fit that not only looks great but also functions like a charm.
Remember, the more you understand about your door and its mechanics, the easier it will be to make upgrades or replacements in the future. So grab your measuring tape, and let’s get to work—your perfect door knob is waiting!
