Many door latches, especially those found on older doors, can benefit from a little love and care. A quick application of lubricant can help minimize noise, ensure smooth operation, and even extend the life of the latch. In this guide, I’ll walk you through the steps on how to do just that, whether you’re working with a basic door latch or a more intricate locking mechanism from a brand like Schlage or Kwikset. So, grab your tools, and let’s get started!
A door latch can start making noise for several reasons. Most commonly, it’s due to friction between the latch components. Over time, dust, dirt, and grime can accumulate, making it hard for the parts to slide smoothly against each other. This can cause a scraping sound every time the door is opened or closed.
Another reason could be the lack of lubrication. Just like a car engine, door latches need some grease to function well. If the existing lubricant has dried up, it’s time for a renewed application. Sometimes, it’s not just about the lubricant wearing off; it can also be about the quality of the latch itself. Cheaper latches might not have been designed with longevity in mind.
You might also find that a door latch might not align correctly due to shifting in the door or frame. If the latch isn’t positioned properly, it could be scraping against the strike plate. This makes noise and can wear the components down faster.
Before you dive into lubricating your door latch, it’s important to gather all the necessary supplies. Here’s what you’ll need:
- Lubricant: Choose a silicone-based spray or a good quality graphite lubricant. Avoid oil-based lubricants, as they can attract dirt.
- Cleaning cloth: To wipe away any dust or grime from the latch mechanism.
- Screwdriver: Depending on your latch, you may need this to remove it.
- Old toothbrush: Great for getting into tight spaces and removing debris.
- Flashlight: To see clearly into the latch mechanism.
Having everything ready before you start will make the process smoother and quicker. No one wants to run around searching for tools mid-job!
If your door latch is particularly noisy and you can’t figure out why, removing it might give you better access for cleaning and lubrication. Here’s how to do it:
1. Locate the screws: Use your screwdriver to remove any visible screws securing the latch to the door.
2. Gently pull the latch free: Once the screws are removed, carefully pull the latch out of its housing. Pay attention to how it comes apart, as you’ll want to reassemble it the same way.
3. Inspect the latch: Look for any signs of wear, rust, or misalignment. If anything seems off, you may need a replacement.
Removing the latch allows you to clean any hard-to-reach spots more effectively. If you feel overwhelmed, just remember, this is more about taking a good look at the mechanism than anything else.
Now that you have the door latch out—or if you’re working with it still attached—it’s time to get it clean. Here’s how:
1. Use a cloth: Wipe down the latch with a dry cloth to remove any surface dust or dirt. If it’s really dirty, you can use a slight dab of soapy water on the cloth. Just be sure to dry it thoroughly afterward.
2. Brush the crevices: Take your old toothbrush and gently scrub the latch, focusing on areas that may have buildup. Think of this as giving your latch a mini spa day.
3. Inspect for damage: As you clean, check for any broken pieces. If something seems off, you might need to consider a replacement.
Keeping your latch clean is essential for maintaining its functionality. A little attention can go a long way.
Now comes the fun part—applying the lubricant! Here’s how to do it right:
1. Choose the right lubricant: As mentioned before, go for a silicone-based or graphite lubricant. These types won’t attract dirt and will provide long-lasting protection.
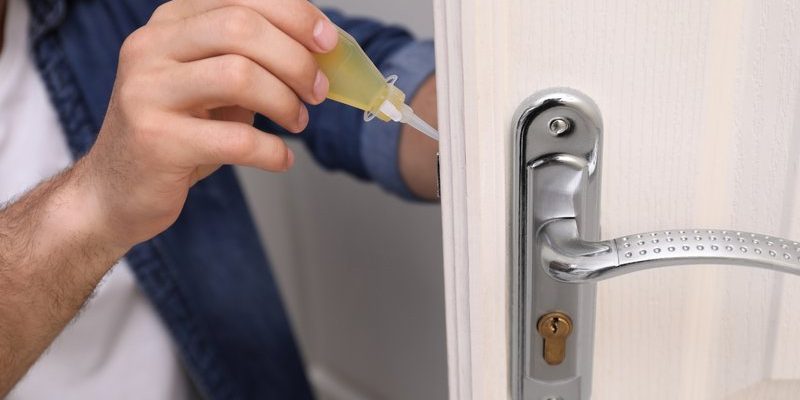
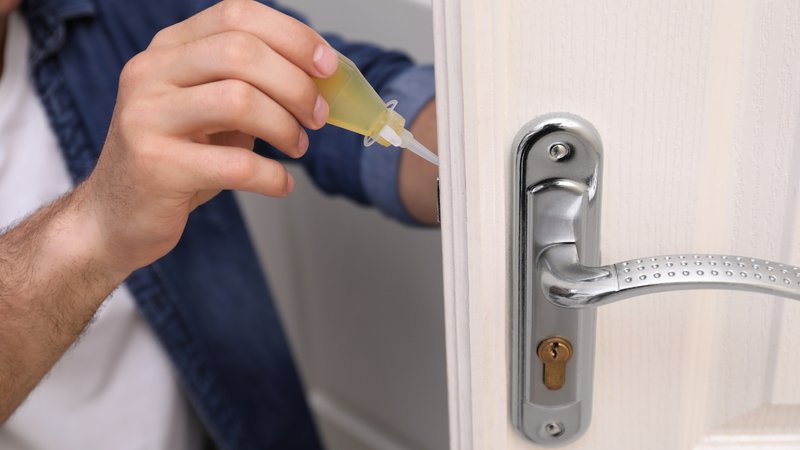
2. Spray or apply: If you’re using a spray, hold it about six inches away from the latch and give it a light coat. If you’re using a tube of lubricant, apply a small amount directly into the moving parts. Make sure to focus on the areas that make contact or slide.
3. Work it in: After applying, manually move the latch back and forth several times. This helps distribute the lubricant evenly and ensures all parts are well-coated.
You might be wondering how much lubricant to use. Honestly, a little goes a long way! Overdoing it can attract more dirt, and you don’t want to undo your hard work.
If you removed the latch, it’s time to reinstall it now that it’s clean and lubricated:
1. Align it back into place: Carefully slide the latch back into the door where it was initially secured.
2. Secure the screws: Use your screwdriver to fasten the screws back into place. Make sure to tighten them but don’t overtighten, as this can strip the screws.
3. Test it out: Open and close the door a few times. You should notice a significant reduction in noise, assuming the latch was the main culprit.
Reinstalling the latch properly is key to ensuring it functions correctly. If you hear any scraping sounds after this, double-check for alignment issues.
To keep your door latch in great shape, consider these simple maintenance tips:
– Clean regularly: Make it a habit to wipe down the latch every few months to prevent grime buildup.
– Re-lubricate as needed: Depending on use, you might want to reapply lubricant every 6-12 months. If you notice any noise returning, it’s likely time again.
– Check for alignment: Regularly inspect your door latch to ensure it’s still properly aligned. Doors can shift over time due to humidity or settling.
Taking a few minutes every so often can save you from bigger headaches down the road. A well-maintained latch will ensure both functionality and peace of mind.
In summary, lubricating a door latch that’s making a scraping noise is a straightforward task that can enhance your daily life at home. With just a few tools and some gentle care, you can eliminate that irritating sound and extend the life of your latch. Remember, prevention is better than cure, so keep an eye on your latches and address issues as they arise. Happy DIY-ing!