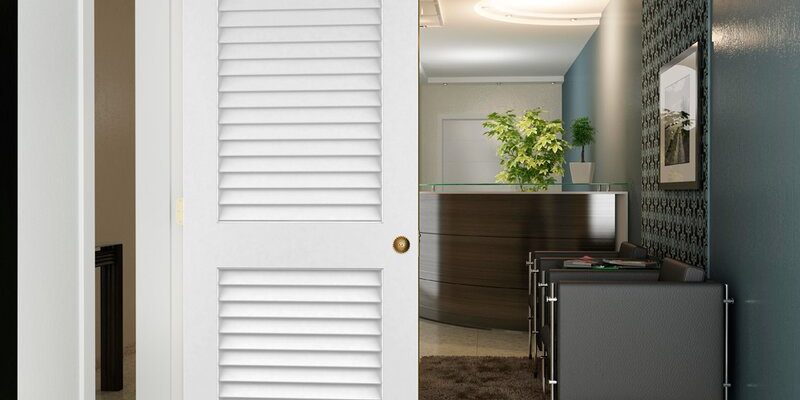
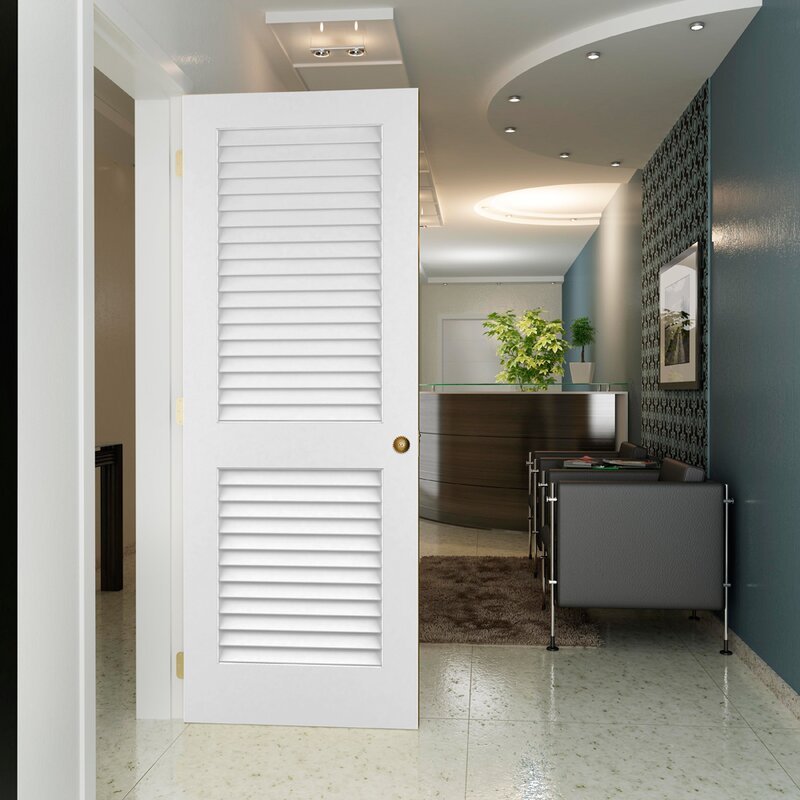
Louvered doors feature slats that allow airflow and light while maintaining privacy. They’re great for closets or laundry rooms. When it comes to adding hardware, the type you choose depends on your needs. You might want to install a simple door handle or a more complex locking mechanism. Regardless of your choice, I’ll guide you through the process clearly and simply, so you can tackle this project with confidence.
Understanding Louvered Doors and Their Hardware
Let’s start with the basics. Louvered doors are different from flat-panel doors. They have angled slats, allowing air to flow through. This design makes them excellent for areas that need ventilation without sacrificing too much privacy. The hardware you choose can impact not only the door’s function but also its aesthetic appeal.
When selecting hardware, it’s essential to consider the door’s purpose. Are you looking to simply secure it? Or do you want to add a stylish handle to enhance its looks? For instance, a sleek modern handle could complement a contemporary space, while a vintage-style knob might fit better in a rustic environment. Think about what will work best in your setting.
You also need to factor in the size of the hardware. Louvered doors often have a narrower surface area for installation. Make sure to choose hardware that won’t overwhelm the design. Always check the specifications of the hardware against your door’s dimensions before purchasing.
Gathering Your Tools and Materials
Before diving into the installation, let’s gather your tools and materials. Here’s a handy list to help you prepare:
- Drill and drill bits (appropriate for your door material)
- Screwdriver (flat-head and Phillips)
- Measuring tape
- Pencil for marking
- Level (to ensure your hardware is straight)
- Your chosen hardware (handle, locks, etc.)
Having these tools on hand will save you from scrambling in the middle of your project. Trust me, it’s much smoother when you can find everything easily. For example, when I installed a handle on my louvered door, having a level made all the difference in ensuring it looked straight and professional.
Make sure to have your hardware on hand as well. Most hardware comes with its screws, but if you’re using existing screws, ensure they’re suitable for your door’s material.
Measuring and Marking the Installation Points
Now that you have your tools ready, it’s time to measure and mark where your hardware will go. This step is crucial—it’s where the magic happens. Here’s how to do it:
1. Determine the Height: For handles, a good rule of thumb is to install them around 36 inches from the floor. If you’re adding a lock, make sure to place it about 6 inches above the handle. This height ensures accessibility and functionality.
2. Mark the Positions: Use your measuring tape to find the correct spots for your hardware. Use a pencil to make small marks on the door. Double-check your measurements to avoid mistakes. It’s always a bummer to drill the wrong hole.
3. Use the Level: Once you’ve marked the spots, hold the hardware in place and use a level to make sure it’s straight. This little tool can save you from a crooked installation!
Taking your time with this step is essential. If things aren’t marked correctly, you’ll likely have to patch and paint later, and nobody wants that extra work!
Drilling Holes in the Louvered Door
With your marks in place, it’s time to drill holes for your hardware. Here’s how to tackle this step safely and accurately:
1. Select the Right Drill Bit: Make sure to use a drill bit that matches the screw size of your hardware. If the screws are too big, the hardware won’t sit flush; if they’re too small, they won’t hold.
2. Drill Carefully: Start by applying firm but gentle pressure on the drill. Drill straight and keep the drill bit perpendicular to the door surface. This ensures a clean hole. If you feel resistance, pause and make sure you’re on track.
3. Clean Up: After drilling, remove any dust or debris from the holes. A clean surface allows for better hardware fitting and prevents issues later on.
Honestly, drilling holes can be nerve-wracking, especially if you’re new to it. But with practice, it becomes easier. Just remember to take it slow and steady.
Installing the Hardware
Now comes the exciting part—installing your hardware! Follow these steps to ensure a successful installation:
1. Attach the Handle or Lock: Place the hardware over the holes you’ve drilled. Insert the screws through the hardware into the drilled holes. Using a screwdriver, tighten them until they’re secure. Be careful not to over-tighten, as this could damage the door.
2. Double-Check Alignment: After attaching the hardware, step back and check that everything looks straight and aligned. If something seems off, it’s easier to fix it now than later.
3. Test the Functionality: Operate the handle or lock a few times to make sure it works smoothly. If it feels stiff or doesn’t turn, loosen the screws slightly and adjust as needed.
You might wonder why this step is so crucial. Well, ensuring that your hardware functions correctly means you won’t encounter problems later, like a handle that sticks or a lock that doesn’t catch.
Troubleshooting Common Installation Issues
Even with careful planning, issues can arise. Here are some common problems and how to address them:
– Hardware Doesn’t Fit: If your hardware doesn’t seem to fit, check that you have the correct size and type. Sometimes, a quick trip back to the store is necessary.
– Screws Strip or Break: If you’re using old screws or are tightening too hard, they might strip or break. If this happens, remove any fragments and replace them with new screws.
– Door Doesn’t Close Properly: If your door is sticking or doesn’t line up with the frame after installing hardware, it might be that the door isn’t aligned correctly. Check the hinges, and make sure they’re snug and straight.
Being prepared for these issues can save you time and stress. It’s all part of the learning process of home improvement!
Final Touches and Maintenance
Once everything is installed and functional, it’s time for some finishing touches. Consider these tips:
– Paint or Stain: If the hardware hasn’t been pre-finished, apply a coat of paint or stain to match your door or decor. This can elevate the overall look.
– Regular Maintenance: Check your hardware periodically. Tighten screws if they become loose, and lubricate locks if they start to feel sticky.
– Monitor for Wear: Keep an eye on how the hardware wears over time. If you notice any issues, address them promptly to avoid larger problems down the road.
Taking these extra steps not only enhances the appearance of your louvered door but also helps maintain its functionality.
In the end, installing hardware on a louvered interior door doesn’t have to be a headache. With the right tools, careful measurements, and a little patience, you’ll have a beautifully functional door that adds charm to your space. Remember, it’s all about taking it step by step. You’ve got this!