This guide will walk you through transforming a regular door into a self-closing one using standard self-closing hinges. Whether you’re upgrading your bathroom door, a closet door, or just want to keep your living areas more organized, these simple steps will have you feeling like a pro in no time. Let’s dive in!
What Are Self-Closing Hinges?
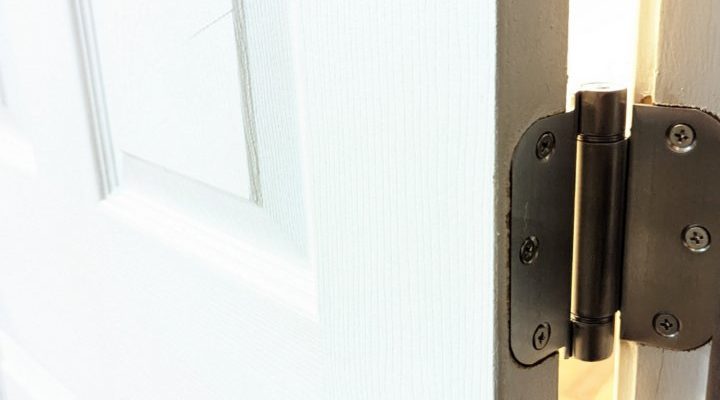
Self-closing hinges are special mechanisms designed to pull a door closed automatically after it’s opened. Think of them as the friendly sentinels of your home, ensuring doors don’t swing open indefinitely, which can be handy in busy households. They can be particularly useful for keeping pets and kids safe by preventing doors from being left open.
These hinges come in various styles and finishes, so you can match them to your home’s aesthetic. While many people might opt for soft-close hinges for a more gentle approach, self-closing hinges are great for ensuring doors close firmly. When choosing hinges, consider the weight and size of your door, as these factors will affect the type of hinge you’ll need.
Tools and Materials Needed
Before you start, gather your tools and materials. Having everything at hand makes the process smoother and saves you from unnecessary trips to the hardware store. Here’s what you’ll need:
- Self-closing hinges (2 or 3, depending on your door)
- Drill and drill bits
- Screwdriver
- Tape measure
- Pencil
- Chisel (if necessary)
- Safety goggles
- Level
Once you have these tools ready, you’re all set to start your project. Each item plays a role in ensuring your installation goes off without a hitch. The mention of safety goggles might seem small, but it’s always wise to protect your eyes from any debris while working.
Removing the Old Hinges
Now that you have everything ready, let’s focus on removing the old hinges. Start by opening the door fully; you want to make this as easy as possible. Use your screwdriver to unscrew the existing hinges. If they’re particularly stubborn, you might need to give a little gentle persuasion to get them off.
Here’s the real deal: Sometimes, you might find that you need a chisel to create a little more space in the mortise where the hinge sits. If the old hinges don’t come off cleanly, this might be necessary. Just take your time and ensure you don’t damage the door itself.
Once the old hinges are removed, check the screws. If they’re rusty or damaged, it’s best to replace them to ensure a secure fit for your new hinges. This small step can save you a lot of hassle in the long run.
Preparing the Door for New Hinges
With the old hinges gone, it’s time to prepare for the new ones. First, measure where you’ll place the new hinges. Most self-closing hinges have specific guidelines for placement, so check the instructions that come with your hinges.
Using your tape measure, mark the spots where the new hinges will go. A pencil works best for this because it gives you a guide without leaving permanent marks on the door. If you’re installing multiple hinges, ensure they are spaced evenly and aligned properly.
Once you have the marks, it’s time to position the hinges. If the new hinges are a different size than the old ones, you may need to use the chisel again to adjust the mortise. Take your time here, as proper alignment is crucial for how well your door will operate.
Installing the New Self-Closing Hinges
With everything measured and marked, you’re ready to install the new self-closing hinges. Begin by holding the hinge in place over your marked spot. Using your drill, install the screws gently. Ensure they’re snug but avoid over-tightening, as this can strip the wood or damage the hinge.
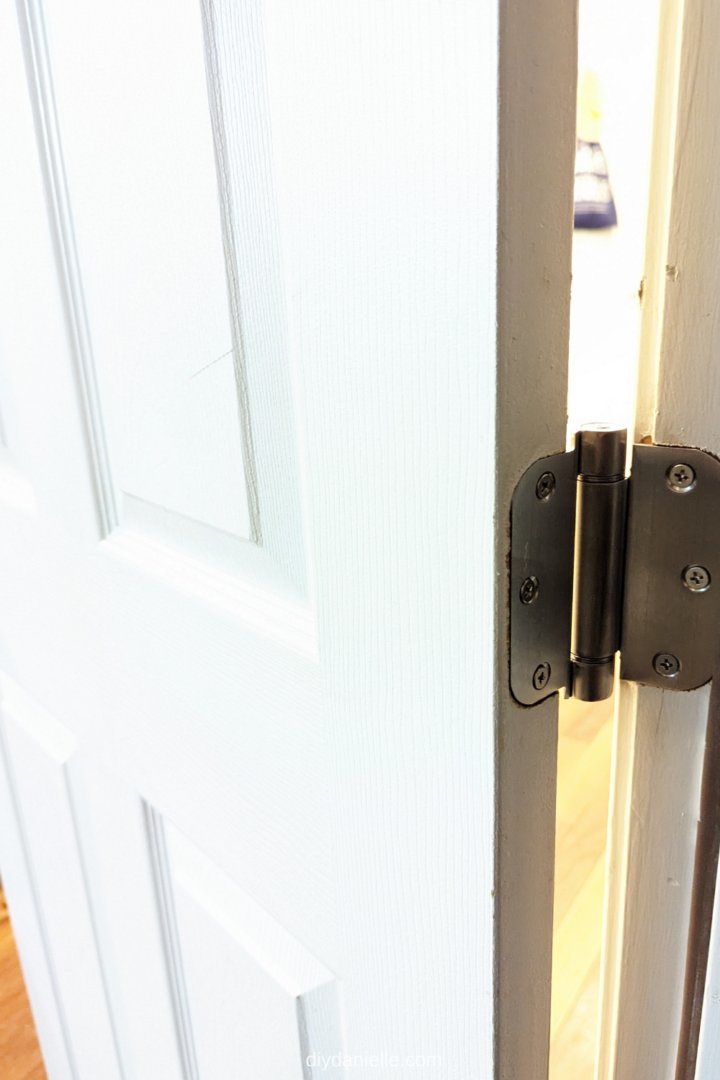
After securing one side, it’s time to attach the other side to the door frame. Make sure everything is aligned correctly before tightening the screws fully. Once you have both hinges in place, open and close the door a few times. You should be able to see the self-closing mechanism in action!
If the door doesn’t close fully or swings shut too quickly, you might need to adjust it. Many self-closing hinges come with a tension adjustment feature. This means you can tweak how tightly the hinge pulls the door closed. It’s all about finding the right balance for your needs.
Troubleshooting Common Issues
Even with careful installation, you might run into a few hiccups along the way. A common issue is misalignment. If the door isn’t closing properly, check the hinge installation and ensure they’re level. A level hinge is key to smooth operation.
Another issue could be that the door slams shut too hard. This is where adjusting the tension on the hinges comes into play. Remember, a little twist can make a big difference. If all else fails, double-check that the hinges you chose are suitable for the door weight and size.
If you find that the self-closing mechanism isn’t working at all, don’t panic. Sometimes, simple issues like a stuck hinge pin or insufficient lubrication can cause these problems. A little oil can go a long way in ensuring everything operates smoothly.
Final Touches and Maintenance
Once everything is installed and working, it’s time for the final touches. Take a step back and admire your work! You’ve just upgraded your home. It’s not just about function; you can also paint or finish the hinges to match your door or frame for a sleek look.
Maintenance is also key. Check the hinges periodically to ensure they are clean and functioning properly. Dust and debris can accumulate, which may hinder their performance. A quick wipe-down and a bit of lubricant can help maintain smooth operation.
Remember, the goal here is to make your life easier. With self-closing hinges, you’re doing just that—creating a more organized and welcoming space in your home.
In the end, installing self-closing hinges on an interior door is not just a task; it’s an investment in convenience and style. Enjoy the new ease that comes with this simple DIY project!