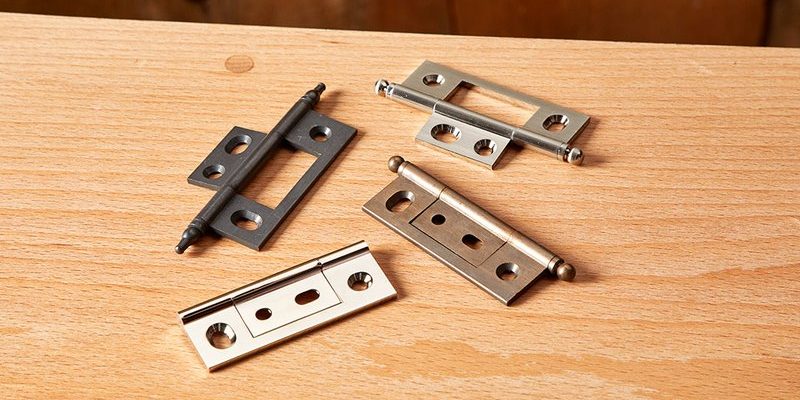
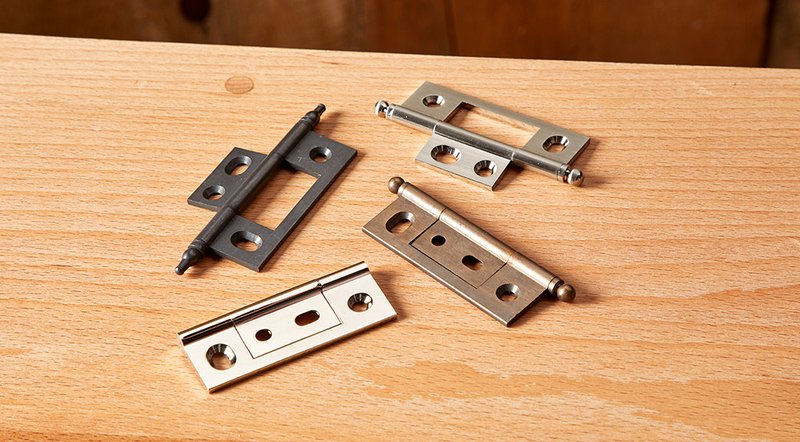
Let me explain why non-mortise hinges are a fantastic option. They’re great for interior doors because they don’t protrude from the surface. This streamlines your door, making it more aesthetically pleasing. Brands like Hagerty or National Hardware offer reliable options that are easy to find in hardware stores or online. With the right tools and a bit of patience, you can get your new door swinging smoothly in no time.
Gather Your Tools and Materials
Before diving into the installation process, you’ll want to gather a few essential tools and materials. Here’s a handy checklist to get you started:
- Non-mortise hinges (typically two to three per door)
- A power drill or screwdriver
- Measuring tape
- Pencil
- Level
- Wood filler (if necessary)
Having everything within reach will make your installation smoother. You might be wondering why a level is necessary. Well, using a level ensures that your door hangs evenly, preventing it from rubbing against the frame or sticking. And trust me, nothing’s worse than a door that doesn’t close properly!
Measure Door Height and Width
Once you’ve got your tools lined up, the next step is measuring your door. Start by checking the height and width of your door to ensure it fits snugly within the frame. If the door is too tall, you might need to trim it down. Use your measuring tape, and don’t forget to double-check your measurements—this is one area where “close enough” isn’t good enough.
Here’s a tip: Measure from the floor to the top of the door frame for height. For the width, measure across the door’s widest part. Remember, if you’re dealing with an older home, door frames can be uneven, so measure in multiple places to find the best fit.
Determine Placement of Hinges
Now it’s time to decide where your hinges will go. You’ll typically want to install one hinge about 7 inches from the top of the door and another about 11 inches from the bottom. If you’re using a third hinge, it goes right in the center. Mark these spots on the door using your pencil, ensuring they’re placed evenly on both the door and the frame.
Here’s the thing: accurate placement is crucial because it affects how smoothly your door opens and closes. A door that’s too heavy at the top might sag, while too much weight at the bottom can cause it to stick. So take your time, and make sure your markings are spot on.
Drill Holes for Your Hinges
Next up, it’s time to drill holes where you’ve marked your hinge placement. Use a drill bit that matches the screws provided with your hinges. Honestly, this part can be a bit nerve-wracking if you’ve never drilled into wood before. Take a deep breath and start slowly; there’s no need to rush.
Make sure you’re drilling straight into the wood. A slight angle can lead to misaligned hinges later on. Also, if you’re drilling into a door that’s already been installed, put a scrap piece of wood behind the door. This helps prevent any splintering on the back side.
Attach Hinges to the Door
With your holes drilled, it’s time to attach the non-mortise hinges to your door. Align the hinge with the holes you’ve created and use your screwdriver or power drill to drive in the screws. You’ll want to start with the top hinge, ensuring it’s secure before moving on to the bottom.
As you attach the hinges, check to see whether they’re fitted snugly against the door. You shouldn’t see any gaps between the hinge and the wood. If you do, it might be worth using a bit of wood filler to smooth things over. This will help maintain the integrity of the door and ensure it holds up over time.
Install the Door in the Frame
Now that your hinges are attached to the door, it’s time to put it in the frame. Lift the door and align the hinges with the corresponding mounting plates on the frame. It can be a bit tricky, so having a friend help you hold the door in place can make a world of difference.
Once the door is aligned, secure the hinges to the frame in the same way you secured them to the door. Be sure to check the alignment again; this is where having a level comes in handy. Adjust the door if necessary before tightening the screws completely.
Test the Door and Make Adjustments
After installing the door, you’ll want to give it a good test. Open and close it several times to check for smooth movement. If it sticks or doesn’t close properly, it might be out of alignment. You may need to slightly adjust the hinges by loosening the screws and repositioning them. This can make all the difference.
Additionally, if your door has any gaps at the top or sides, consider adjusting the hinges or adding shims to balance things out. It’s all about fine-tuning to make sure everything operates smoothly.
Final Touches
Now that everything is installed and working well, it’s time for the final touches. Make sure to give your door and hinges a quick clean to remove any dust or marks from the installation process. You might also want to consider painting or staining your door, especially if it’s unfinished. A fresh coat of paint can breathe life into any room.
If you applied wood filler earlier, make sure it’s sanded down and painted over to match the door. And there you have it! You’ve officially installed non-mortise hinges on your new interior door, giving your space a fresh look.
In conclusion, while installing non-mortise hinges might feel intimidating at first, it’s definitely a manageable task with some careful planning and the right approach. Now, step back and admire your handiwork—your door is not just functional but a great addition to your home!