
Imagine this: you’ve got a busy space where efficiency is important. Maybe it’s a door that leads to a bustling kitchen, a restroom, or even a room where you want to control privacy. Using a spring hinge can help manage how quickly that door closes, enhancing the flow of your space. So, if you’re ready to dive into the world of spring hinges, let’s break down how to install one step by step.
What is a Spring Hinge?
A spring hinge is a type of hinge that allows a door to close on its own after being opened. Think of it like the spring on a bouncy toy—you know how it always snaps back? That’s what a spring hinge does. It creates tension in the hinge that helps pull the door closed after you push it just slightly open.
This is particularly useful in high-traffic areas. If you have kids running around or employees rushing to meetings, you want a door that closes automatically but doesn’t slam shut. Adjusting the tension on a spring hinge can also let you control how quickly the door closes. Too fast, and it can cause issues; too slow, and it might not close securely.
Choosing the Right Spring Hinge
Before you start your installation, it’s important to choose the right spring hinge for your needs. There are different types available—like concealed and self-closing hinges. Here’s what to consider:
- Material: Look for hinges made of durable materials, like stainless steel, especially if the door is exposed to the elements.
- Size: Ensure the hinge size fits the door you’re working with. It should match the style and weight of the door.
- Spring Tension: Some hinges allow you to adjust the tension after installation, which is perfect for fine-tuning the closing speed.
Also, if you’re thinking about replacing an old hinge, make sure to measure the existing one. That way, you can find a spring hinge that matches perfectly or is compatible with your door frame.
Gathering Your Tools and Materials
Installing a spring hinge requires a few tools and materials, and having everything on hand will save you time and frustration. Here’s a quick checklist:
- Spring hinge
- Drill with the right bits
- Screwdriver
- Measuring tape
- Pencil
- Level
Having these tools ready makes the process smoother. Honestly, nothing’s worse than starting a project only to realize you’re missing a screwdriver!
How to Remove the Old Hinge
If you’re replacing an existing hinge, start by removing it. Here’s a quick step-by-step:
1. Support the Door: Use a doorstop or a friend to hold the door in place so it doesn’t swing while you’re working.
2. Unscrew the Old Hinge: Use your screwdriver to remove the screws from the old hinge. This might take a bit of effort if they’re rusted or stuck, but don’t force it; just give it some patience.
3. Take Off the Door: Once the hinge is free, carefully lift the door off its frame.
Now you’re ready to install your new spring hinge.
Installing the Spring Hinge
Here’s where the fun begins! Installing a spring hinge is straightforward, but attention to detail is key to getting the closing speed right. Follow these steps:
1. Position the Hinge: Align the new spring hinge on the edge of your door and frame. Make sure it sits flush against both.
2. Mark for Drilling: Use your pencil to mark where the screws will go. This ensures you drill accurately.
3. Drill Holes: Using your drill, create pilot holes for the screws. Pilot holes prevent the wood from splitting and make it easier to install the screws.
4. Attach the Hinge: Securely fasten the hinge to the door first, then to the frame. Use your level to ensure it’s straight.
After you’ve attached the hinge, it’s time to rehang the door.
Adjusting the Closing Speed
This is the crucial part! Once your door is back on its hinges, you may need to adjust the tension to get the closing speed just right. Here’s how:
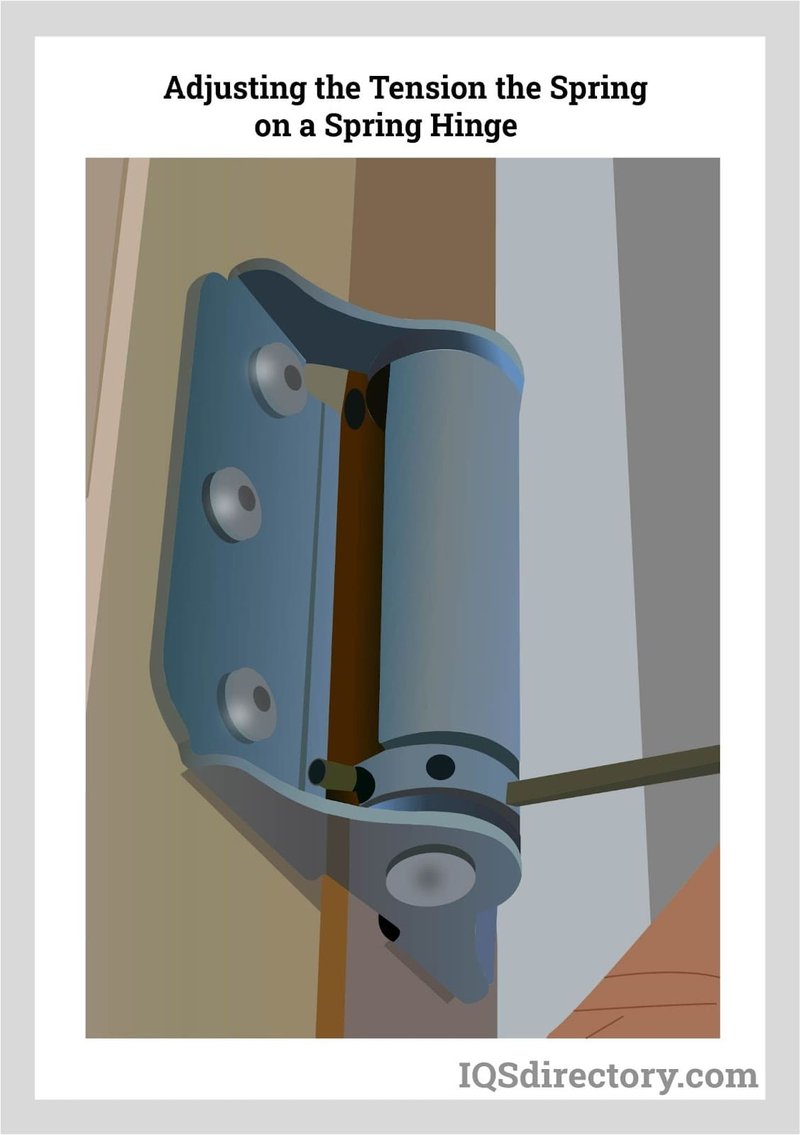
1. Locate the Adjustment Mechanism: Most spring hinges have a tension adjustment screw. Identify it on your hinge.
2. Turn the Screw: Use the appropriate tool to turn the screw. Clockwise usually increases tension (making the door close faster), while counter-clockwise decreases it (slowing the closure).
3. Test the Door: Open and release the door to see how it closes. Repeat the adjustment until you find the right speed.
Keep in mind, a gentle close is ideal—nobody wants a door that slams shut!
Troubleshooting Common Issues
Sometimes, even with the best installations, you might run into a few hiccups. Here are some common problems and how to fix them:
- Door Slams Shut: If the door closes too quickly, you may need to reduce the tension on the spring hinge.
- Door Doesn’t Close Fully: This could be due to improper alignment. Make sure the hinge is straight and securely fastened to the door and frame.
- Noise During Closure: If you hear squeaking, lubricate the hinge with a silicone spray or a bit of grease.
It’s all about small adjustments and finding that sweet spot with the installation.
Why Spring Hinges Matter
You might be wondering why all this effort is necessary. Here’s the thing—spring hinges not only offer convenience but also enhance safety. Doors that close securely help maintain privacy, keep pets in or out, and prevent drafts. Plus, they can add a professional touch to your home or office.
Installing a spring hinge is a small project with a big impact. Once you try it out, you’ll wonder why you hadn’t done it sooner.
In conclusion, there you have it! Installing a spring hinge for a specific closing speed is a straightforward process that anyone can tackle with a bit of patience and the right tools. With careful installation and adjustments, you’ll have a door that closes elegantly and efficiently. Now, go ahead and make that door sing!