Let me explain: today, I’m talking about installing the Frost King Magnetic Door Weatherstrip. This popular brand’s magnetic seal is especially great for steel doors, and the installation process is a lot less intimidating than you might think. Even if the words “DIY” usually make your palms sweat, I promise, you don’t need to be a pro to pull this off. By the end, the only thing sneaking through your door will be your own contented sigh.
What Makes Magnetic Weatherstripping Different?
Here’s the thing: not all weatherstripping is created equal. Standard options—think rubber or foam—just push against your door to block air flow. But a magnetic weatherstrip actually uses a strip of flexible magnet embedded in a gasket. When you shut your door, the strip snaps gently but firmly against the metal door surface, making a tight seal all the way down.
Why does this matter? Well, traditional seals can wear down over time or leave tiny gaps as your door shifts with the seasons. Magnetic weatherstrips, especially from a solid brand like Frost King, stay snug and self-adjust if the door or the frame isn’t perfectly square. If you’re living with a metal door (or even a coated steel core), the magnets do the hard work—lining up, clinging, and sealing every time you close up.
Honestly, after swapping from a foam strip to a magnetic one, you’ll notice the difference right away. You’ll hear less wind, feel less cold, and you might even see your heating bills dip a bit. That’s not just comfort—it’s real savings and less energy waste.
Tools and Materials You’ll Need
Before you get started, there’s nothing worse than running to the hardware store mid-project. Don’t worry, the list is pretty simple. Here’s what you should have on hand:
- Frost King Magnetic Weatherstrip Kit (make sure it matches your specific door size and type)
- A measuring tape
- Sharp scissors or a utility knife
- A screwdriver (usually Phillips-head works)
- A pencil or marker for marking cut lines
- Optional: adhesive caulk gun (for air gaps outside the strip area)
You might be wondering why you need a screwdriver. The Frost King magnetic weatherstrip usually comes with pre-drilled holes and small mounting screws, so you won’t have to drill through tough steel. As for the measuring tape and sharp scissors? You’ll need those to cut and fit the strips just right, making sure you’re not left with any awkward gaps or overhangs.
Take your time gathering everything. The right tools make the whole job smoother and a lot less stressful.
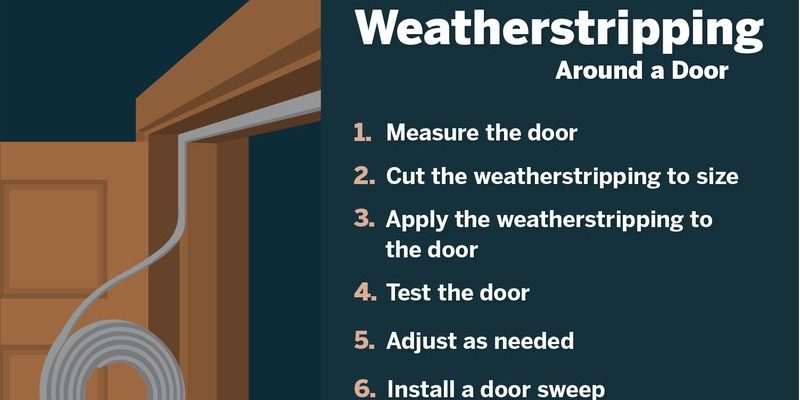
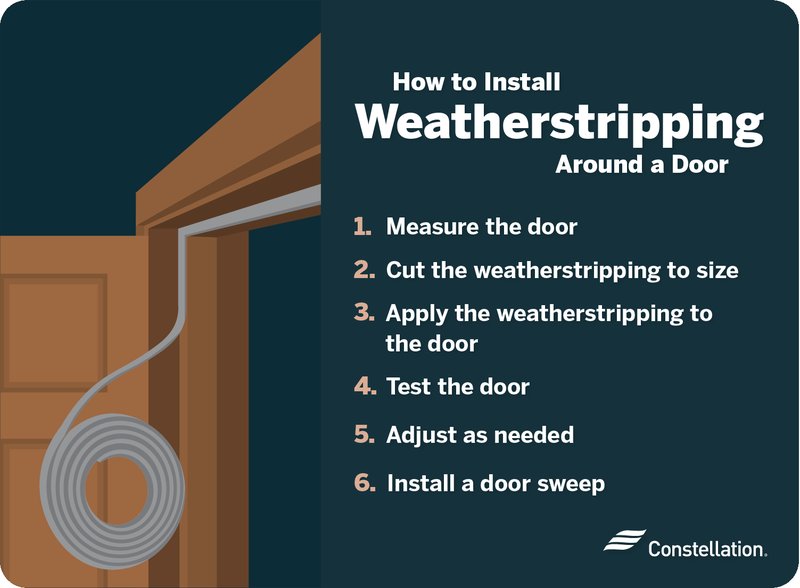
Measuring and Preparing Your Door Frame
Let’s walk through the prep work—this is where things really start to come together. First, open your door and take a good look at the frame. With a Frost King magnetic weatherstrip, you’re aiming for a clean, flat surface along the jamb (that’s the frame part the door closes against).
Run your measuring tape along the height and width of the door frame. You’re measuring the inside of the frame, not the door itself. This helps you know exactly how long to cut each piece of magnetic weatherstrip. If your kit is longer than your door, just mark and trim it to fit.
Don’t skip cleaning. Use a damp rag or mild cleaner to wipe off any dirt, dust, or oily spots from the jamb and door edge. Magnetic strips need a tidy home to grip firmly. Let everything dry fully before you move on—trust me, adhesives and magnets both hate moisture.
Last, check for any existing weatherstripping or old seals. If you find old, crumbly foam or rubber, peel it off and, if needed, scrape away any sticky residue. The cleaner the surface, the better your new seal will perform.
Cutting and Fitting the Magnetic Weatherstrip
Now for the satisfying part—customizing the weatherstrip for your door. Take your Frost King magnetic weatherstrip and hold it up to the frame, starting with one side. Use your pencil or marker to mark where you need to cut. Double-check your measurements, because a too-short strip means you’ll lose that airtight seal, while a too-long one will bunch up.
With scissors or a utility knife, cut the strip carefully along your marked line. The magnetic insert can be a bit tough, but go slow and steady—it’s better to trim a bit more than to rush and mangle the edge. For corners, some kits let you miter (angle) the ends for a super tidy fit; others are fine with a snug butt joint.
Test-fit each strip by holding it in place before screwing or pressing it in. It should line up smoothly from top to bottom, edge to edge. If it looks crooked or bulges, make another trim. Remember, this is the step that really decides how professional your finished door looks.
Take your time here. Cutting too quickly could leave you with a gap or a strip that’s just too short for a solid seal.
Mounting the Magnetic Weatherstrip to the Frame
You’re almost there. Now, take your prepared strip and hold it firmly against the jamb, starting with the hinge side. Use the included screws (or adhesive, if your model calls for it) to secure one end first. Some Frost King kits have self-adhesive backs for easy placement, but screws offer a more reliable hold, especially for exterior doors that get a lot of use.
Work your way down the frame, pressing the strip into place and adding screws every 8 to 12 inches, or wherever the pre-drilled holes line up. Don’t overtighten—the magnetic strip should sit flush, but squishing it too much can bend the magnet and hurt the seal.
Repeat for the top and then the latch side of the frame. Pay attention to the corners—if you see a visible gap, adjust the ends or overlap them slightly so nothing slips past. When you’re done, close your door slowly and listen for the gentle “snap” as the magnet catches. You’ll feel some resistance, which is normal and means your seal is working.
If your door suddenly feels a bit harder to close, that’s a good sign. The magnetic strip forms a tight bond, locking out wind, dust, and even noise.
Testing the Seal and Troubleshooting Issues
Alright, moment of truth! Close your door and run your hand along the edges. Feel any cold air sneaking through? If it’s perfectly sealed, you shouldn’t notice any drafts. Try slipping a piece of paper between the strip and the door—if you can pull it out easily, you might need to tweak your installation.
Common problems? Sometimes, doors are warped or the frame isn’t square. If you see a gap at the top or bottom, gently adjust the weatherstrip or add a bit of adhesive caulk in the worst spots. If the magnet seems weak or the strip keeps popping loose, double-check that you’ve got a steel door and that the surface is truly clean.
You might be wondering: what about sticking or squeaking? Sometimes, the seal is so tight that you’ll hear a faint rubbing noise. A tiny dab of silicone spray (not oil) on the magnet surface can fix that fast. If your door is wood or composite, magnetic strips won’t grab—look for a compression-style weatherstrip instead.
Comparing Magnetic Weatherstripping to Other Options
Maybe you’re still on the fence—after all, there are loads of weatherstripping choices at the store. Why go magnetic? Here’s the big picture:
- Foam Strips: Easy and cheap, but they wear out quickly and can let in air if your door shifts.
- Rubber or Vinyl Seals: Lasts longer, good for oddly shaped gaps, but don’t always hug steel doors as tightly.
- Magnetic Weatherstripping: Best for steel doors, offers a precise fit, self-aligns, and creates a strong, reliable seal. Slightly higher cost, but much better durability and energy savings.
The only real downside? Magnetic strips work best on steel doors. If you have a solid wood or fiberglass door, they won’t stick properly—so stick with the classic compression or adhesive types. But for a refrigerator-style seal you can count on, the Frost King magnetic weatherstrip is honestly kind of a game changer.
How to Maintain and Replace Your Magnetic Weatherstrip
After you’ve done all this work, you’ll want that seal to stay in top shape. Luckily, maintenance is pretty easy. Every few months, run a damp cloth along the strip to wipe off dust or grime. If you spot any loose screws, tighten them with your screwdriver.
If the magnet starts losing its grip or you see cracks in the vinyl covering, that’s when it’s time to swap in a new kit. You can usually just unscrew the old strip and pop in a replacement. No need to code, sync, reset, or pair anything—this isn’t a smart home gadget, just a clever use of physics.
Here’s another tip: If you paint your door, avoid getting paint on the strip itself, as it can mess up the magnetic bond and shorten the lifespan. Keep the contact area clean and you’ll enjoy that snappy seal for years to come.
Wrapping Up: Enjoying a Cozier, Quieter Home
Installing a magnetic weatherstrip like the Frost King really is one of those rare home fixes where the effort pays off right away. You’ll feel the difference—in warmth, in quiet, and maybe even when your energy bill comes. Plus, you’ll get a little boost of DIY confidence every time you hear that soft, satisfying snap as your door seals tight.
Sure, there are plenty of ways to block out the cold. But a magnetic weatherstrip is like upgrading from a drafty old coat to a custom-fit jacket—you wonder why you waited so long. Take it step by step, trust your measurements, and don’t rush the fit. You’ll be left with a door that blocks out wind, dust, and noise, all with a simple, sturdy solution that just works.
If you ever run into trouble, remember: most issues are easy fixes, and the job is well within reach for any beginner. Here’s to a warmer, cozier home—sealed with a snap.