
Imagine a sturdy door that not only swings open smoothly but also stands firm against unwanted entry. That’s exactly what a security hinge pin can do. It acts as a deterrent, making it much harder for someone to simply lift the door off its hinges. In this guide, we’ll walk through the steps to install a security hinge pin, making your home a little safer, one door at a time.
What Is a Security Hinge Pin?
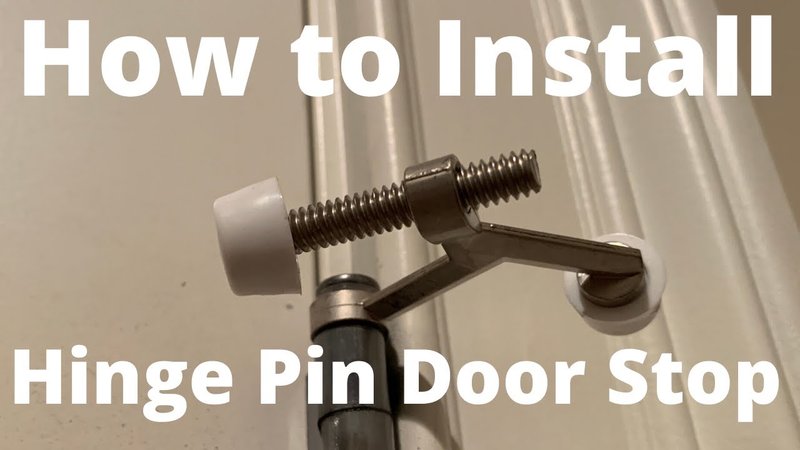
A security hinge pin is a specially designed component that fits into your door hinges, providing an added layer of security. Unlike regular hinge pins, which can be easily removed, security hinge pins often have features like threaded ends or locking designs to prevent unauthorized access. They essentially make it much harder for intruders to take off your door from the hinges, acting like a shield for your interior spaces.
Most security hinge pins are made of durable materials, such as steel, to withstand wear and tear. This extra strength ensures that your door remains securely attached, no matter how much force is applied. You might be wondering why you should consider this upgrade. Well, interior doors often get overlooked when thinking about security, but they can be vulnerable points. That’s where this simple, effective solution comes in.
Choosing the Right Security Hinge Pin
Not every security hinge pin is created equal. When shopping, you’ll want to consider a few factors to ensure you choose the right one for your doors. First, check the size of your current hinges. Most standard door hinges are either 3 or 4 inches, so measure them accurately. The right pin should fit snugly without jamming.
Next, think about the material. Look for hardened steel pins—they’re tough and resistant to bending or breaking. Some models even come with a coating to prevent rust and corrosion. Additionally, choose a design that incorporates features like a retaining screw or locking mechanism, which makes it extra hard for someone to remove the pin from outside.
Lastly, consider the brand. Some manufacturers specialize in security products and have a reputation for quality. You’ll want to consult reviews or seek recommendations to make sure you’re getting a reliable product that won’t let you down.
Tools You’ll Need
Before you jump into installation, gather your tools. Here’s a quick list:
- Security hinge pins
- Screwdriver (flathead and Phillips)
- Drill with drill bits
- Measuring tape
- Level
- Pencil
- Safety goggles
Having the right tools makes the job easier and smoother. A good tip is to lay everything out beforehand so you aren’t scrambling for items mid-installation. This little prep work can save you a lot of time and frustration.
Step-by-Step Installation Guide
Now that you have everything ready, it’s time to install the security hinge pin. Let’s break it down step-by-step.
Step 1: Remove the Existing Hinge Pin
Start by taking off the door from its frame. You can do this by removing one of the hinge pins. Use a screwdriver to tap the pin out from the bottom. Make sure to support the door as it comes free, so it doesn’t fall unexpectedly. Once the pin is out, set the door aside on a flat surface.
Step 2: Prepare the Hinge Area
With the door removed, examine the hinge area. Clean out any dust or debris around the hinge to ensure a good fit. Use a measuring tape to check the alignment of the hinge. If it’s uneven, this could affect the door’s operation later on. Making sure things are level now will save you headaches later.
Step 3: Install the Security Hinge Pin
Take your new security hinge pin and insert it into the top hinge. If it has a locking mechanism or retaining screw, make sure it’s oriented correctly as per the manufacturer’s instructions. Use the drill to secure it, following any guidelines provided with the product.
Step 4: Rehang the Door
Carefully lift the door back onto the hinges. Ensure the security hinge pin is in place and checks the door’s operation. Open and close it a few times to see if it swings smoothly. If things feel off, double-check that everything is aligned properly.
Step 5: Final Checks
Once the door is back in place, take a moment to confirm the installation is secure. Give the door a good push to test its sturdiness. If the hinge feels loose, it might need further tightening.
Common Problems and Troubleshooting
Sometimes, issues arise even after installing the security hinge pin. Here are a few common problems you might run into:
– Pin Won’t Fit: If the pin doesn’t fit snugly, double-check the hinge size. You might need a different pin if it’s not matching up well.
– Door Won’t Close Properly: If the door is sticking or doesn’t line up, it could be misaligned. You might need to adjust the hinge screws slightly to get it back on track.
– Rust Issues: If you notice corrosion, that could weaken the pin’s effectiveness. Regularly inspect the hinge and replace it if necessary.
Addressing these problems early will help maintain the integrity of your door security.
Why Security Hinge Pins Matter
You might be asking yourself, “Do I really need this?” The answer is a resounding yes. Security hinge pins act as a key defender against break-ins. While most people think of locks and alarms, they often overlook door hinges as vulnerabilities. By investing a little time and effort into this upgrade, you’re taking a proactive step towards a safer home environment.
Consider this simple addition as part of a larger security strategy. Pairing it with high-quality locks and security cameras can give you peace of mind. Remember, the goal is to make it as tough as possible for would-be intruders.
In a world where home security can seem overwhelming, small steps can lead to big changes. Installing security hinge pins is one of those steps. It’s affordable, easy to do, and can significantly enhance the safety of your living space.
With a little effort, you’re doing your part to keep what matters most safe. So, grab those tools and get started—who knew home security could feel this satisfying?