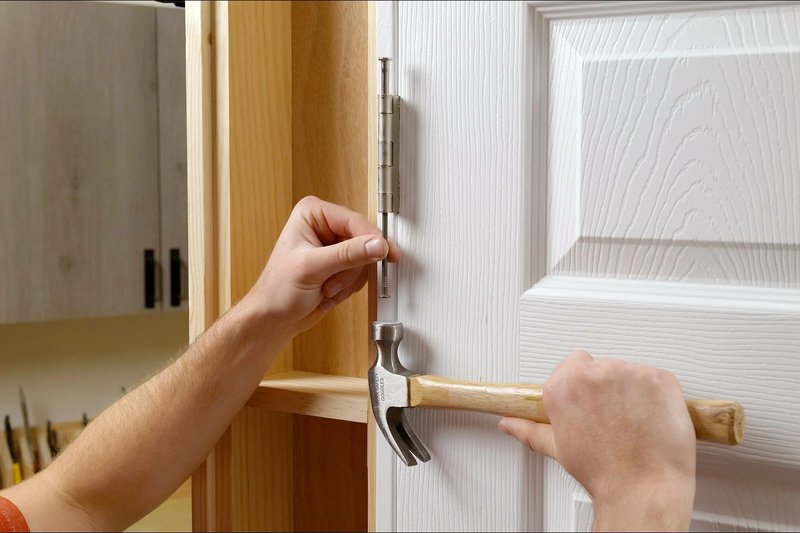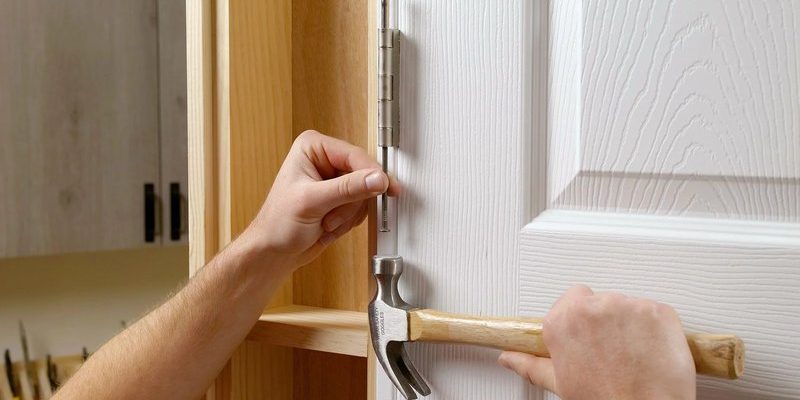
In this guide, we’ll walk through everything you need to know about installing these handy hinges. We’ll focus on the *Everbilt Removable Pin Hinge*, a popular choice known for its durability and ease of use. Although it might seem a little technical, don’t fret. By the end, you’ll feel confident about this DIY project, and you might just surprise yourself with how easy it really is!
What is a Removable Pin Hinge?
A removable pin hinge is a type of hinge that allows you to take off a door without having to remove the entire hinge itself. Instead of traditional hinges, which are fixed in place with screws and can be quite tricky to remove, these have a pin that goes through the two leaves of the hinge. This pin can be easily pulled out, freeing the door. Imagine it like a safety pin that holds everything together but can be quickly removed when needed.
This type of hinge is particularly useful when you need to install or remove doors frequently, like in apartments where tenants change often, or for seasonal decorations. Also, if you’re planning to paint a door or do repairs, being able to take it off the frame can make the job much easier.
Tools and Materials Needed
Before you dive into the installation process, make sure you have all the right tools and materials on hand. Here’s a simple list to get you started:
- Removable pin hinges (like those from Everbilt)
- A drill with the appropriate drill bits
- Screwdriver (typically a Phillips head)
- Measuring tape
- Level (to ensure doors hang straight)
- Pencil for marking
Having everything ready not only speeds up the process but also helps prevent any unexpected trips back to the hardware store. Honestly, nothing is more frustrating than having to pause in the middle of a project because you forgot a crucial tool.
Step-by-Step Installation Guide
Let’s break down the installation into easy steps. Follow this guide, and you’ll have your removable pin hinges installed in no time!
Step 1: Measure and Mark
First, you’ll want to measure where the hinges will go. Typically, a door will have two hinges on the side opposite the handle.
1. Measure down from the top of the door about 7 inches and mark this spot with a pencil.
2. Measure up from the bottom of the door about 11 inches and mark that, too. These marks are where your hinges will be installed.
Using a level, ensure that your hinges will be straight. Trust me; a crooked door is a headache you don’t want!
Step 2: Drill Pilot Holes
Now it’s time to drill. Using the drill:
1. At each mark, drill a pilot hole into the door. Pilot holes help prevent the wood from splitting when you insert the screws.
2. Use a drill bit that’s slightly smaller than the screws that come with your hinges—this makes the screws easier to drive in.
Be cautious here. It’s easy to get too excited and drill too deep, which can weaken the door.
Step 3: Attach the Hinges
With your pilot holes ready, it’s time to attach the hinges:
1. Position the hinge on the door with the pin hole facing upward.
2. Insert the screws through the hinge into the pilot holes.
3. Tighten the screws until they are snug, but don’t overtighten—they might strip the wood.
Repeat this process for each hinge. You might be wondering why it’s important not to overtighten. A snug fit holds well and allows for smoother operation, but too tight can lead to cracks or difficulty moving the door.
Step 4: Hang the Door
Now comes the moment of truth!
1. Place the door in its frame, aligning the hinges with the pre-existing hinge plate on the door frame.
2. Insert the removable pin into the hinge. This should feel secure but still allow for easy removal when needed.
Check if the door opens and closes smoothly. If it drags or sticks, you might need to adjust the hinge placement slightly.
Why Choose Removable Pin Hinges?
You might be asking yourself, “Why should I go through the effort of installing removable pin hinges?” Here’s the thing: they offer several advantages over traditional hinges:
1. Convenience: As mentioned, they make it super easy to remove and reinstall doors without unscrewing anything.
2. Versatility: Great for situations where doors need to come off often, such as seasonal decoration changes or moving.
3. Ease of Use: For anyone who might not be a pro at DIY, these hinges simplify the process dramatically.
Also, they’re usually just as sturdy as traditional hinges, so you don’t have to worry about compromising quality for convenience.
Common Troubleshooting Tips
Sometimes, things don’t go perfectly, and that’s okay! If you run into issues, consider the following tips:
– Door Doesn’t Close Properly: Check if the hinges are aligned correctly and that screws are tightened properly.
– Hinge is Loose: If your hinge feels wobbly, make sure you haven’t missed the pilot hole or that the screws are installed securely.
– Difficulty Removing the Pin: If the pin seems stuck, clean any debris from around the hinge. It might also help to apply a little lubricant to ease the movement.
These little hiccups are normal, and addressing them early can save you a lot of frustration down the line.
Final Thoughts
Installing a removable pin hinge is a simple DIY task that can save you a lot of time and effort down the road. With the right tools and a bit of patience, you’ll have doors that can be easily removed and reattached, making your home projects easier than ever.
So, the next time you find yourself needing to move a door, remember the power of the removable pin hinge. Happy DIYing!
