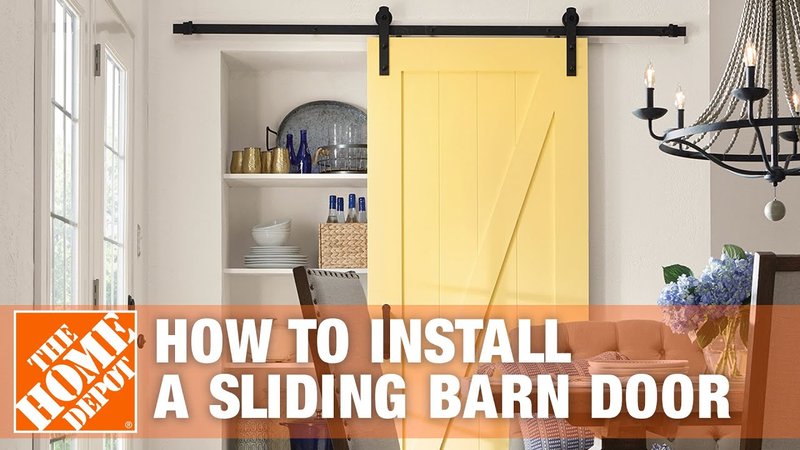
This guide is for those who want to keep their door sliding straight and true. You might be using a standard wooden barn door or a more modern variety. No matter the style, the installation process is largely the same. I’ll also touch on some common mistakes to avoid and provide tips for a smooth installation experience. Let’s dig in!
What You Need for Installation
Before we jump into the installation, let’s gather our materials. Having everything on hand will make the process much easier. Here’s a list of what you’ll need:
- New bottom guide
- Drill
- Screwdriver
- Measuring tape
- Pencil
- Level
- Wood screws
You’ll find that various types of bottom guides are available, from simple metal ones to more decorative options. When choosing, consider the weight and size of your barn door. A heavier door may require a sturdier guide.
Also, don’t forget your safety gear! Always wear safety goggles to protect your eyes when drilling.
Removing the Old Bottom Guide
If you’re replacing an old bottom guide, the first step is to remove it. This can be a bit tedious, but don’t worry, you’ll get through it. Start by checking how the old guide is attached. Most are secured with screws.
1. Locate the screws: Use your screwdriver to unscrew the guide. If it’s stuck, a gentle nudge with a putty knife can help loosen it up.
2. Pull it out: Once unfastened, carefully remove the guide from the floor.
3. Clean the area: Take a moment to clear any debris or old adhesive left behind. This ensures a smooth, clean surface for your new guide.
You might be wondering why this process is necessary. Proper removal prevents any issues when you’re installing the new guide. Just like trying to apply a new coat of paint over a dirty wall—it won’t stick well.
Measuring for the New Bottom Guide
Now that the old guide is gone, it’s time to measure for the new one. Accurate measurements are vital here; with a little attention to detail, you can avoid pitfalls later on.
1. Measure the door width: Use your measuring tape to find the exact width of your barn door. This will help you determine where to place the new guide.
2. Determine guide placement: Generally, the guide should be positioned inward from the door edges by about two inches. This prevents the door from swinging out.
3. Mark the spot: Using a pencil, mark where the screws will go. It’s also a good idea to make a note of where the guide will sit in relation to the floor, ensuring it aligns perfectly.
Double-check your measurements. Remember, “measure twice, cut once” applies here too! If it’s off by even a little, it can affect how smoothly your door operates.
Installing the New Bottom Guide
With measurements taken and marks made, it’s time to install the new bottom guide. This is where the fun begins!
1. Position the guide: Place the new bottom guide on your marked area. Use your level to ensure it sits straight. An uneven guide can cause your door to jam or slide poorly.
2. Secure it: Using the drill, drive the screws into the marked spots. Make sure they’re snug, but avoid over-tightening, which can warp the guide.
3. Test it: Before moving on, give your door a gentle push to see how it slides. It should glide effortlessly across the guide.
Installing a barn door bottom guide is a hands-on task, and your patience will pay off. If it doesn’t feel right, consider adjusting the screws to fine-tune the position.
Troubleshooting Common Issues
After installation, you might run into some hiccups. Here are a few common problems and how to handle them:
– Door sticks or drags: If your door isn’t sliding smoothly, check that the bottom guide is level. If it’s too high or low, adjust the screws accordingly.
– Noise issues: If you hear a scraping sound, the bottom guide might be misaligned. Ensure there’s no contact with the door frame or floor.
– Warping: If your guide is bending, it might not be sturdy enough for your door’s weight. Consider replacing it with a more robust option.
Sometimes, it’s just about trial and error. Don’t hesitate to step back and assess the situation. You’ve done great work so far; a few tweaks might be all you need!
Final Thoughts on Your Barn Door Installation
Installing a new sliding barn door bottom guide can seem daunting at first, but with a bit of preparation and care, you can do it yourself! This little guide plays a big role in ensuring your door operates smoothly and looks great.
Remember to take your time with each step and check your work along the way. And don’t forget, once you’ve nailed down the installation, enjoy the beauty and functionality that a sliding barn door brings to your home.
Getting hands-on with projects around the house not only boosts your skills but also adds a personal touch to your space. You’ve got this, so go ahead and slide into your next home improvement adventure!
