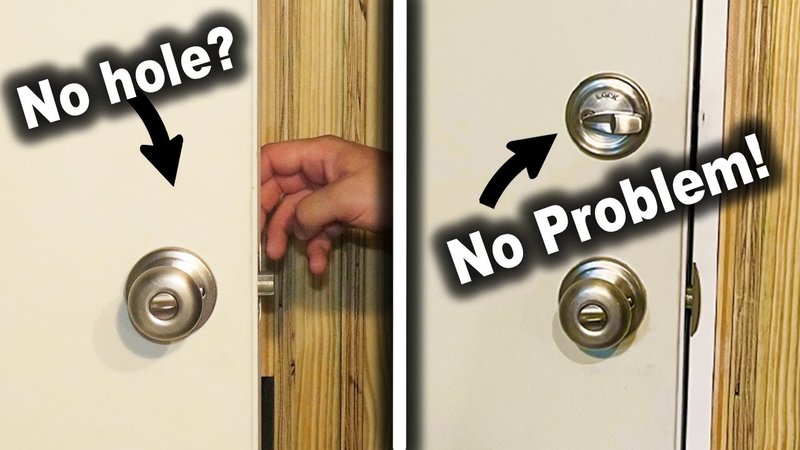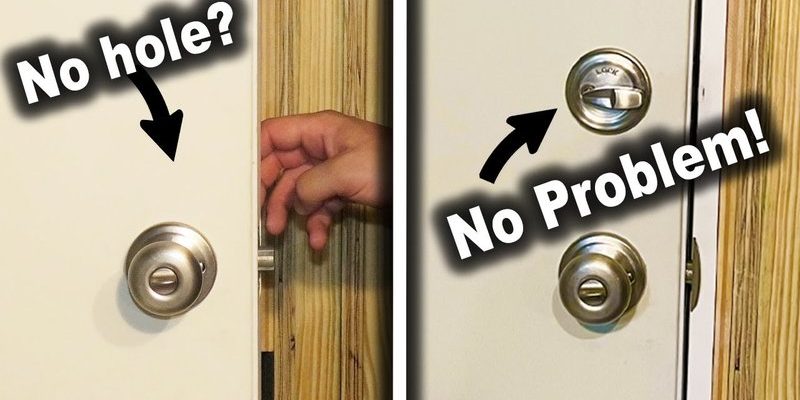
You might be wondering, what exactly is a latch mechanism? It’s the part of the door hardware that secures your door to the frame. You can find them in different styles, like a basic spring latch or a deadbolt for added security. Let’s say you have a Kwikset latch that needs replacing—understanding how to install it in your existing bore hole will save you time and hassle. So, grab your tools, and let’s dive into this step-by-step guide on how to install a new latch mechanism.
Understanding the Components of a Latch Mechanism
Before you start, it’s vital to know exactly what you’re working with. A latch mechanism generally consists of several components: the latch itself, the strike plate, and sometimes a locking mechanism.
– Latch: This is the part that actually secures the door when closed. It often features a spring loaded design that retracts when the door handle is turned.
– Strike Plate: Often made of metal, this plate is affixed to the door frame and catches the latch when the door is closed, allowing it to secure properly.
– Locking Mechanism: This is optional but provides extra security. Some mechanisms combine the latch with a deadbolt for higher protection.
Understanding these parts helps you know where each piece fits and how they work together. If you’re only replacing the latch, you can often use the existing strike plate, but if you’re upgrading to a more robust model, you might need a new strike plate that fits the new latch.
Gathering the Tools and Materials
Before you dive into installation, let’s get your workspace organized. Having the right tools will make the process much smoother. Here’s a quick checklist of what you’ll need:
- New latch mechanism (like a Kwikset or Schlage)
- Screwdriver (preferably a Phillips head)
- Drill (if new holes are required)
- Measuring tape
- Pencil for marking
- Chisel (if needed for adjustment)
Honestly, having everything laid out reduces the chance of interruptions while you’re working. You want to make sure you’re not running back and forth to the toolbox every few minutes, right? If you’re unsure which type of latch mechanism to buy, consider visiting your local hardware store. Speak with someone knowledgeable; they can help you find the right fit.
Removing the Old Latch Mechanism
Now that you have your tools ready, it’s time to remove the old latch mechanism. This is usually a simple process, but it requires a bit of care to avoid damaging the door or frame.
1. Unscrew the Door Handle: Begin by locating the screws on the door handle. Remove them using your screwdriver. You might need to hold the handle with one hand while unscrewing with the other.
2. Take Out the Existing Latch: Once the handle is off, look for screws securing the latch mechanism in place. Remove these screws carefully.
3. Pull Out the Mechanism: Wiggle the latch gently as you pull it out of the bore hole. If it’s stuck, you might need to use a chisel to help pry it free.
Remember to save the screws, as you may need them for the new latch. If the old latch has specific wear or damage, take note—this can guide your choice in the new mechanism.
Preparing the Bore Hole for Installation
With the old mechanism out, it’s essential to prepare the bore hole for the new latch. Your new latch should fit snugly, so any misalignment can affect its functionality.
– Check the Size: Most latch mechanisms come in standard sizes, but it’s wise to measure the bore hole’s diameter and depth. If you’re upgrading to a bigger mechanism, you may need to widen the hole slightly.
– Clean the Hole: Use a cloth to clean out any debris or dust. This ensures that the new latch fits smoothly and reduces the chances of trapping dirt or grime inside.
– Adjust if Necessary: If the new latch doesn’t fit due to a size difference, carefully use a chisel to adjust the bore hole. Take your time—precision matters here!
Preparing the hole correctly will help ensure the latch operates smoothly, so don’t rush this step.
Installing the New Latch Mechanism
Now for the fun part! Installing the new latch mechanism can feel satisfying and straightforward if you’ve followed the previous steps carefully.
1. Insert the New Latch: Align the new latch mechanism with the bore hole. Make sure the latch tongue is facing the correct direction—it should align with the strike plate when the door is closed.
2. Secure the Latch: Use the screws that came with your new latch mechanism to secure it in place. Screw them in evenly to avoid any wobbling.
3. Reattach the Door Handle: Once the latch is secure, position the door handle back onto its spindle. Ensure that the handle moves freely and correctly engages with the latch.
Taking a moment to ensure everything is positioned right will save you time later. If the handle feels stiff, check that you’ve aligned everything correctly.
Testing the Latch Mechanism
After installation, testing the latch is crucial. You want to make sure it’s working properly before you close the door for good.
– Test the Handle: Give the door handle a few turns to see if it operates smoothly. The latch should retract and extend without any resistance.
– Close the Door: Gently close the door while observing the latch’s movement. It should glide into the strike plate without getting stuck.
– Check Security: Finally, ensure that the latch feels secure when the door is closed. It should click into place firmly, and you shouldn’t be able to push the door open.
If something doesn’t feel right, double-check your installation. Sometimes a small adjustment is all it takes to get everything just right.
Common Issues and Troubleshooting
Sometimes, despite your best efforts, a latch mechanism may present issues. Here are a few common problems you might encounter and how to solve them:
– Latch Stuck: If the latch doesn’t move smoothly, it may be misaligned. Open the door and adjust the screws slightly to realign it.
– Door Doesn’t Close Properly: If the door isn’t closing correctly, check that the strike plate is aligned with the latch. You might need to reposition it slightly.
– Handle Feels Loose: If the handle feels wobbly, make sure all screws are tightened properly.
Don’t forget that patience is key! Sometimes changes might take a little tweaking, but it’s all part of the process.
Final Thoughts on Installing a New Latch Mechanism
Installing a new latch mechanism in an existing bore hole can truly enhance the security and usability of your door. With a straightforward process and some basic tools, you can achieve a professional-looking result. Remember, attention to detail counts. Each step you take helps ensure that your new latch functions smoothly and serves its purpose effectively.
So there you have it! With this guide, you can tackle your latch installation confidently. You might even find yourself enjoying the project more than you expected. Whether you’re fixing an old door or simply upgrading, knowing how to install a new latch mechanism is a handy skill that pays off. Happy DIYing!
