So, why would you even want to switch your door latch? Maybe you’re updating the look of your door hardware, or perhaps you’ve recently refurbished a room and need a latch that matches the new aesthetic. Whatever the reason, knowing how to install a new latch with a different backset can save you time and money. Let’s dive in!
Understanding Door Latch Backsets
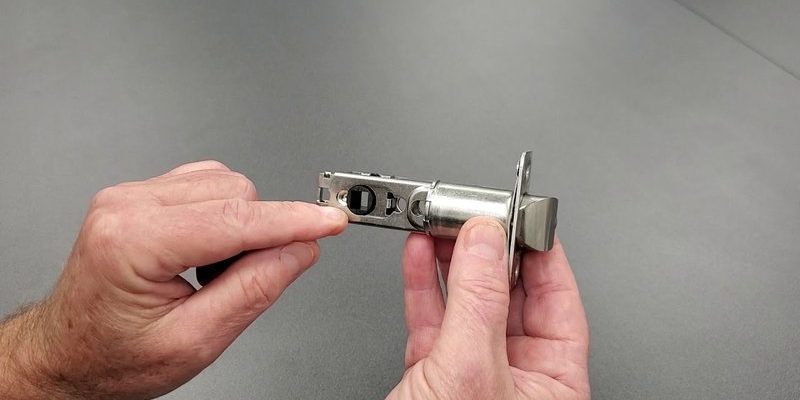
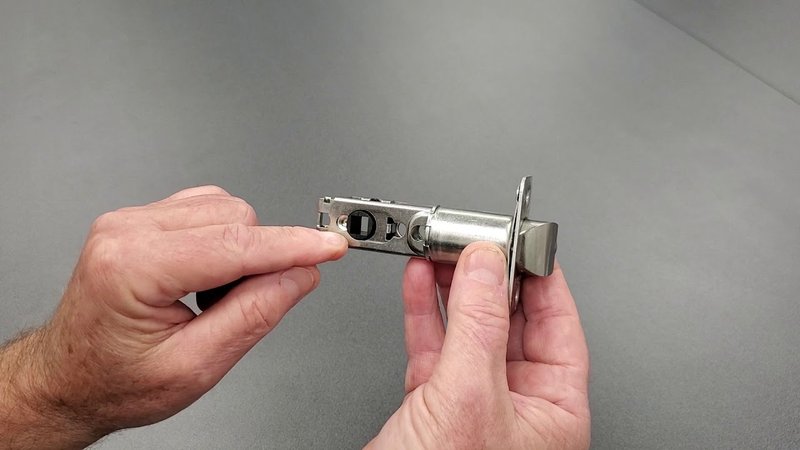
Before we jump into the installation process, it’s crucial to understand what backset means. The backset is the distance from the edge of the door to the center of the latch hole. The most common backset measurements are 2-3/8 inches and 2-3/4 inches. When you’re shopping for a new latch, check this measurement. If it doesn’t match the existing hole, you’ll need to make some adjustments.
Why does this matter? Well, if you install a latch with a different backset without modifying the door, it won’t line up properly with the strike plate on the door frame. This mismatch could lead to frustration when you try to lock or unlock the door. No one wants to wrestle with a stubborn latch!
Gathering Your Tools and Materials
To make the installation as smooth as possible, you’ll need a few tools and materials before getting started. Here’s a handy list to help you:
- New door latch with the correct backset
- Screwdriver (flathead and Phillips)
- Measuring tape
- Wood chisel (if needed for adjustments)
- Pencil for marking
- Drill (if you’re making new holes)
Having everything ready in one spot is like preparing a meal – it makes the process much quicker! Take a moment to gather your tools; you’ll be grateful later.
Removing the Old Door Latch
Now that you have everything you need, let’s take off the old latch. First, locate the screws on the interior side of the door. Depending on the latch, you might have one or two screws to remove. Use your screwdriver to take them out gently.
Once the screws are removed, you can pull the latch out. Here’s where it gets tricky sometimes. If your latch feels stuck, it might be due to paint or dirt build-up. A little gentle wiggling usually does the trick. If it still won’t budge, you could use a wood chisel to pry it out, but be careful to avoid damaging the door.
Finally, after removing the latch, take a moment to clean the area. Dust and debris can hinder the new installation.
Measuring for the New Backset
With the old latch out, it’s time to focus on measuring for the new backset. Grab your measuring tape and measure the distance from the edge of the door to the center of the existing latch hole. If the measurement matches your new latch’s backset, you’re in luck! If not, you’ll need to adjust the hole or possibly drill a new one.
For example, if your new latch has a 2-3/4 inch backset, and your old latch measured 2-3/8 inches, you’ll need to move the latch hole back by 3/8 inches. Use your pencil to mark the new location carefully. You’ll want to make sure that your measurements are accurate, or you could end up with a hole that doesn’t align.
Installing the New Door Latch
Once you have your measurements sorted out, it’s time to install the new door latch. If you had to drill a new hole, now is the moment to do so. Use your drill and a drill bit that’s appropriate for the size of the latch. Remember to drill straight to avoid any misalignments.
Next, insert the new latch into the hole. You should feel it slide in easily. Align it with the edge of the door, and make sure the latch mechanism operates as it should.
Secure the latch in place by inserting the screws you removed earlier. Use your screwdriver to tighten them, but don’t overtighten, as this could strip the screws.
Aligning the Strike Plate
With the new latch installed, it’s vital to ensure that the strike plate aligns with it. The strike plate is the metal piece attached to the door frame that the latch clicks into. If your old strike plate doesn’t match the new latch, you’ll need to replace it.
Hold the strike plate in front of the latch and check the alignment. If it doesn’t fit, you will have to mark new screw holes and possibly chisel out some wood to make it fit snugly.
Once it’s positioned correctly, attach it with screws. This step is crucial because a misaligned plate can leave your door vulnerable or hard to operate.
Testing the New Latch
Now comes the fun part: testing your new door latch! Gently close the door and turn the latch to see if it locks smoothly. It should slide easily without any resistance. If it feels stiff or doesn’t catch, you might need to readjust the strike plate or make minor tweaks to the latch itself.
Be patient during this process. Sometimes it takes a little finesse to get everything working just right. If all is well, congratulations! You’ve successfully installed a new door latch with a different backset!
Final Thoughts and Tips
Installing a new door latch with a different backset can seem intimidating at first, but it’s absolutely doable with a little patience and the right tools. Remember, it’s like baking a cake: the final product is worth the effort, but you need to follow the steps carefully to get it right.
If you hit any bumps along the way, don’t hesitate to take a break. Sometimes stepping back for a moment can give you a fresh perspective on what to do next. And if you find yourself stuck, there are plenty of online resources and videos that can provide additional guidance.
In the end, you’ll not only have a new latch but also a sense of accomplishment knowing you did it yourself. So, roll up those sleeves and get started – your door will thank you!