Think of it as changing the batteries in a remote control—it’s pretty straightforward, but essential for everything to work as it should. A new latch ensures your door locks effectively, while a strike plate reinforces the door frame, making it more secure. It might sound intimidating, but with the right tools and a little patience, you’ll have a smoothly operating door in no time. Let’s dive into the step-by-step process of how to install a new door latch and strike plate set.
Gather Your Tools and Materials
Before you start, you’ll want to gather everything you need. Here’s a handy list of tools and materials to have on hand:
- New door latch and strike plate set
- Screwdriver (flathead and Phillips)
- Drill and drill bits
- Tape measure
- Pencil for marking
- Wood filler (if necessary)
- Sandpaper
- Level (for alignment)
Having these tools ready will save you time and frustration. Imagine starting a cooking recipe and finding out you’re missing a key ingredient! Ensuring you’ve got everything laid out before you begin is half the battle won.
Remove the Old Latch and Strike Plate
Now that you have your tools at the ready, it’s time to remove the old latch. Here’s how to do it:
1. Open the door: Allow yourself easy access to the latch and strike plate.
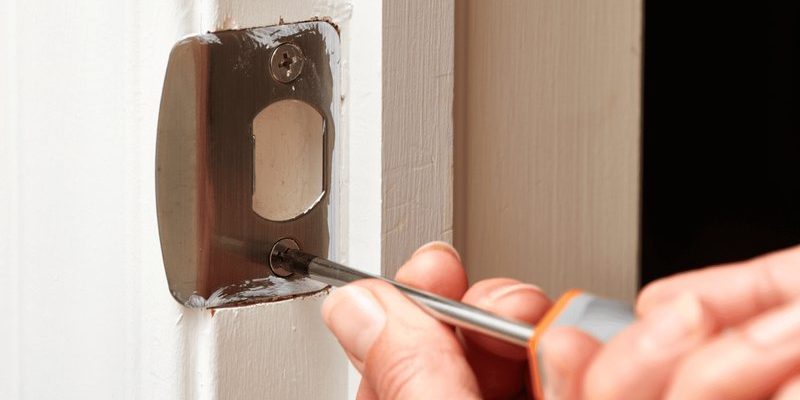
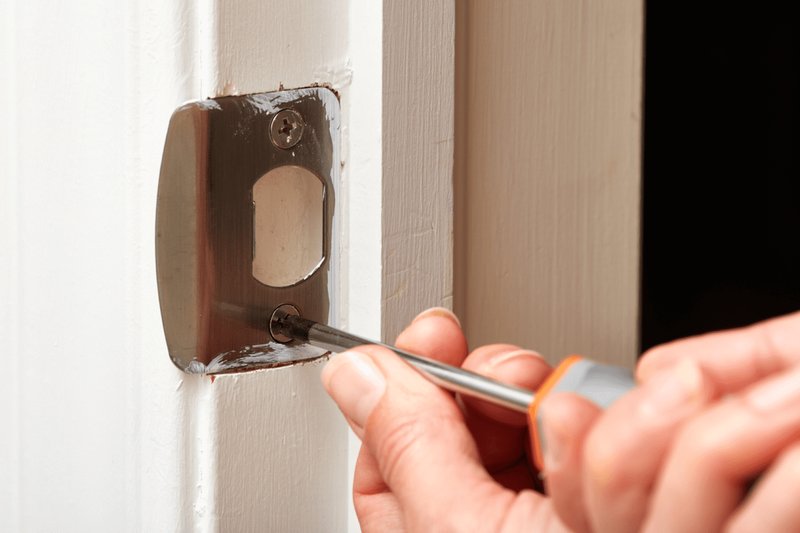
2. Unscrew the latch: Use your screwdriver to remove the screws holding the latch in place. Keep these screws; you may need them for your new latch!
3. Remove the strike plate: Next, unscrew the strike plate from the door frame. If you encounter any resistance, use your flathead screwdriver to pry it off gently.
You might be wondering why this step is so important. Removing the old latch allows you to see the current alignment and any adjustments you might need to make. Plus, it clears the way for your shiny new latch!
Prepare the Door for the New Latch
Once the old latch and strike plate are off, take a look at the door. Is there any damage around the latch area? If there are visible holes or scratches, here’s what you can do:
– Fill in holes: Use wood filler to fill any large holes or scratches. This gives your new latch a solid foundation.
– Sand the area: After the filler dries, sand it down until it’s smooth. A clean surface helps the new latch fit better.
– Mark the new latch position: If you’re dropping a new latch into the same spot, you can skip remeasuring. But if you’re shifting, use a tape measure and pencil to mark where the new latch will go.
These steps ensure a snug fit for your new latch, which is crucial for it to function well. A little preparation goes a long way!
Install the New Door Latch
With everything prepped, it’s time to install the new door latch. Follow these steps:
1. Align the latch: Position the new latch in the hole. Make sure it’s centered and level.
2. Secure it: Use your screwdriver to attach the latch with the screws from the old latch (or the new ones provided). Tighten them but don’t overdo it, or you might strip the screws.
3. Test the latch: Before moving on, test the latch a few times. It should close smoothly and latch securely without sticking.
Installing the latch is often the most satisfying part of the process. It’s like turning the key in the ignition—there’s a sense of accomplishment when it works seamlessly!
Install the New Strike Plate
Now that the latch is in place, it’s time to focus on the strike plate. Here’s how to get it right:
1. Align the strike plate: Hold the new strike plate against the door frame where the latch meets. Make sure it lines up perfectly with the latch.
2. Mark for screws: Use your pencil to mark where the screw holes will go. It’s important these line up correctly for everything to work as it should.
3. Drill holes: If the old holes are too big or misaligned, you may need to drill new ones. Be careful and use a level to ensure the strike plate is straight.
4. Attach the strike plate: Screw it into place, again using care not to overtighten.
Having everything fit snugly matters here; it reinforces the security of your door. Think of it like adding the final piece of a puzzle—the whole picture is finally coming together!
Test Your Work
Now that both the latch and strike plate are installed, it’s time to test your handiwork. Open and close the door a few times. Does it latch properly? Is it smooth to operate? If it isn’t closing right, you may need to make minor adjustments.
– Check alignment: If the latch doesn’t catch the strike plate, check to see if everything is level. You might need to adjust the screws slightly.
– Reinforce with shims: If there’s a gap when the door is closed, consider using shims to adjust the strike plate’s placement.
– Ensure security: Finally, make sure the latch securely locks into the strike plate.
Testing is key; it’s like a dress rehearsal before the big show. You want everything to function perfectly before you consider the job done!
Final Thoughts
Installing a new door latch and strike plate set might seem like a daunting task, but it’s a straightforward process that greatly enhances your door’s functionality and security. Not only do you get the satisfaction of completing a DIY project, but you also save yourself the hassle of dealing with a door that doesn’t work well.
As you wrap up the project, take a moment to appreciate your work. A well-functioning door is a small but vital part of your home. If you ever find yourself in need of further adjustments or replacements in the future, remember that you have the skills to tackle it again. So grab that screwdriver, and enjoy the newfound peace of mind a smoothly operating door brings!