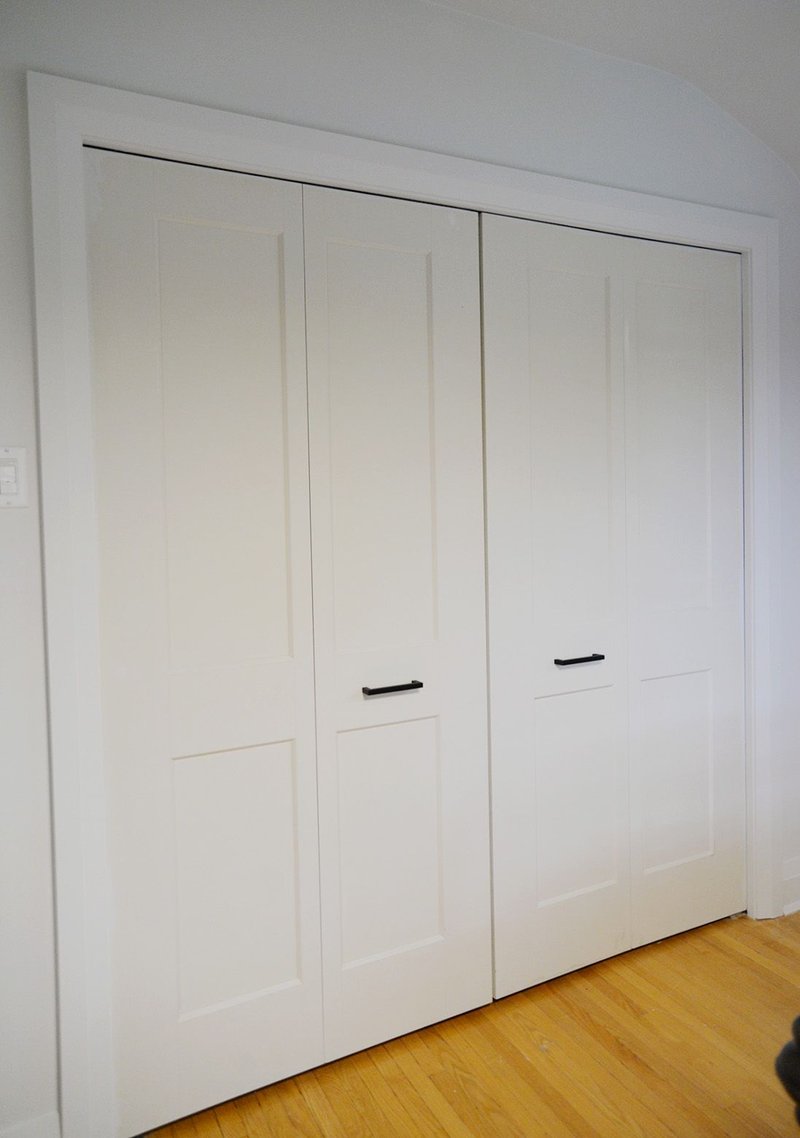
Imagine it: you’re strolling through your home, and you come across a set of bifold doors. They might be slightly outdated or worn, and the knob definitely doesn’t match your style anymore. Upgrading the knob or pull isn’t just about aesthetics; it’s also about making your doors easier to open and close. Let’s dig into the details of how to install a new bifold door knob or pull, using a standard model from a popular brand like Stanley or Kwikset.
What You Need for the Installation
Before you dive in, gathering your tools and materials is a smart move. Here’s a simple list of what you’ll need:
- New bifold door knob or pull—Choose one that matches your style.
- Drill—This will help you create any necessary holes.
- Screwdriver—A standard or Phillips head, depending on your hardware.
- Measuring tape—For precise measurements.
- Pencil—To mark where you’ll drill.
- Level—To ensure everything is straight.
Having the right tools ready can make the installation process smoother. If you don’t have a specific tool, don’t worry; you can often borrow or rent them. Just remember, it’s not about having every fancy tool; it’s about using what you have efficiently.
Removing the Old Knob or Pull
Now that you’re equipped, let’s get to the fun part—removing the old knob or pull. This is typically the first step in any installation project. If your old knob is still in decent shape, you can consider keeping it for future projects or as a backup.
1. Unscrew the Existing Knob: Look for screws that hold the knob in place. Use your screwdriver to remove these screws carefully. If the knob has a plate, you’ll want to take that off too.
2. Pull Off Any Plates or Covers: Once you’ve removed the screws, gently pull the knob away. You might need to wiggle it a bit. If it doesn’t come out easily, double-check for any screws you might have missed.
3. Clean the Area: Before you install the new knob, take a moment to clean the area with a cloth. Sometimes, dust or debris can pile up, and a clean slate is always best for new hardware.
Removing the old knob can sometimes feel like a mini workout, especially if it’s been there for years. If you encounter any resistance, don’t force it—just take a moment to reassess.
Preparing for the New Installation
With the old knob out of the way, it’s time to prepare for the new one. This step is crucial because proper alignment will ensure your knob functions smoothly.
1. Measure the Placement: Use your measuring tape to determine where the new knob will sit. It’s typically best to position the knob at about eye level, around 36 inches from the floor.
2. Mark the Spot: Use your pencil to mark where the new screws will go. A level can help ensure that your knob aligns straight.
3. Drill Holes if Necessary: If the new knob uses different screw placements, you’ll need to drill new holes. Be sure to drill slowly and steadily. It helps to start with a smaller bit and then increase the size if needed.
Taking the time to measure and mark accurately might feel tedious, but it’s worth it for a finished product that looks professional. Plus, it saves you from having to make more adjustments later.
Installing the New Bifold Door Knob or Pull
Now that everything is prepped, it’s time for the most satisfying part—the installation!
1. Insert the New Knob: Take your new bifold door knob or pull and align it with the drilled holes. Make sure it’s facing the right direction—this can be an easy mistake to make!
2. Screw It In: Using your screwdriver, attach the screws through the knob and into the door. Tighten them firmly, but be careful not to over-tighten, as this can strip the holes.
3. Check the Functionality: After everything is securely in place, test the knob. Open and close the door to ensure it operates smoothly. If it sticks, double-check the alignment and screws.
This part is often where the magic happens. Seeing a fresh knob or pull can breathe new life into your bifold doors, making them feel like an entirely new feature in your home.
Troubleshooting Common Installation Issues
Sometimes, even the best installations can run into problems. Here are a few issues you might encounter and how to fix them:
– Knob Is Loose: If your new knob wobbles, check if the screws are tight. If they are, you might need to add washers or reposition the knob.
– Door Doesn’t Close Properly: If the door drags against the floor or seems misaligned, check your installation level and the hinges. Loosen the hinges slightly and realign the door as needed.
– Squeaking Sounds: A squeaky knob can often be fixed with a bit of lubricant. Apply some door lubricant or even WD-40 to the mechanism to reduce friction.
Understanding these troubleshooting techniques can save you a lot of headaches down the line. Everyone runs into snags now and then, but having the knowledge to tackle them makes you even more confident in your DIY skills.
Maintenance Tips for Bifold Door Knobs and Pulls
Congratulations on your successful installation! Now that you’ve upgraded your bifold door knob or pull, it’s essential to maintain it. Here are some quick tips:
1. Regular Cleaning: Give your knob a wipe down with a damp cloth every few weeks. This prevents dirt buildup and keeps it looking great.
2. Inspect Screws Periodically: Over time, screws might loosen. Give your knobs a little check every few months to ensure they’re secure.
3. Lubrication: If you notice any stiffness or noise, apply a bit of lubricant to keep everything running smoothly.
Regular maintenance can keep your new hardware looking sharp and working well for years to come. Plus, it’s an easy way to show off your handy work to friends who visit!
Installing a new bifold door knob or pull is a straightforward DIY task that can significantly enhance your space. With a few tools in hand and following the detailed steps provided, you can tackle this project confidently. Remember to take your time, measure correctly, and have fun with the process. Whether you choose a sleek modern pull or a classic knob, your doors will thank you every time they open and close smoothly. Happy installing!
