Installing a kick plate on your exterior entry door isn’t just about protecting the paint or wood—it’s also about adding a touch of style. You’ll find kick plates in materials like brass, stainless steel, and aluminum, and brands like Schlage and Prime-Line make options that fit most standard doors. Whether you’re sprucing up a weather-beaten entry or just want a bit more polish, putting in a kick plate is a smart move you can totally handle yourself.
What Is a Kick Plate and Why Do You Need One?
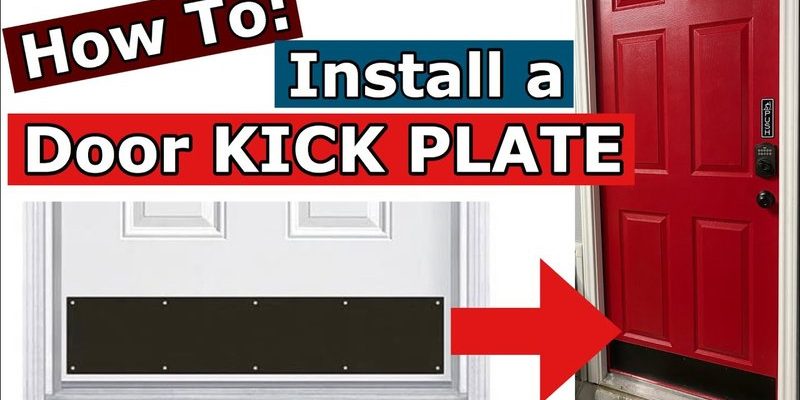
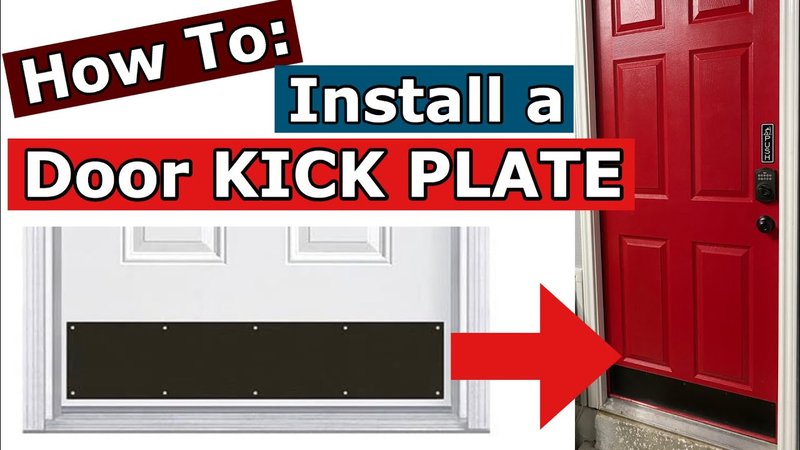
A kick plate is exactly what it sounds like: a piece of metal or plastic attached to the bottom section of your door, right where feet, paws, or rolling suitcases usually hit. It’s not there just for kicks, though. Its real job is to protect your door from scrapes, scuffs, water damage, or anything else that tries to mess with the bottom edge.
Here’s the thing: exterior entry doors take a beating. Rain, snow, mud—you name it. If you skip the kick plate, you’ll start to see peeling paint, dents, or even wood rot sooner than you’d like. And sure, you *could* keep touching up the bottom every year, but honestly, a kick plate solves the problem with way less work.
Besides protection, kick plates have a design edge. They come in finishes like brushed nickel or antique brass, letting you match your door hardware or just add a subtle accent. If you’re all about first impressions, a kick plate makes your front door look intentional, not just functional.
Choosing the Right Kick Plate for Your Door
Picking a kick plate isn’t rocket science, but there are a few things you’ll want to consider before you run out and buy one. Start by measuring your door. Most entry doors are 36 inches wide, but there are plenty of 32-inch, 34-inch, and custom sizes out there. You want the kick plate to sit about 1/2 inch in from each side edge, so it doesn’t catch or scratch the door frame.
Next up, *material.* Brass gives you that classic look and ages beautifully, but stainless steel is tougher if you care about dings and scratches. Powder-coated aluminum is popular, too, especially for painted doors, because it resists rust and comes in a bunch of colors.
Let me explain about brands for a second: Schlage, Prime-Line, and National Hardware are known for reliable kick plates that fit standard doors and come with matching screws. If you have a fancier door or a particular style in mind, you might want to order a custom-size plate online.
Pro tip: If you have a steel or fiberglass door, double-check the screw length or pick up self-adhesive options—they make installation a breeze and won’t damage the door core.
What Tools and Materials Will You Need?
Honestly, installing a kick plate requires fewer tools than hanging a picture. Still, it’s best to gather everything before you start so you’re not running to the garage halfway through. Here’s what you’ll need:
- Kick plate (sized for your door)
- Measuring tape
- Pencil (for marking drill points)
- Drill or screwdriver (power drill will save your wrist)
- Drill bits (if your door is metal or fiberglass, use a bit for those materials)
- Level (for a perfectly straight install)
- Cleaning cloth (wipe down dust and dirt first!)
- Screws (these usually come with the kick plate)
If you go with an adhesive kick plate, swap out the drill for some heavy-duty tape or adhesive glue, like 3M VHB or Liquid Nails. And if your door is made of wood, pre-drilling the holes is a good idea to keep the wood from splitting—just a quick tip from someone who’s accidentally cracked a door before.
Prepping Your Door for Kick Plate Installation
Before you even touch the kick plate, you’ll want your door clean and dry. Dirt might seem harmless, but if you trap it under the metal, it’ll grind the finish and could trap moisture. Give the bottom section of your door a decent scrub with mild soap and water, then dry it thoroughly with a clean cloth. Don’t rush—any leftover dampness can mess with the adhesive or cause screws to rust.
Once your door is sparkling, measure up the spot for your kick plate. Most plates sit about 1/2 inch from the bottom edge of the door—enough to clear your weatherstripping or threshold but low enough to guard against most bumps and scuffs. Use your measuring tape and level to mark a faint, straight line with pencil right where the top edge of the plate will sit.
Here’s the secret to a neat job: “dry fit” your plate first. Hold it up and see how it looks. Is it centered? Are the screw holes far from any existing door hardware? Make adjustments now, before you drill anything permanent. If you’re using adhesive, do a test fit to see if the plate hugs the contours of your door or if it needs to be gently bent.
Step-by-Step: How To Install a Kick Plate on an Exterior Entry Door
Okay, let’s get down to the nitty-gritty. The process is mainly about being careful, not fast—remember, you only get one shot at nice, straight holes.
- Line up the kick plate: Hold the plate over your pencil marks, making sure it’s even and centered. Double check with your level so it won’t look crooked from the curb.
- Mark screw holes: Most plates come pre-drilled, so use your pencil to dot the spots where you’ll need to drill. If your plate doesn’t have holes, you’ll want to make six—one at each corner, and two spaced along the longer sides.
- Drill pilot holes: Using a bit that’s slightly smaller than your screws, drill straight in at each mark. For metal or fiberglass doors, pick a bit that matches the door material to avoid cracking or warping.
- Attach the plate: Place the plate against the door, line up the holes, and gently drive in each screw by hand to start. Once they’re all seated, tighten them up—but don’t overdo it, or you could dent the plate.
- For adhesive plates: Peel off the backing or squeeze out a bead of glue, press the plate firmly in place, and apply even pressure for a minute or two. Let it set per the manufacturer’s instructions.
You might be wondering—should you use both screws and adhesive? Most folks stick to one or the other, but in high-traffic or weather-prone spots, doubling up can really lock things down.
Troubleshooting Common Kick Plate Installation Problems
Kick plate not sitting flush? Here’s the thing: sometimes doors have slight bends, raised panels, or leftover paint globs that push the plate out of alignment. If that’s the case, gently bend the ends of a thinner plate, or sand down rough patches before installing. For really uneven doors, a flexible adhesive (not just tape) can bridge small gaps.
If the screws don’t bite—say, on a steel or aluminum door—try using shorter sheet metal screws, or switch to self-tapping ones. Be careful not to drill too deep, especially if your door has internal wiring for things like smart locks.
Sometimes you’ll run into a situation where the kick plate covers up existing dings or rot at the bottom of the door. That might seem like a shortcut, but if there’s underlying damage or moisture, deal with that first. Otherwise, the plate just traps the problem and you’ll end up with worse rot later.
And if you notice condensation building up behind the kick plate once it’s installed, try backing out a few screws and adding a dot of clear silicone behind each hole. That seals out water but still lets you remove the plate if needed.
Comparing Kick Plate Styles and Alternatives
Not all kick plates are created equal. You can go for a universal fit, which typically means a basic rectangle with no branding or pattern, or choose something custom. Schlage and Prime-Line stick to clean, timeless designs, but some brands offer plates with decorative inlays, logos, or even address numbers built right in.
There’s also the option of a clear acrylic (plastic) kick plate. These are great if you love your door’s original color but still want protection. They’re a bit less tough than metal, but work well in homes where dogs or shopping carts do most of the damage.
If you need a *super* low-profile option, look at adhesive strips or tape-on protectors. They’re nearly invisible but don’t offer as much shielding as a full kick plate. In high-moisture climates, stainless steel and powder-coated options resist rust and keep their shine longer than brass or bare aluminum.
Insight: Kick plates aren’t just for front doors. Got a garage entry or back porch with a painted wood door? Those see plenty of wear and can benefit from the same protection and style boost.
Maintaining Your Kick Plate for Lasting Results
Once your kick plate is installed, it doesn’t need much fuss. Just wipe it down every time you clean the rest of your door—a damp microfiber cloth works great for stainless steel or aluminum. For brass or other polished finishes, a little bit of mild soap and water will do, but skip anything too abrasive or you’ll scratch the shine.
If the screws loosen over time (maybe from lots of door slams or heavy use), just re-tighten them with a manual screwdriver. Don’t use a drill for this, or you risk stripping the holes.
Should you see rust or tarnish starting to form—more common with brass or non-coated steel—give it a gentle scrub with fine steel wool and apply a dab of metal polish. Replace any rusted screws to keep things secure and looking sharp.
In the rare case that your adhesive plate starts to peel, you can touch up the bond with a heavy-duty glue or double-sided mounting tape. But if the plate is badly bent or dented, it’s best to replace it. Kick plates don’t cost much and swapping them out takes just a few minutes if you follow the same steps as your first install.
Wrapping Up: The Lasting Value of a Kick Plate on Your Exterior Door
Installing a kick plate on your exterior entry door is pretty much one of the easiest home upgrades you can do on your own—and the payoff is huge. Not only do you protect your door from accidental dings, mud, and the occasional runaway tricycle, but you also give your entry a little style boost that guests will notice right away.
Whether you went with a classic Schlage brass kick plate, a tough stainless steel model from Prime-Line, or tried out a universal fit, you’re set for years of protection. Remember, regular cleaning and a quick check on the screws will keep your door looking sharp. With just a bit of care, your kick plate will quietly handle the tough stuff—so your entry door can keep welcoming people in, season after season.