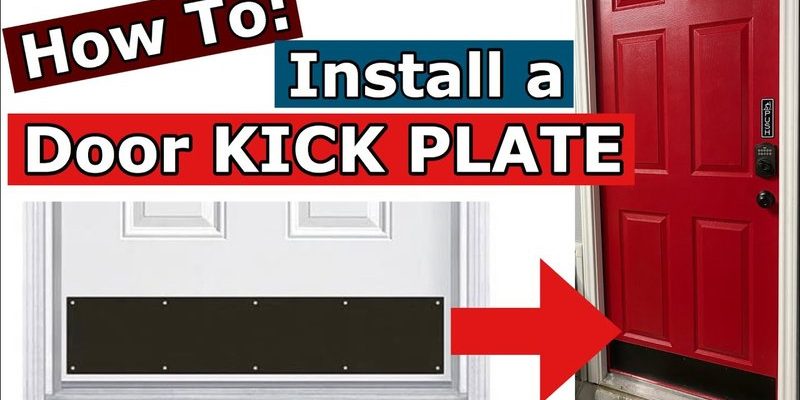
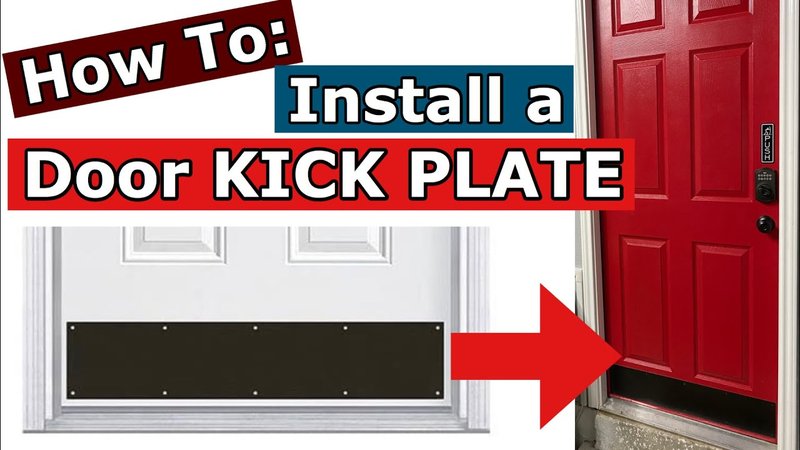
Adding a kick plate doesn’t just save your door from ugly wear; it also gives the whole entryway a quick, polished upgrade. Whether your door is sleek fiberglass or sturdy steel, putting on a kick plate is a simple DIY anyone can handle with a few basic tools—no handyman or pro installer needed. Honestly, the trickiest part might be picking the right size and finish to match your door, but we’ll walk through it all step by step.
Why Add a Kick Plate to Your Door?
Here’s the thing: doors are expensive, and replacing them isn’t something most people want to do often. A kick plate is a small investment that seriously extends the life of your fiberglass or steel door. Every time someone pushes the door open with their foot instead of using the handle, those little marks and dents add up. The kick plate acts like a shield, protecting the paint or finish from getting ruined.
On top of protection, a kick plate can add style. You can find them in classic brass, matte black, brushed nickel, or even funky colors if you want to make a statement. It’s a little upgrade that makes your whole front door look more finished and high-end. And if you’re hunting for ways to boost curb appeal before selling your home, this is a trick real estate agents love.
Lastly, people sometimes wonder if kick plates weaken the door or mess with the insulation. Done right, they don’t. The most you’ll need is a screwdriver and a level, and you won’t damage the weatherstripping, core, or security of your existing steel or fiberglass door.
Choosing the Right Kick Plate
Selecting a kick plate is almost like shopping for shoes: size and style matter. First, measure the width of your door. Most standard exterior doors are 36 inches wide, but it’s worth double-checking since some are 32 or 34 inches. Kick plates usually come in widths ranging from 28 to 36 inches.
Think about the *height* too—6 to 8 inches tall is typical, but if you’ve got a taller door or want more protection, you can go bigger. Just make sure the plate won’t block any panels, windows, or decorative grooves in your door.
Here are a few things to keep in mind:
- Material: Brass, stainless steel, aluminum, or powder-coated finishes work well. Aluminum is lightweight and rust-resistant, while brass and stainless look classic and are super durable.
- Finish: Match or coordinate with your door hardware. A black kick plate with a matching black handle looks sharp, while polished brass adds a touch of old-school elegance.
- Pre-drilled holes vs. adhesive: Some kick plates come with pre-drilled holes for screws, while others offer strong adhesive backing. Screws are more secure, especially for exterior doors.
If you’re matching a popular brand—like Schlage for hardware or Stanley for doors—stick with a finish that echoes your doorknob or deadbolt for a pulled-together look.
Gather Your Tools and Materials
Before you start, save yourself some frustration by laying out everything you’ll need. Here’s a quick checklist for installing a kick plate on a fiberglass or steel door:
- Kick plate (sized for your door)
- Measuring tape and pencil
- Level
- Drill (with metal drill bits for steel doors)
- Screwdriver
- Masking tape (helps position the plate before drilling)
- Adhesive (if using a stick-on model)
- Cleaning cloth (prep the surface for a tight bond)
Don’t skip the cleaning step. Dust, grease, and dirt can stop the plate from sticking properly—especially if you’re using an adhesive kick plate. For steel doors, a magnetic level can be a lifesaver since standard levels sometimes slide around on slick metal. And if you’re worried about drilling through steel, a little patience and a good quality drill bit go a long way.
How To Install a Kick Plate on a Fiberglass Door
Let’s walk through the process as if you’ve never done it before. Installing a kick plate on a fiberglass door is straightforward. These doors have a solid feel, but they’re a bit softer than steel, so you won’t need anything fancy in terms of tools.
Step-by-step:
- 1. Mark Your Placement: Hold the kick plate against the bottom of the door, centering it from left to right. Use the level to make sure it’s straight, then mark the screw holes with a pencil.
- 2. Drill Pilot Holes: Use a 1/8″ drill bit to make shallow pilot holes for the screws. This helps avoid splitting or chipping the door’s finish.
- 3. Attach the Kick Plate: Line up the kick plate, then drive the screws in by hand or with a power screwdriver. Go slow—you want the plate flush against the door, but not so tight you dent the fiberglass.
- 4. Clean Up: Wipe off any pencil marks, remove masking tape, and give the kick plate a quick polish to remove fingerprints.
A word of advice: resist the urge to overtighten the screws. Fiberglass can crack if you go too hard. And if you’re using adhesive instead of screws, follow the product’s instructions for drying time before using the door as normal.
How To Install a Kick Plate on a Steel Door
Steel doors are sturdy and built to last, but they can be tricky for first-timers because drilling into metal takes a little more patience. The good news is, you don’t need any special skills—just the right drill bit.
Here’s how to get a clean, professional result:
- 1. Plan Your Layout: Just like with fiberglass, hold the kick plate up, center it, and mark your screw hole spots with a pencil or marker. If you’re nervous about the plate slipping, use masking tape to hold it in place while you check alignment.
- 2. Drill Starter Holes: Fit your drill with a metal bit (cobalt or titanium work best). Drill pilot holes right where you marked, being careful to use steady, even pressure.
- 3. Attach the Plate: Screw the plate in gently, tightening until snug but not so much that you bend the plate or warp the door skin.
- 4. Clean the Surface: Wipe away any dust or metal shavings, and give everything a once-over for fingerprints.
Honestly, the only real “gotcha” is skipping pilot holes—without them, screws can slip and scratch the door. If you want a no-drill option, some brands make strong magnetic or adhesive kick plates for lightweight steel doors, but screws are still your best bet for staying power.
Tips for a Smooth, Flawless Installation
Little details make a big difference, and a few pro tricks can help you avoid common pitfalls.
- Double-check your alignment. Before making holes, dry-fit the kick plate and step back. Even if it’s off by just a bit, you’ll notice every time you use the door.
- If your door has panels or grooves, make sure the kick plate doesn’t block or overlap any raised edges. It should sit flat and flush for that clean, finished look.
- Pilot holes are your friend, especially on steel doors. They make everything easier and keep the screws from wandering.
- Watch for sharp corners. Some cheap kick plates have sharp edges that can catch on shoes or clothes. File them down or pick a model with rounded corners for safety.
Let me explain: rushing through the job is the easiest way to make mistakes, especially if you’re new to home projects. Taking a few extra minutes to get things right always pays off.
What To Do If Something Goes Wrong
You might be wondering—what if you make a hole in the wrong spot, or the kick plate just won’t sit flush? Don’t panic. Most little mistakes are fixable.
Even pros mess up from time to time. The only real mistake is giving up too soon when a little troubleshooting can save the day.
- Misaligned holes: If you drill a hole in the wrong spot, fill it with a dab of exterior-grade caulk or a wood filler that’s paintable. Let it dry before drilling a new hole nearby.
- Plate won’t lay flat: This usually means one side is tighter than the other. Loosen each screw, gently adjust the plate, then retighten.
- Adhesive won’t stick: Check for dust or grease. Wipe the area clean, dry it thoroughly, then try again. Some adhesives work better if you lightly sand the area first.
- Scratches or nicks: Most minor scratches in fiberglass or steel can be touched up with a bit of matching paint or a touch-up marker.
If all else fails, remember—the kick plate is doing its job by taking the hits so your door doesn’t have to.
Alternatives and Custom Options
Maybe you’ve looked at the kick plate aisle and nothing matches your vibe. Or maybe your door is an odd size or color. Don’t worry—you’ve got options.
- Custom cut kick plates: Many hardware stores (and online retailers) will trim a plate to your exact specs—just bring your measurements.
- Paintable plates: If you want a perfect color match, opt for a primed or unfinished aluminum plate and paint it yourself with exterior enamel.
- Adhesive vs. screw-on: If you’re renting or just don’t want to drill, adhesive-back or magnetic plates are a decent alternative. Just know they may not last as long as screw-mounted ones on busy exterior doors.
- Height and style choices: You can go taller for more coverage, add decorative scrollwork, or stick to a minimalist style—the only rule is to pick something you’ll love seeing every day.
Honestly, a little customization goes a long way. It’s your front door, after all—why not make it perfect?
Final Thoughts: Enjoy Your Upgraded Door
There’s something satisfying about finishing a project you can see and use every day. A kick plate might seem like a small thing, but it makes your fiberglass or steel door stronger, better looking, and easier to keep clean. Plus, knowing you did it yourself? That’s the cherry on top.
If you ever need to remove or replace the kick plate down the road, the process is just as simple. For now, open that door with pride, kick shoes off when you need to (gently!), and enjoy the fresh, polished look. Sometimes, those little DIY upgrades make all the difference in how you feel about your space.