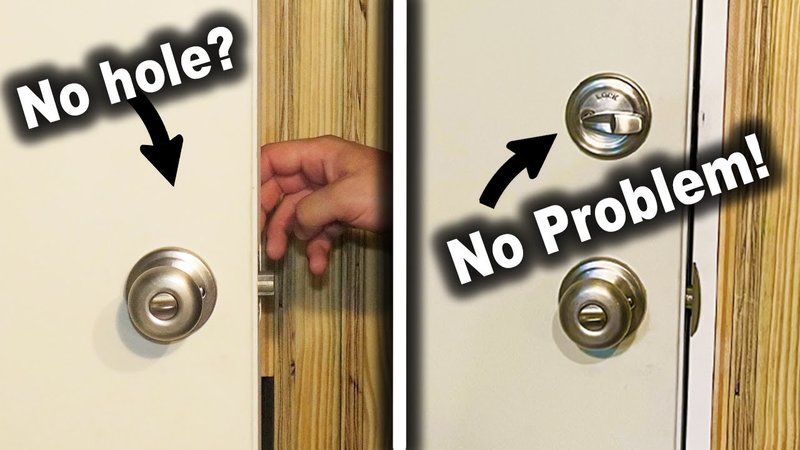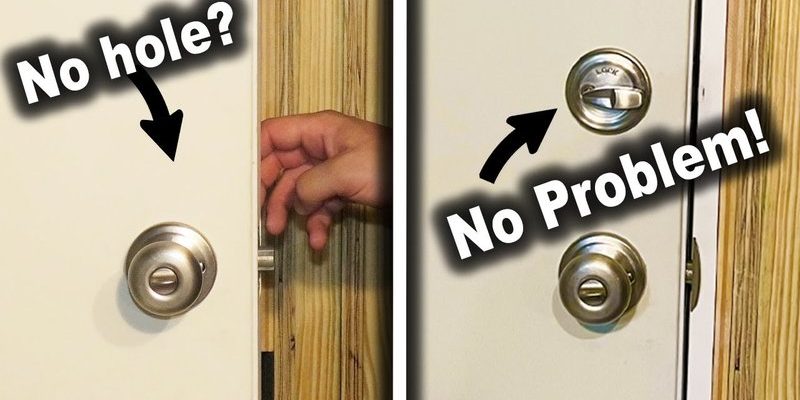
Here’s the thing: a handleset doesn’t just sit on the surface. It needs a large hole for the lock assembly, a smaller latch hole on the edge, and usually a second hole below for the lower handle. If you’re thinking about brands—Schlage, Kwikset, Yale, whatever—they all have slightly different templates, but the basic process is the same. You’ll need a power drill, a couple of special hole saws, a steady hand, and about an hour (plus some patience). I’ll walk you through every step, sharing some tricks that’ll help you avoid rookie mistakes and rough results.
What You Need To Install a Handleset With a New Door Bore Hole
Before you even touch the door, you’ll need to line up all your tools and parts. Trust me, nothing kills your motivation faster than having to pause and run to the hardware store mid-project. Here’s a checklist you’ll want to have on hand:
- Handleset (like Schlage, Kwikset, or Defiant—make sure it matches your door thickness and style)
- Installation template (usually comes with the handleset; check the box!)
- Pencil or marker for tracing holes
- Measuring tape
- Drill and hole saw bits (most sets need a 2 1/8″ bit for the main bore and a 1″ bit for the latch)
- Chisel and hammer for the latch plate and strike plate mortises
- Screwdriver (manual or powered)
- Safety glasses (drilling doors flings sawdust everywhere)
Think of this like baking—having everything measured and laid out before you start makes the whole project run smoother. Also, double-check the template that comes with your handleset. The *backset*—which is the distance from the edge of the door to the center of the main hole—is usually either 2 3/8″ or 2 3/4″. Most handlesets are adjustable, but you want to set it up right before you start drilling, since redoing holes is a pain.
Marking and Measuring the Door For New Bore Holes
Honestly, this is the step that makes or breaks your installation. If your bore hole is even a hair off, your handleset or deadbolt won’t line up, and the whole setup feels janky. Let me explain how to get it right the first time.
Start by snapping your installation template onto the edge of the door, lined up with where you want your handleset. Most templates have two backset options—pick the one that matches your handleset and door. Using your pencil, carefully trace the circular outlines for the main bore hole and the latch hole on the edge of the door. Double-check the height; the standard is about 36–38 inches from the bottom of the door, but it’s up to your preference (just make sure it matches any nearby doors for a consistent look).
Pro tip: If your door already has holes drilled, measure carefully to see if you need to widen or reposition them. If they’re off by more than 1/8 inch, filling and redrilling is honestly easier than fighting poor alignment.
For a new door, you’ll need to drill both the main bore (usually for the deadbolt or upper part of the handleset) and a second bore for the lower handle. Some sets use only one hole plus a small mounting hole for the bottom; follow the template instructions exactly for your model.
Drilling the Bore Hole: Step-by-Step
Now that your markings are precise, it’s time to grab your drill. Here’s where you want to slow down and work carefully—nothing ruins a new door faster than a splintered, off-center hole.
- Attach the right hole saw (usually 2 1/8″) to your drill and center the pilot bit on your pencil mark. Drill from one side until the center bit pokes through the other side, but stop there.
- Flip the door and finish drilling the hole from the opposite side. This prevents tear-out, so both sides stay clean and smooth.
- Switch to the 1″ bit and drill the latch hole on the edge of the door, using the template as a guide.
You might be wondering, why not drill all the way through from one side? Here’s the thing: wood doors tend to splinter as the hole saw exits, which can mess up the finish. By drilling halfway from both sides, you’ll get a pro look, even if you’ve never done this before. If you’re unsure about drill speed, start slow—let the saw do the work. And always, always wear safety glasses.
Cutting the Mortise for the Latch and Strike Plates
Once the holes are drilled, you’ll notice that the latch hardware and strike plate usually sit flush with the door edge and frame. To make them fit perfectly, you need to chisel out a shallow “mortise”—basically, a little pocket in the wood.
Here’s how:
- Hold the latch plate against the edge hole and trace its outline with your pencil.
- Use a sharp utility knife to score along the outline. This helps prevent chipping outside your lines, especially on painted doors.
- Chisel out the wood within your outline to the depth of the latch plate (usually about 1/8″). Work slowly, removing a little at a time until the plate sits flush.
For the strike plate on the door frame, repeat the same process. Mark the spot directly opposite the latch, trace, score, and chisel. Some folks try to skip the mortising step, but the hardware will stick out and look unfinished—not to mention it can interfere with the door’s closing action.
Handy tip: Don’t worry if your chisel work isn’t perfectly smooth. The plate will cover minor roughness, so focus on staying inside your lines and keeping the depth even.
Assembling and Installing the Handleset
Now comes the fun part: putting everything together. Handleset brands like Schlage and Kwikset include step-by-step instructions and all needed screws, but the basic process is nearly universal.
- Insert the latch mechanism into the edge hole first, making sure the angled side faces the jamb (so the door closes properly).
- Attach the exterior handle or deadbolt piece, feeding its tailpiece or spindle through the latch.
- Add the interior handle or locking mechanism on the other side, aligning it with the screws and the spindle.
- Tighten everything down with the included screws. Don’t overtighten—it can pinch the latch and make the lock sticky.
You might be tempted to test the handle at this point—go for it! If things feel tight or misaligned, loosen the screws slightly and wiggle the pieces until they seat smoothly. With some brands, you’ll need to *pair* the two sides using a connecting rod or special fastener; just follow the included code or step order specific to your set.
Note: If your handleset includes a battery-powered smart lock, now’s the time to insert the batteries and sync or reset the remote or keypad following the manufacturer’s steps.
Troubleshooting Common Problems With Door Handleset Installation
Even if you measure twice and drill once, sometimes things just don’t line up perfectly. Here’s how to handle some of the most common handleset headaches—so you don’t feel stuck halfway through the project.
- Handle won’t fit through the bore hole: Double-check the hole size—some sets need a slightly larger or perfectly centered hole. Widen only as much as needed so the lock fits snugly but doesn’t wobble.
- Latch doesn’t move smoothly: This usually means the latch or deadbolt is slightly misaligned. Loosen the screws, realign, and try again. If it’s still sticky, check the latch hole for leftover wood or sawdust blocking the mechanism.
- Strike plate doesn’t line up with latch: Close the door, mark exactly where the latch hits the frame, and move the strike plate if needed. Filling and redrilling screw holes is better than forcing the door to shut.
- Smart features won’t sync or unlock: If you installed a smart lock, make sure the batteries are fresh, the remote is paired (follow the code setup), and everything is reset according to the instructions.
Most problems have a simple fix if you take a deep breath and work through each step. When in doubt, walk away for a coffee break—fresh eyes spot alignment issues you might miss in the moment.
Comparing Handleset Brands and Alternatives
You might be wondering, is there really a difference between brands like Schlage, Kwikset, Defiant, or Yale? Honestly, yes and no. The major brands all have their own quirks in terms of design, finish, and the way the lock codes, syncs, or pairs with remote features (especially if you’re installing a smart handleset). Most will fit standard bore holes, but always double-check the backset and required hole size before you start drilling.
- Universal handlesets: These usually come with adjustable parts and extra hardware, making them a good choice if your door or bore holes are non-standard or you plan to swap brands later on.
- Brand-specific sets: Perfect fit and finish if you stick with the same brand for deadbolts and handles, plus fewer compatibility headaches for smart locks or remotes.
If you’re tempted by fancier features like Bluetooth unlocking or keyless entry, check battery requirements and make sure you have the right template. For the basics—a clean, secure lock and nice handle—any major brand will get the job done if installed carefully.
Staying Safe and Getting a Professional Result
When you’re drilling a bore hole and installing a new handleset, safety is one of those things that’s easy to ignore—right up until something goes wrong. So here are a couple of reminders to keep things hassle-free and injury-free.
- Wear eye protection whenever you’re drilling or chiseling. Sawdust and wood chips fly everywhere, even with fresh drill bits.
- Clamp the door or remove it from its hinges if possible, especially if you’re working alone. A stable door is way easier (and safer) to drill accurately.
- Go slow with power tools—letting the saw do the work will give you cleaner holes and save your drill motor from burning out.
- Double-check battery orientation and remote setup if your handleset has electronic features. Incorrect installation is one of the top reasons smart locks fail to pair or code correctly.
If you’re feeling in over your head—maybe your door is steel or fiberglass, or you’re worried about messing up the finish—a local locksmith or handyman can handle the tricky parts. There’s no shame in calling in a pro for a perfect fit.
Finishing Up and Making Adjustments
Once everything’s installed, step back and admire your handiwork. Now’s the time to test the handleset several times, both with the door open and closed. Make sure the latch clicks smoothly, the lock throws easily, and the handle feels solid—no wobble or sticking.
- Adjust the strike plate if the latch doesn’t line up, moving it up or down as needed for a clean, secure close.
- Touch up any exposed wood in the bore hole with paint or sealant to prevent weather damage over time.
- If your set is smart, finish syncing your remote or keypad, and reset codes for security.
Over the next few days, you might notice small issues like a loosening screw or a stiff latch. These are totally normal—just tighten things up or lubricate the mechanism with a little graphite powder.
Here’s the thing: Taking your time and following each step means you only have to do this once. The result? A door that looks great, feels solid, and gives you peace of mind every time you leave the house.
Honestly, installing a handleset with a new door bore hole isn’t just a home improvement—it’s a confidence builder. Whether you chose Schlage, Kwikset, or another brand, you’ve tackled something most people find intimidating. So next time you walk through that door, you’ll know you did it right—from the very first drilled hole to the last polished screw.
