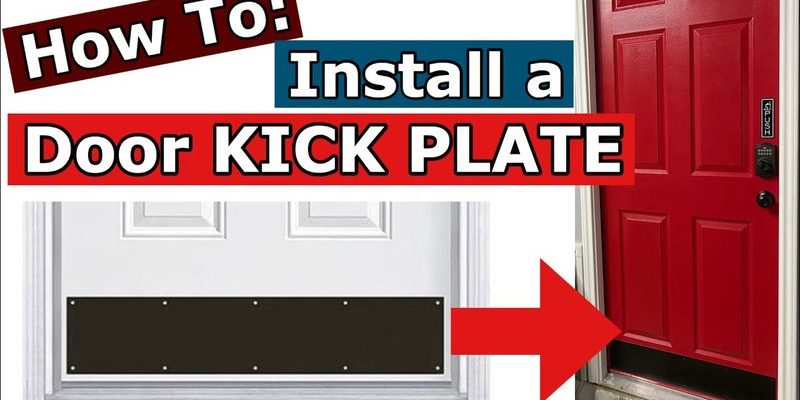
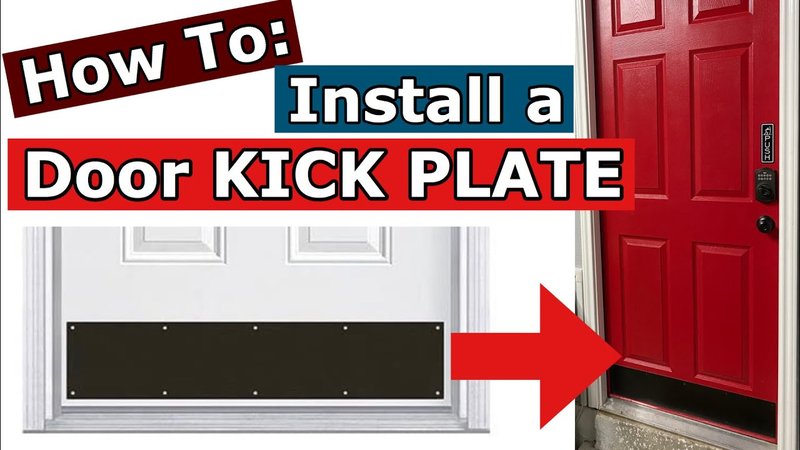
Honestly, installing a kick plate might sound like one of those things best left to professionals, but with the right approach, anyone can do it. Whether you’re dealing with heavy foot traffic, rambunctious pets, or you just want your door to last longer, this upgrade is worth every minute spent. Brands like National Hardware make sturdy kick plates that are easy to work with, but most steps will look the same no matter which brand you choose.
Why Choose a Full-Height Kick Plate Over a Standard One?
You might be wondering, “Isn’t a normal kick plate enough?” That’s the thing—standard kick plates only cover the bottom section of your door, usually about 8 to 12 inches high. It works fine for most homes, but if your door takes constant punishment from carts, boots, or paws, the exposed areas still end up scratched and dented.
Full-height kick plates, on the other hand, are about going all-in on protection. These panels cover almost the entire surface, which means less maintenance and fewer ugly patches on your door. Honestly, it’s like putting a phone case on your screen *and* the back—the entire door gets a shield. It’s even more important for commercial spaces or homes with high energy. A regular kick plate might leave you doing touch-ups, while a full-height one means you can pretty much forget about door repair.
And here’s another perk: a full-height kick plate can help hide old damage. If your door already has scratches or chips, you can cover them up and make everything look fresh and uniform. No more patchwork fixes or mismatched paint!
What to Consider Before Installing a Full-Height Kick Plate
Before you start drilling or peeling off adhesive, there are a few things you’ll want to plan for. The first thing is *material choice*. Kick plates come in stainless steel, aluminum, brass, or heavy-duty plastic. Stainless steel is the most durable, but it’s heavier and may cost a bit more. Aluminum is lightweight but can dent, while plastic is best for light-duty protection.
You’ll also need to measure your door carefully. Even the best kick plate won’t work if it’s an inch too wide or hangs over the edge. Measure the width and height of your door, but be sure to leave room for the handle, lock, or any code entry device. Some people like to leave a small gap at the top and sides to avoid bumping into weatherstripping or interfering with hinges.
Finally, think about how you want to attach it. Some plates are screw-on, which feels solid but leaves tiny holes in your door. Others use super-strong adhesive tape, which is easier (and removes cleanly if you ever want to switch things up). If your door is metal, check for compatibility—some adhesives don’t bond as well unless you rough up the surface a bit.
Tools and Materials Needed for Kick Plate Installation
Here’s the part most people overthink: you don’t need a full-on toolbench to install a kick plate. Here’s a practical checklist:
- Measuring tape (for sizing and alignment)
- Pencil or non-permanent marker (for marking drill spots)
- Level (no one wants a crooked plate!)
- Drill or screwdriver (for screw-on plates)
- Heavy-duty adhesive (like 3M VHB tape, if adhesive type)
- Cleaning supplies (mild soap, water, lint-free cloth, maybe alcohol wipes)
- Rubber mallet (optional, for nudging the kick plate into place)
Let me explain why these matter. A level keeps your kick plate from running uphill (trust me, everyone notices a crooked edge). Cleaning wipes are important because adhesive needs a spotless surface to work its magic. A drill isn’t always needed, but if you’re working with wood or composite doors and metal screws, it’ll make things way faster.
Step-by-Step Guide: Installing a Full-Height Kick Plate
Let’s break it down without the jargon. Here’s how to install a full-height kick plate like a pro:
- Prep the door. Remove any dirt, grease, or old paint chips from the surface with a damp cloth. Let it dry fully—adhesives hate moisture, and screws won’t grip dirty wood.
- Align the kick plate. Hold the panel up to your door and use a level to make sure it’s straight. Mark the corners with a pencil, so you’ll know exactly where it goes.
- Mark for screws (if needed). If you’re using screws, mark the exact drill spots through the pre-drilled holes on the plate. Check that you’re not running into the lock, code pad, or battery access slots. Don’t guess—measure twice, drill once.
- Attach the plate.
- Screw-on: Pre-drill tiny pilot holes for each screw, then attach the plate using the screws provided. Hand-tighten until secure but don’t overtighten—you can warp the metal or strip the hole.
- Adhesive: Apply the adhesive strips vertically along the back of the plate. Line up the plate with your markings, press it firmly onto the door, and hold pressure for about a minute. For tricky spots, a rubber mallet can help seat the panel evenly.
- Check finish and cleanup. Step back and make sure it looks right. Peel off any protective film if your plate comes with one. Wipe fingerprints or smudges, and you’re all set. No code, reset, or battery steps needed—just simple, solid protection.
The key to a perfect installation? Patience and precision. Rushing will leave gaps or crooked edges, and no one wants to go back and redo it.
Common Problems and How To Troubleshoot Them
No project is perfect, and kick plates can throw a curveball or two. Here’s what you might run into—and what you can do about it.
- Plate doesn’t fit: If your kick plate is slightly too big, don’t force it—especially with metal doors. Instead, return it for a better fit or take it to a shop for trimming. For small gaps, a bead of weatherproof caulk along the edge can clean things up.
- Won’t stick: Adhesive not holding well? Double-check the surface is squeaky clean and dry. Sometimes, cold weather can mess with the tape—use a hair dryer to warm the door up first for a better bond.
- Screws won’t bite: If the screws just spin, your door material might be too soft. Use longer screws, or add plastic wall anchors if the holes have been stripped out. This fix works for both new and replacement installs.
- Hits the handle or lock: You’d be surprised how easy it is to overlook the lock area. Always dry-fit your plate before final attachment. For complicated door setups (like those with electronic code locks or battery packs), you might need to trim the plate for clearance or rethink placement altogether.
Sometimes, you’ll need to get creative. I once helped a friend who had an old wooden door, and the screws kept stripping out. We switched to adhesive tape and it worked perfectly—no more wobbly screws, and the plate hasn’t budged in three years.
Maintaining and Cleaning Your Kick Plate
Here’s the thing: a kick plate needs almost zero maintenance, but a little care keeps it looking sharp and working hard. Stainless steel and aluminum plates just need the occasional wipe-down. Use a soft cloth and mild soap—harsh chemicals and abrasives can leave scratches, especially on shiny finishes.
If you’ve got a painted or powder-coated plate, treat it a bit like your car. Wash it gently. If you spot any chips or dings (rare, but possible with heavy impact), grab some touch-up paint to keep rust at bay.
For adhesive models, check the corners now and then to make sure nothing’s peeling. Tiny lifts can be pressed back down, but wide gaps might need new adhesive strips. Screw-on types? Just tighten any loose screws every six months or so.
Think of your kick plate like a shield—it works best when it’s clean and secure. Neglect can lead to corrosion or weak spots, so that little extra TLC pays off big time.
Comparing Other Door Protection Solutions
You might be curious about other ways to keep your door looking new. Kick plates aren’t your only option, but they’re the most straightforward. Still, there are a few alternatives:
- Door guards: These cover just the edges or the latch area, which helps with accidental slams but doesn’t protect the main surface. Good for metal doors with vulnerable seams, but not a full substitute.
- Bumpers and shields: Usually made from rubber or plastic, these stick onto areas that see the most contact. They’re cheaper but can fall off or get grimy fast.
- Universal wrap-around plates: These add a layer to both the latch and frame, sometimes with a code or reset slot for electronic doors. Handy if you want *maximum* security, but a bit overkill for most homes.
Honestly, if you want all-over protection and a clean look, a full-height kick plate is your best bet. It’s simple, covers the most area, and doesn’t scream “heavy-duty hardware” the way some universal options do.
When to Call a Pro—and When to DIY
Most folks can handle installing a full-height kick plate with just basic tools, but sometimes it makes sense to bring in a pro. If you have a super heavy or solid-core door, or a complicated entry system like a battery-powered code lock, you might run into installation headaches that aren’t worth the stress. Professionals can make customized cuts, sync the plate with other hardware, and guarantee a flawless fit.
But for most wood, metal, or composite doors, you’ll probably do just fine on your own. Take your time, double-check your measurements, and don’t be afraid to call a friend for a second set of hands. There’s something satisfying about protecting your door with your own handiwork—and seeing it last for years.
Final Thoughts: The Lasting Benefits of a Full-Height Kick Plate
Wrapping up, a full-height kick plate isn’t just a nice-to-have for high-traffic doors—it’s a real game-changer. Instead of replacing or patching up your door every year, you get durable, good-looking protection that stands the test of time. The process is beginner-friendly but pays off big, especially if you use a quality brand like National Hardware or equivalent.
Take it slow, follow each step, and enjoy the peace of mind that comes from knowing your door is ready for anything—muddy boots, shopping carts, code lock installations, and all. In the end, installing a full-height kick plate brings together protection, style, and a little bit of DIY pride. Your door—and your future self—will thank you.