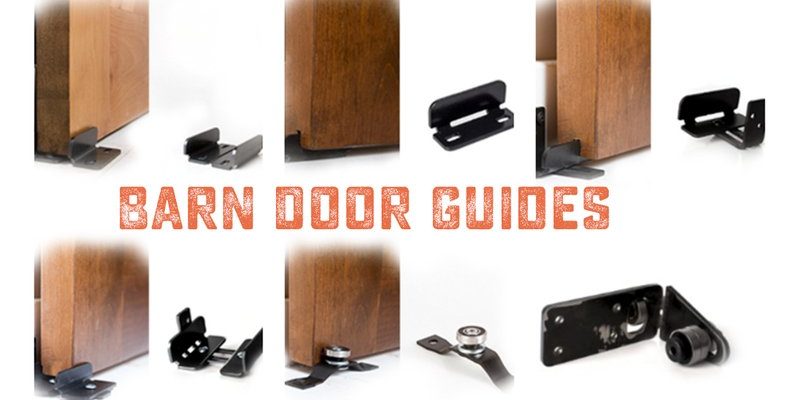
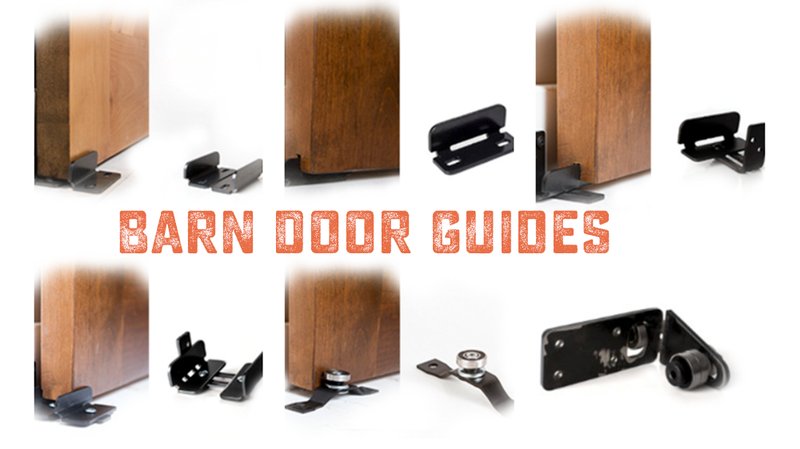
When it comes to the hardware, the floor guide helps keep your barn door on track, preventing it from swinging out of control. Imagine trying to push a shopping cart with a wobbly wheel—it just doesn’t work! A stable sliding door needs a reliable guide to glide smoothly along its track. If you have a specific brand in mind, like a Rustic Hardware or SMARTSTANDARD, this guide will help you tackle the installation step-by-step.
Understanding the Floor Guide’s Purpose
Let’s kick things off by diving into what a floor guide actually does. The floor guide is a small piece of hardware typically mounted on the floor and works in tandem with the sliding door. Think of it as a track that helps the door move back and forth without swaying or scraping against the wall. Without it, you might end up with a door that doesn’t close properly or swings too far in either direction.
Remember, the goal here is to create smooth functionality. It’s like trying to walk a straight line while wearing roller skates; without some guidance, things could get messy. In addition to keeping the door aligned, a floor guide also helps protect your walls and floor from unnecessary damage.
Tools and Materials You’ll Need
Before you start installing, let’s gather everything you’ll need. It’s much easier to have everything on hand than to keep running back and forth. Here’s a quick list:
- Floor guide kit (specific for your barn door)
- Drill and drill bits
- Tape measure
- Level
- Pencil
- Wood screws (usually provided in the kit)
- Safety goggles
By having these tools ready, you can avoid interruptions that might throw you off your game. Honestly, who wants to pause midway through a project because they can’t find a drill bit? So, take a moment to collect everything before diving in.
Measuring and Marking for Installation
Now that you have your tools, it’s time to measure and mark where your floor guide will go. This step is crucial, so pay close attention! Start by measuring the width of your barn door. You’ll want the floor guide centered beneath the door. Once you’ve got your measurement, mark the spot using a pencil on the floor.
Here’s the thing: ensuring that the guide is positioned correctly will save you so much hassle later on. Use a level to double-check that your markings are straight. If the floor guide isn’t level, your door won’t slide properly. Think about it like baking—if the ingredients aren’t measured right, you might end up with cake that’s flat as a pancake!
Installing the Floor Guide
Once you have everything measured and marked, it’s time for installation.
1. Drill the Holes: Using your drill, carefully create holes at the marked spots. Make sure you’re drilling straight down; this helps the screws hold securely.
2. Insert the Guide: Next, take the floor guide piece and position it over the holes.
3. Screw It Down: Use the provided screws to secure the guide to the floor. Make sure it’s snug but don’t over-tighten; that could damage the guide.
After securing it, give it a gentle tug to ensure it’s firmly in place. You want it to be sturdy enough to handle the door’s movement without shifting around.
Connecting the Floor Guide with the Door
You might be wondering how this guide interacts with the door itself. Typically, barn doors come equipped with a notch or groove that aligns with the floor guide. This feature is crucial because it keeps the door from shifting sideways when you slide it open or closed.
To connect the two, simply align the bottom of the door with the floor guide. If your door has a groove, it should fit snugly around the guide. If you find the door isn’t sitting correctly or is hard to slide, double-check that the floor guide is level and installed properly.
Testing the Barn Door Operation
After everything is set up, it’s time to test your work. Slowly slide the barn door along its track to ensure it moves smoothly without catching on the floor guide. If it’s not gliding as it should, take a moment to adjust the position or check the alignment.
Sometimes, little adjustments can make a big difference. If it helps, consider applying a small amount of lubricant to the track area. Just like oil helps machinery run smoothly, it can also help your barn door glide effortlessly.
Troubleshooting Common Issues
Even with the best installation, things can go slightly awry. Here are a few common issues and how to fix them:
– Door Is Sticking: This can happen if the floor guide is not level or if there’s debris on the track. Start by checking for any objects that might be in the way and ensure everything is aligned correctly.
– Misalignment: If your door appears to be off-center, make sure the floor guide is securely fastened and not shifting. You may need to recheck your measurements.
– Door Won’t Slide: If your door doesn’t slide at all, check for any obstructions in the track, and ensure the floor guide is properly installed and not worn out.
Don’t sweat it if you encounter any bumps along the way. Installing a floor guide doesn’t have to be perfect on the first try.
Maintenance Tips for Your Sliding Door System
Now that your barn door is installed and functioning well, let’s talk about keeping it that way. Regular maintenance ensures smooth operation and longevity. Here are a few quick tips:
– Regular Cleaning: Dust and dirt can accumulate on tracks and guides. Make it a habit to give everything a good wipe down every so often.
– Inspect Periodically: Every few months, check to see if the floor guide is still securely attached and that the door is still sliding smoothly.
– Lubricate as Needed: If you notice any resistance while sliding, applying a silicone-based lubricant can do wonders.
By taking these simple steps, you can ensure your beautiful barn door stays functional and lovely for years to come.
In conclusion, installing a floor guide for your sliding barn door isn’t as intimidating as it might seem. With the right tools, a bit of patience, and attention to detail, you can enhance both the functionality and aesthetics of your space. So, roll up your sleeves and get started—your stunning barn door awaits!